
Getting Started with the Roland DJ-707M
Getting started
Roland DJ-707M setup guide
We’ve created this guide so you can start making music right away with the Roland DJ-707M. You’ll learn how to register and navigate the controller, as well as how to set it up for the first time. Follow the sections below to get started.
Register the controller
Before we dive in, the first thing you’ll need to do is register the controller with Roland. By registering the product, you’ll receive a free copy of Serato DJ Pro, as well as access to Roland’s Cloud Academy; a series of online training courses for your Roland DJ controller. Follow these steps to register your DJ-707M.
- Log in to your Roland account. If you don’t have one yet, you can create one here.
- Navigate to the Roland Cloud Academy page and fill out the registration form at the bottom of the page.
- Open a web browser and go to the Roland support page and type DJ-707M.
- Locate the latest driver listed and then download and install it.
- The DJ-707M is class-compliant on Windows 10, which means no additional driver software is necessary. All other Windows users will need to download the driver.
- Download & install Serato DJ Pro from the Serato website here.
- Connect the DJ-707M to your computer and launch Serato to activate the software.
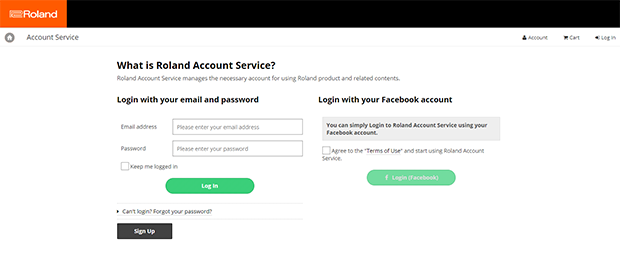
Click here to sign in or create a Roland account.
DJ-707M setup and configuration
There are many ways to incorporate the DJ-707M into your DJ rig. Setting up the DJ-707M is fast and easy, and making
the connections are straightforward, which means you’ll be up and running in no time. Follow these steps below to
get connected.
Hardware
- Connect any external hardware such as microphones, turntables, or media players and turn the levels
all the way down.
- If you’re connecting an analog turntable to Ch 1 or Ch 2, make sure to connect the turntable’s ground terminal to the PHONO GROUND. This will prevent noise from the turntable.
- Connect any speakers you will be using to the appropriate outputs on the controller.
- Connect the controller to a computer (or computers) via USB. Be sure not to use a USB hub, as that may not provide enough power to transfer data.
What’s the Zone Out connection used for?
The Zone Out is an additional set of outputs used for when you need to send audio to a different room which is separate from the MASTER or BOOTH OUT. These outputs are convenient if, for example, you’re playing at a gig and want speakers in the green room for background music.
Computer
- With the controller connected to the computer, power it on and then launch your DJ software.
- Depending on the DJ software you’re using, you may need to go into the software’s settings for additional configuration. Refer to the software manufacturer’s user manual for more information.
- Use the Input Select switch and set channels 1 and 2 to PC.
- Load a track into your software, press play to make sure you’re getting output, and then adjust the levels on the controller as needed.
iOS devices
IMPORTANT: If using an iOS device, DJ software cannot be used.
- Connect the controller to the PC-B USB and use an Apple Lightning to USB Camera Adapter to connect to the iOS device.
- On the DJ-707M, Press the MENU button, turn the SELECT knob to select System Settings and then press the knob.
- Turn the SELECT knob to select PC-B USB, press the knob, and then select
Generic.
- Audio will be sent through the Master, Booth, and Zone outputs.
Navigating the DJ-707M
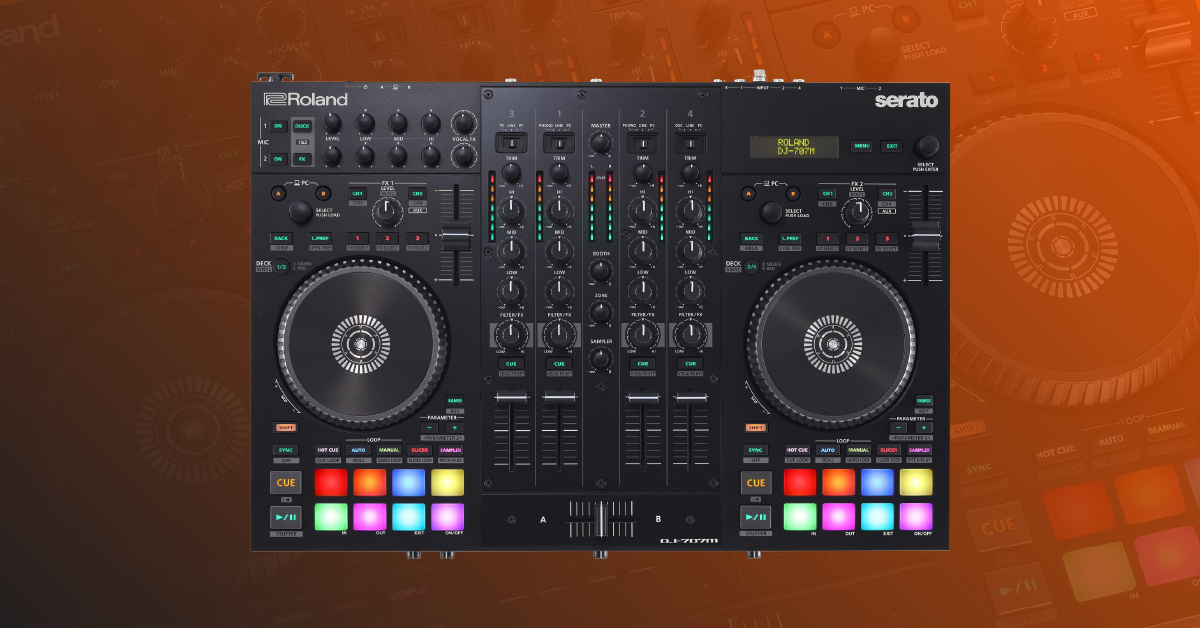
The Roland DJ-707M has four primary sections, which include the decks, mixer, effects, and microphone. Each section has unique functions, and most have additional features when holding down the SHIFT button. For a full list of operations and menus visit the user manual.
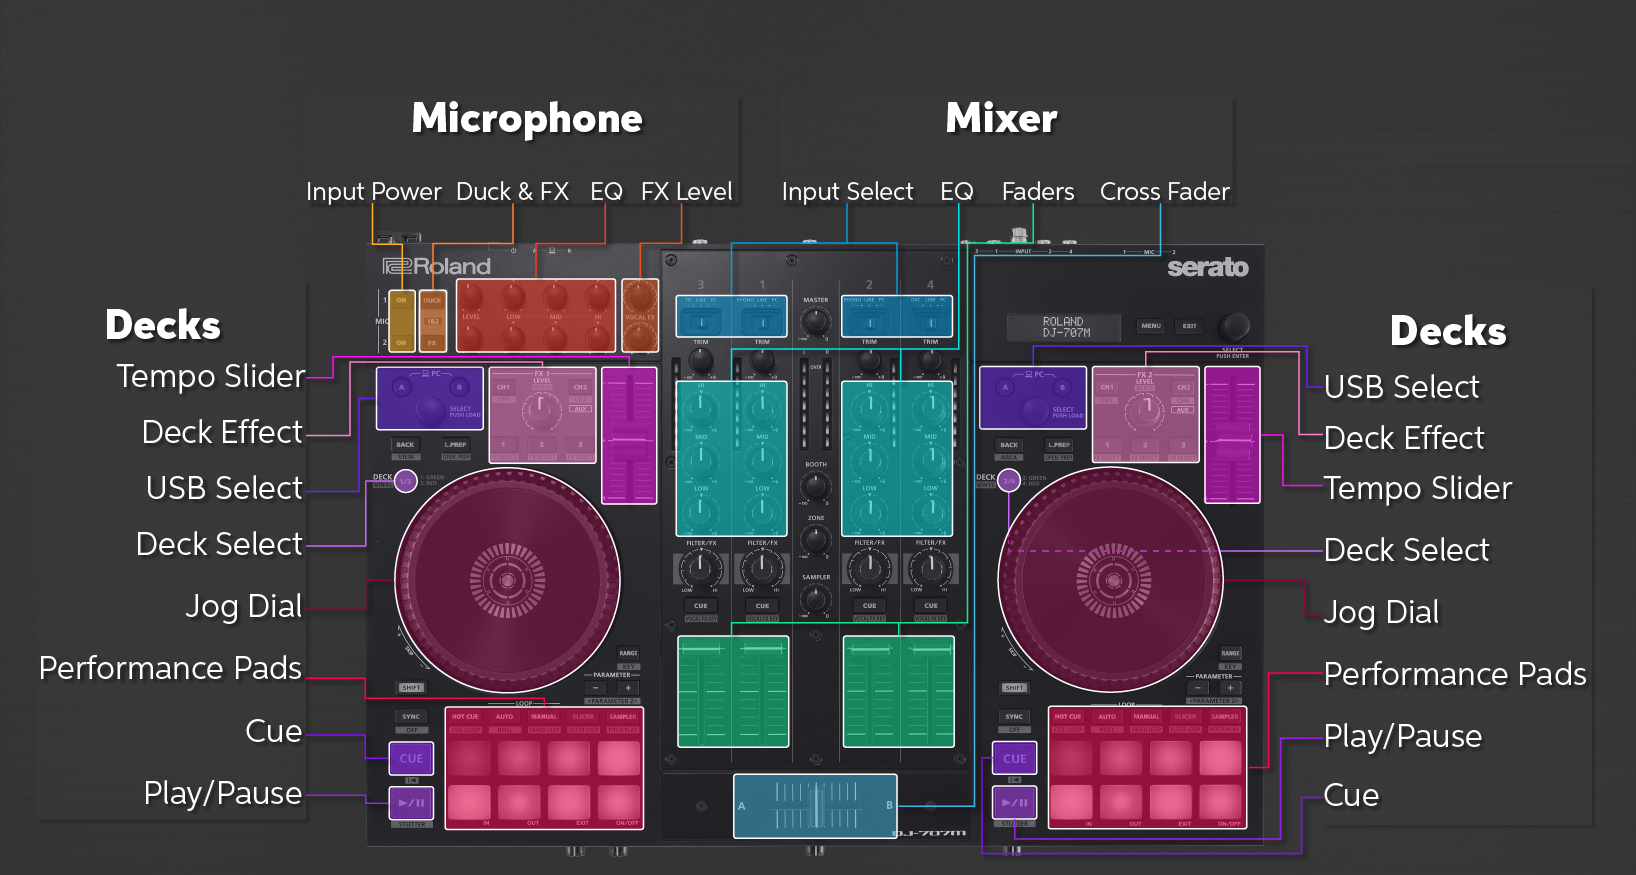
DJ-707M Diagram. Click to enlarge.
Decks
The two-deck sections are where you’ll be doing most of your work. The jog dials, deck switches, cue, and performance pads can all be used to control both your DJ software, as well as functions on the controller itself.
Jog dials
There are two zones on the jog dials; The top surface and the outer edge. Depending on which mode it’s in, it will perform differently. If Vinyl mode is selected (hold SHIFT then pressing the Deck ½ or Deck ¾ button), the top surface will perform a scratch, and the outer edge performs a pitch bend. If Vinyl mode is not selected, the top surface will trigger a pitch bend, as well.
- Holding SHIFT while rotating the jog dial will move the playback location. Rotating the top surface will skip the playback location, and rotating the outer edge will move the playback location.
Cue
Press the CUE button to set the starting point of the audio track. If you hold SHIFT while pressing the CUE button, the cue point will be set to the beginning of the track.
TIP: Use the jog dial to fine-tune the cue’s start location.
Performance pads
The performance pads are used in a variety of different ways. Press one of the PAD MODE pads to change what the performance pads control:
- Hot Cue: Performance pads will create a cue point while the song is playing.
- Auto: Performance pads will create a loop automatically. Hold SHIFT then press a pad to change the length of the loop.
- Manual: While the track is playing, the pads will create a start and endpoint for a loop.
- Slicer: This will divide a region of audio into eight sections and assigns each section to a pad. While audio is playing, pressing a pad down will play that section as a loop.
- Sampler: The performance pads will trigger the DJ-707 drum samples. Double-pressing the Sampler button will make the performance pads velocity-sensitive.
Mixer
The DJ-707M has a standard four-channel mixer. This is where you will set up the signal routing, control the channel
EQ and effects levels, as well as the overall level of the channel.
Input selection switches
Depending on your connections, you’ll need to use the input selection switches to change the input source of that channel:
- PHONO if you’re using external analog turntables.
- LINE if you have a line-level input as the source audio.
- PC if the audio is coming from your DJ software.
- TR or OSC to trigger the drum and sound generators.
FX, EQ, trim, and cue
- Press the channel’s CUE button to turn on the headphone cue. This is useful if you need to preview the next track without affecting the level of the current track loaded on that channel.
- Use the FILTER/FX knob to control the filter, or if you assigned an effect to that channel, to alter the character of that effect.
- Adjust the channel’s volume using the TRIM knob.
- Use the HI, MID, and LOW knobs to adjust the EQ of an individual channel.
Microphone
The microphone section is pretty straightforward. It controls any microphone that is connected to the back of the DJ
controller. Before adjusting any levels, however, make sure the ON button is illuminated.
- Press the DUCK button to engage ducking. This is very useful if you need to speak without having to turn any of the audio down.
- Press the FX button to engage or disengage the effects assigned to the mic channels.
Related content

Now that you’re up and running, learn how to work with scenes on the DJ-707M.
Learn More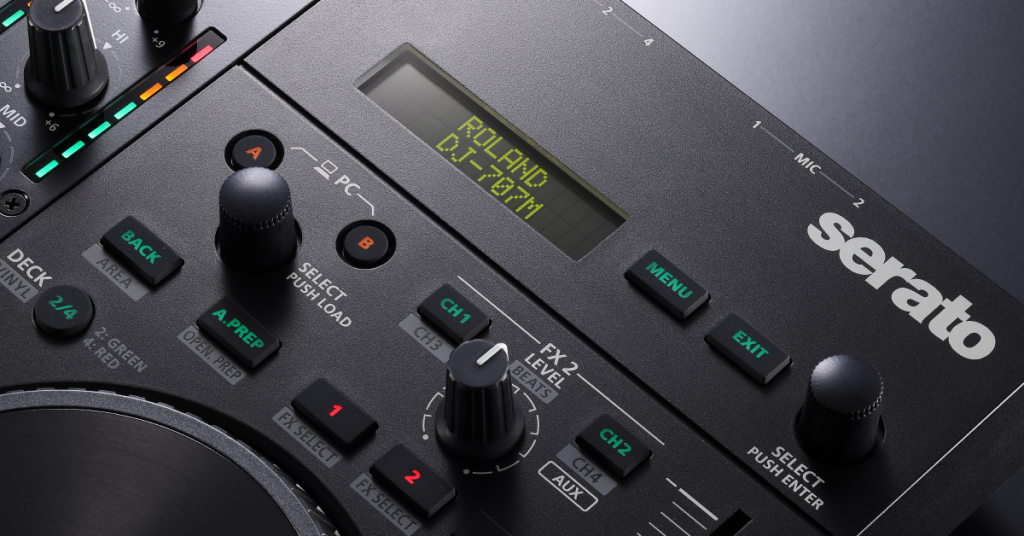
Learn more about how to perform a factory reset on the DJ-707M.
Learn MoreAdditional resources
Practice Mode
Using Effects
Cues, Loops, and Beat Jump
How to Use Loops
When you need help, Sweetwater has the answers!
Our knowledge base contains over 28,000 expertly written tech articles that will give you answers and help you get the most out of your gear. Our pro musicians and gear experts update content daily to keep you informed and on your way. Best of all, it’s totally FREE, and it’s just another reason that you get more at Sweetwater.com.

