
Getting Started With the Focusrite Vocaster
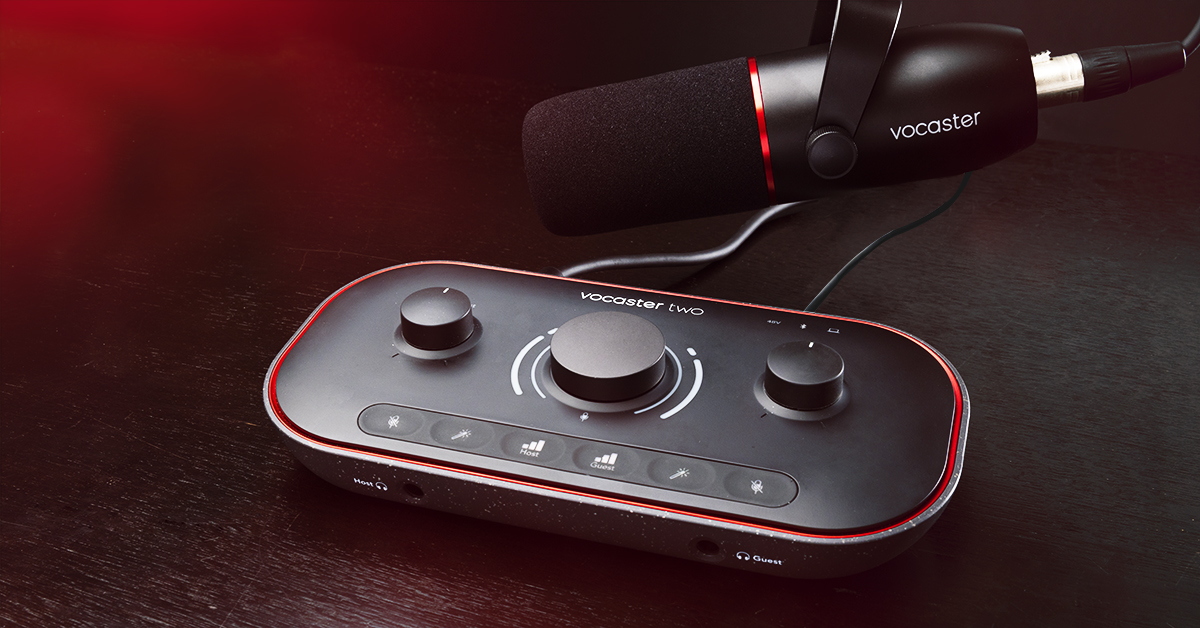
If you’re a livestreamer or podcaster, the Focusrite Vocaster is a perfect fit, so in this guide, we will show you how to register, set up, and connect the Vocaster for the first time. Follow the sections below to get started.
Register the Vocaster
Before you get set up, we recommend registering your Vocaster with Focusrite. Once registered, you will access plenty of free software exclusive to Vocaster users to get you up and running fast. To do this, you will use the Easy Start application. However, if you decide to register at a later date, you can register it manually through the Focusrite website. In this section, we will show you both ways to register.
Easy Start
The quickest and easiest way to register your Focusrite Vocaster is through the Easy Start application, which is available to you as soon as you connect the interface to your computer. Once connected, your computer will detect the Vocaster as an external USB drive, so no download is necessary!
TIP: When connected, an Easy Start icon will appear. Double-click the icon to start the registration process if this is the case.
- Connect the Vocaster to your computer using the included USB-C to USB-A cable, then power on the interface.
- Once connected, a pop-up notification will appear stating that the Vocaster is connected.
- Click the notification, then double-click the URL in the window that appears.
- PC: Click the notification, select Open folder to view files, then double-click Click here to get started in the File Explorer window that appears.
- Mac: Click the notification, then double-click Click here to get started.url.
- Follow the on-screen instructions to complete the registration process.
Manual Registration
If you decide to register your Vocaster with Focusrite at a later date, you can do so manually via the Focusrite website. To register, you must create a Focusrite account and use the serial number located at the bottom of the interface.
- Log in to your Focusrite account. If you don’t have one, you can create it here.
- Go to the product registration page and use the dropdown boxes to select your Vocaster.
- Enter the serial number located on the bottom of the interface, then click Set Serial Number.
- Once registered, visit the My Software section of your account page to download and install all your new software!
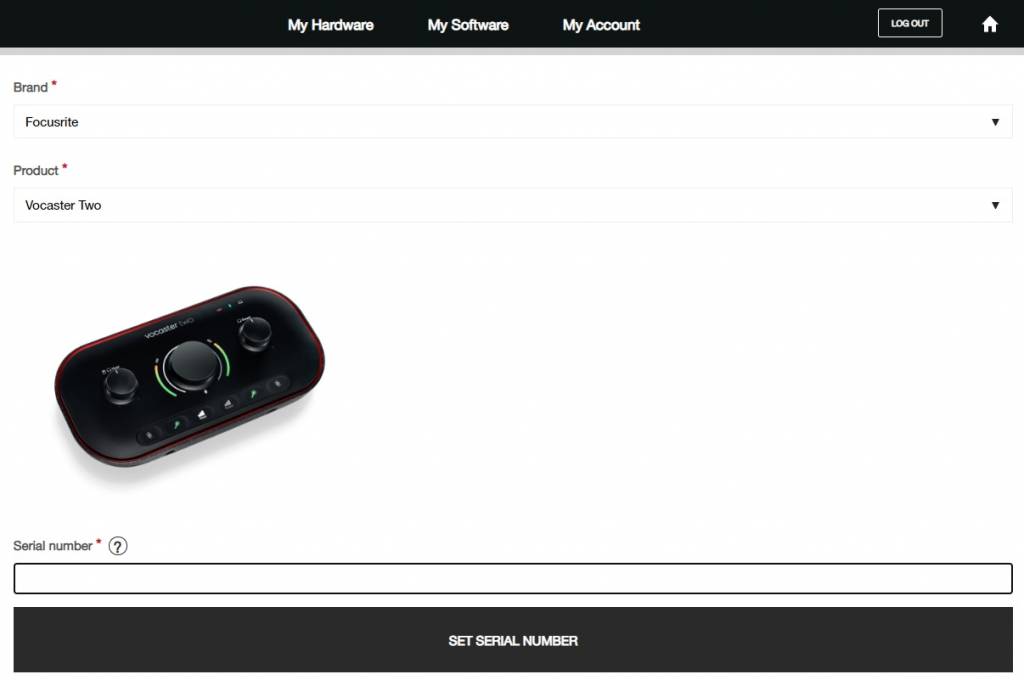
Click the image to register your Focusrite Vocaster audio interface
Download and Install Vocaster Hub
The Vocaster line of interfaces uses Vocaster Hub, which is a standalone application that allows you to configure the interface’s settings and adjust each channel’s audio level. Vocaster Hub is also where firmware updates are performed.
If you registered your Vocaster using the Easy Start application (as outlined above), Vocaster Hub will be installed during the process. However, if you registered the interface manually, you need to go to the Vocaster product page, select the interface you own, and download it from there.
Windows on Arm compatibility
The Focusrite Vocaster Hub standalone software is not compatible with Windows on Arm PCs. The standalone drivers are compatible and audio is unaffected. Check out our Windows on Arm Compatibility guide to learn more.
Do I need Focusrite drivers?
The Focusrite Vocaster interface is class-compliant on all Mac computers, which means no additional driver software is necessary. However, for the Vocaster to work correctly on your Windows PC, you must install the latest Focusrite driver, which is also located on the Vocaster’s product download page.
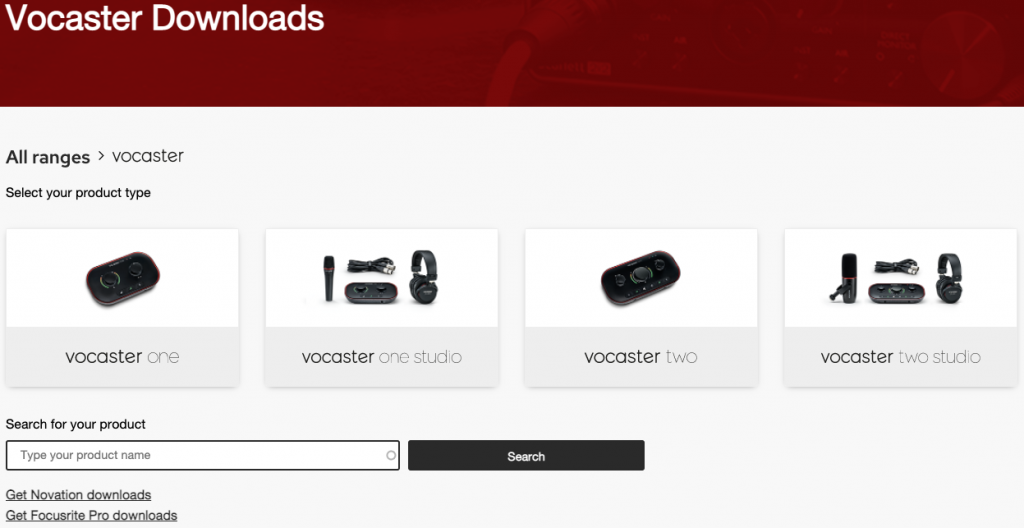
Click the image to download the Vocaster drivers and Vocaster Hub
Related Articles
When you need help, Sweetwater has the answers!
Our knowledge base contains over 28,000 expertly written tech articles that will give you answers and help you get the most out of your gear. Our pro musicians and gear experts update content daily to keep you informed and on your way. Best of all, it’s totally FREE, and it’s just another reason that you get more at Sweetwater.com.

