
Alesis SR-16 and SR-18 Quickstart Guide
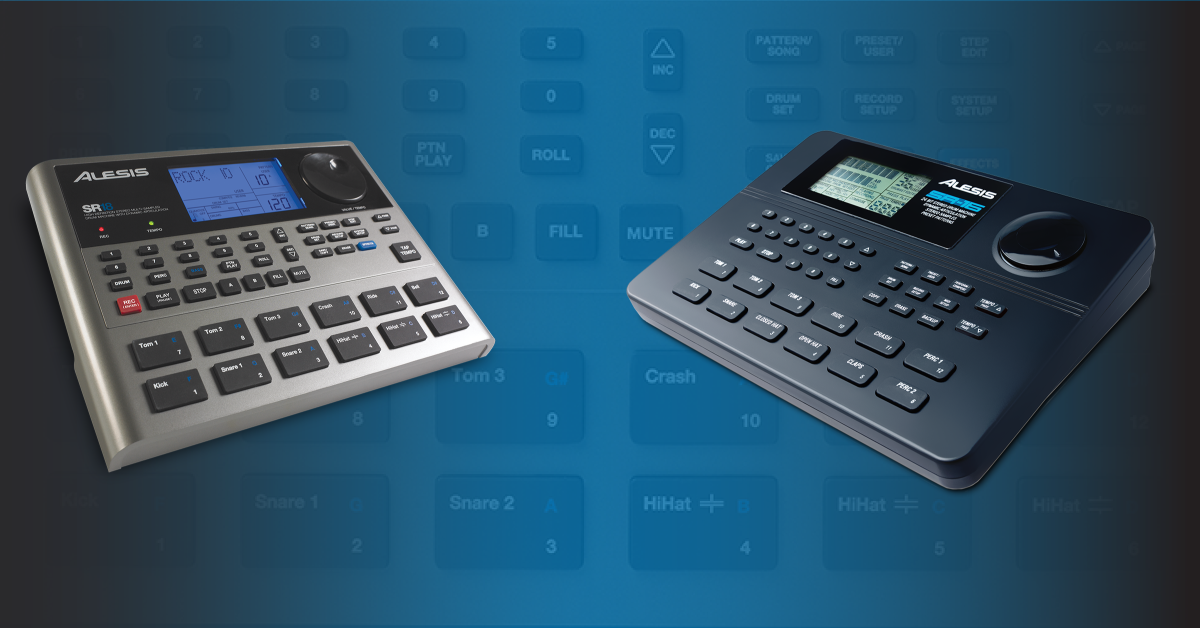
Getting started with the Alesis SR-16 and SR-18
The Alesis SR-16 and SR-18 are staples in the world of drum machines, so in this guide, we’ll show you how to register, set up, and use the SR-16 and SR-18 for the first time. Follow the instructions below to get started.
- How to register the SR-16 and SR-18
- SR-16 and SR-18 setup and connections
- How to create patterns with the SR-16 and SR-18
How to register the SR-16 and SR-18
The first thing you’ll need to do is register the drum machine with Alesis before you get going. Upon registration, you’ll gain access to software downloads, as well as firmware updates, which you’ll need. Follow these steps to register your SR-18 and SR-16 with Alesis.
- Log in to your Alesis account. If you don’t have one yet, you can create one here.
- Navigate to the Alesis registration page, use the Product drop box and select the Surge.
- Enter the serial number (located on the module packing box, underneath the module, and on the front page of the manual), enter the purchase date on your Sweetwater invoice, and then click Register My Product.

Click the image to register your SR-16 or SR-18
SR-16 and SR-18 setup and connections
Setting up and connecting your Alesis SR-16 or SR-18 is straightforward. It has all of the usual connections you’d see in classic drum machines, like Main and Aux outputs, MIDI I/O, and Footswitch.
NOTE: The SR-16 has a Tape in/out where the SR-18 has an Instrument input.
- Turn everything down before connecting your gear. This will reduce the risk of any sudden pops, which can potentially damage your external equipment.
- Per Alesis, any momentary non-latching footswitch is compatible with the SR-16 and SR-18.
- The Instrument input and Main outs only accept TS connections.
- The SR-16 and SR-18 both recognize that when one cable is connected to the output, it’s mono, so it disables any pan settings.
- You can change the output of individual instruments (drums, bass, percussion), then connect those to an audio interface to treat them as two separate tracks.
How to create patterns with the SR-16 and SR-18
Once you have everything set up and connected, it’s time to make some beats! To get a feel of what you can do with the SR-16 or SR-18, play the demo by holding down PATTERN/SONG then pressing play. If you want to play on top of it, press the drum pads however you like! If you’re going to record a beat from scratch using your SR-16 or SR-18, You’ll need to create a blank pattern, update its record options, then start recording. Follow these steps to start creating beats.
Select the drum kit
Before creating your pattern, go through all of the kits available and find the one you like best. A great thing about the SR-16 and SR-18 is that you can even assign sounds to specific pads so you can make your own kit! Follow these steps to select and create a drum kit.
- Press the DRUM SET button, then use the jog wheel, UP and DOWN buttons, or enter the number pads’ drum set number.
- Switch between factory preset and user drum kits by pressing the PRESET/USER button. Today, we’ll be creating a kit from scratch, so press the button so you’re in User mode.
- Press the pad you want to change. You’ll notice the current sample’s name on the display.
- Press the UP/DOWN buttons to change the pads sound.
- Use the PAGE UP and PAGE DOWN buttons to adjust the sample parameters, such as the tuning, volume, and panning.
- Save your kit and exit.
- SR-16: Press the PLAY button to save it to the currently selected drum kit’s number. If you want to save the kit to a different location, use the number buttons or INC/DEC buttons to select the location.
- SR-18: Press and hold the SAVE/COPY button. Once the REC LED blinks, press the REC button. If you want to save the kit to a different location, use the jog wheel, number buttons, or INC/DEC buttons to select the location.
Record the pattern
Once you’ve selected the drum kit you want, you can then start recording.
- Press the Preset/User button, then press the Record Setup button.
- Use the PAGE UP and PAGE DOWN buttons to scroll through the menus. The three you’ll mainly want to focus on are Quantization, Swing, and Click.
- To change the value in the selected menu, use the Up and Down buttons.
- Once all the settings have been updated, press the Record Setup button to exit.
- Once you’re back in Composer, begin recording.
- SR-16 – Press the Play button to start recording.
- SR-18 – Press and hold both the Play and Record buttons to start recording.
- Press Stop once you’ve finished.
- If you’re happy with everything except for one, you can overdub it without needing to re-record the whole pattern by following the same steps above.
Related content
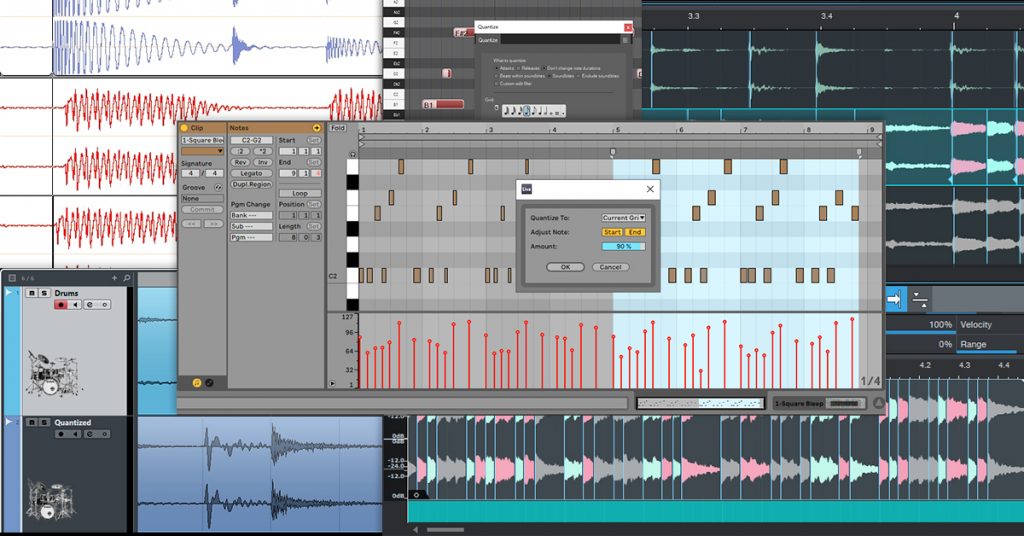
Learn more about when and when not to quantize your audio samples!
Learn More
Learn more about the differences between drum machines and samplers!
Learn MoreAdditional resources
SR-16 Reference Manual

SR-18 Reference Manual
Alesis SR-16 Video Manual Part 1 of 2
Alesis SR-16 Video Manual Part 2 of 2
When you need help, Sweetwater has the answers!
Our knowledge base contains over 28,000 expertly written tech articles that will give you answers and help you get the most out of your gear. Our pro musicians and gear experts update content daily to keep you informed and on your way. Best of all, it’s totally FREE, and it’s just another reason that you get more at Sweetwater.com.

