
Akai MPC Key 61 Quickstart Guide
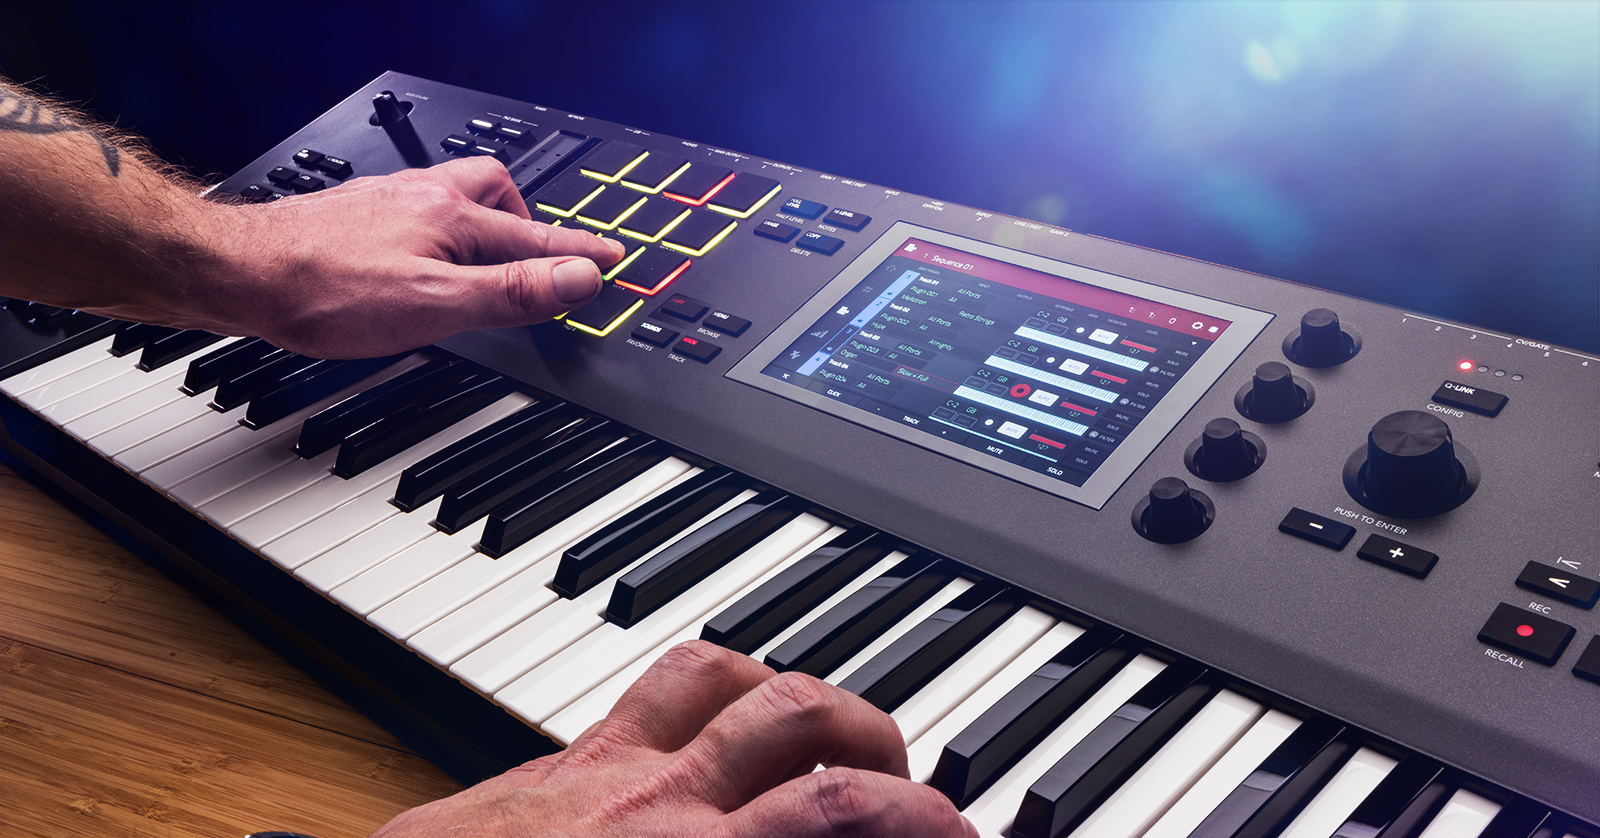
The Akai MPC Key 61 is an all-in-one sampler, sequencer, and keyboard that has keyboardists and beatmakers in mind. With a built-in DAW and a plethora of free software, you can create, sample, and record music wherever you go! So, this guide will show you how to set up, connect, and use the MPC Key 61 for the first time. This only scratches the surface, so check out the included User Manual and Akai’s MPC Key 61 Academy playlist for more information! Follow the sections below to get started.
Setup and Connections
The ways you can include an MPC Key 61 in your studio or live rig are endless. Setting it up is also easy, so you can start making music sooner. With just a few cable connections and menu setting changes, you will create music in no time. Follow the sections below for connection instruction tips and tricks.
Audio
IMPORTANT: Make sure you have the volume turned down and make your connections before turning on the MPC Key 61. ‘Hot plugging’ can result in loud pops that may cause damage to your speakers or headphones.
The MPC Key 61 is an all-in-one workstation, so you don’t need to be at a computer to record audio. It has two XLR combo jacks that accept instrument, line, and mic-level signals. It also has independent gain knobs, so you can get the perfect mix without needing to adjust anything within the workstation’s settings.
- Use the INST-LINE switch to change the level signal depending on what’s connected.
- If you are connecting a condenser microphone, plug it in before turning on +48V and turn it off before disconnecting it.
- Phantom power is sent to both inputs when engaged.
External hardware
If you have external hardware like a synth, a drum machine, or a sampler, you can use the 5-pin MIDI, ⅛-inch CV, and even the USB-A jacks for total control.
- To adjust global MIDI settings, press MENU, select PREFERENCES, then choose MIDI/SYNC.
How to connect external keyboards
If you want to trigger a different sound on the MPC Key 61 with an external MIDI keyboard or controller, you must go into the track settings and update the MIDI port number.
- Press MAIN to enter your project.
- Press Track and use the data wheel to change the track number.
- On the left side of the display, touch the Track menu (three horizontal bars).
- Select Track 1, press the data wheel, then select MIDI Port 1.
- Select Track 2, press the data wheel, then select a different MIDI port number. This will then allow you to trigger multiple sounds on multiple devices.
- Depending on what is connected, you will need to access its settings and change the MIDI port to match that of the MIDI port you selected on the MPC Key 61. Please refer to the manufacturer’s User Manual for more information.
MPC Key 61 Hardware Overview | Akai Professional
How to Create a Song
You can break down a song you create on the MPC into four components: Project, Sequence, Track, and Program.
- Project: As the name implies, the Project is the actual song.
- Sequence: A Sequence is a section of a song (chorus, verse, etc.) that contains all your MIDI and audio tracks.
- Track: Like with any other DAW, anything you record is a track.
- Program: Not to be confused with tracks, Programs are your sound source. With the MPC, a program can be a sampled instrument, a drum kit, or a plug-in.
Project setup
When you turn on the MPC Key 61, you will be greeted by the Project screen. You can load demos, open recently saved projects, or create something new. This guide will show you how to create a basic project.
- On the Project screen, press Empty Project located at the bottom of the display.
- Press the MAIN button. This will take you to the Sequence window. As mentioned, this is where you will create and edit each Track and Program for the specific Sequence.
- Use the Sequence field to change the BPM, Bars, Start/End point, name of the Sequence, etc.
- Press the TAP TEMPO button or double-press BPM to quickly change your Sequence’s BPM.
- Select the Track, press the SOUNDS button, then select the instrument you want to load.
- For a unique sound, tap EDIT INSTRUMENT on the bottom of the display to further edit the instrument.
- Once you’re happy with the sound, press the Track name on the display, then use the data wheel to switch to a new track.
- To add a Drum track, highlight Track, then press the drum pad icon (four squares).
- Press ASSIGN SAMPLES, tap BROWSE, and select the kit you want to load.
Making a Beat with MPC Key 61 | Getting Started
Recording a sequence
Once you have everything set up, it’s time to record! Akai has made it easy to quickly build a song, so you have more time to record and need less time to stop and start every time you want to add new tracks.
- Press the RECORD button. You will receive a four-beat count-in.
- Once you’ve reached the end of the bars you selected, it will automatically switch to Overdub mode.
- You will see a white bar showing you the progress of the track’s length.
- Use the encoder knob to switch to the next track and start performing. Alternatively, hold the MAIN button, then select the track on the touchscreen display.
- If you want to edit chord progressions, beats, etc., press the RECORD button to stop recording and press the GRID button to bring up the piano roll, where you can adjust things like transpose, velocity, and length of specific notes.
Making a Beat with MPC Key 61 | Getting Started
Saving and Exporting
Once you’ve finished creating the perfect song, you’ll want to save it. On the Akai MPC Key 61, you can save anything associated with that project: drum programs, program effects, samples, sequences, and even an audio mixdown! You can save it directly to the workstation or to external storage devices (like a USB thumb drive). Either way, the process remains the same.
- Press MENU, then press SAVE on the touchscreen.
- Select what you want to save, rename it, then select the location where you wish to save it.
- If you want to save it to an external device, press the Eject icon to safely eject the thumb drive before disconnecting it. If you don’t safely eject the drive before disconnecting it from the workstation, your files may become corrupt.
The MPC Key 61 Masterclass
MPC Key 61 Tutorial Playlist
Related Articles
When you need help, Sweetwater has the answers!
Our knowledge base contains over 28,000 expertly written tech articles that will give you answers and help you get the most out of your gear. Our pro musicians and gear experts update content daily to keep you informed and on your way. Best of all, it’s totally FREE, and it’s just another reason that you get more at Sweetwater.com.

