

When PreSonus launched Studio One (10 years ago!), I have to confess that I rolled my eyes and thought, “Do we really need another DAW?” Of course, fast-forwarding to today, it has found a solid niche in production, and while it is not the only DAW I use, it has found a consistent place in my personal workflow.
Since it is not my only DAW, I occasionally have to search around longer than I would like to find some features. That is where Studio One’s template function can be incredibly useful. I’ll walk you through how to use templates in Studio One.
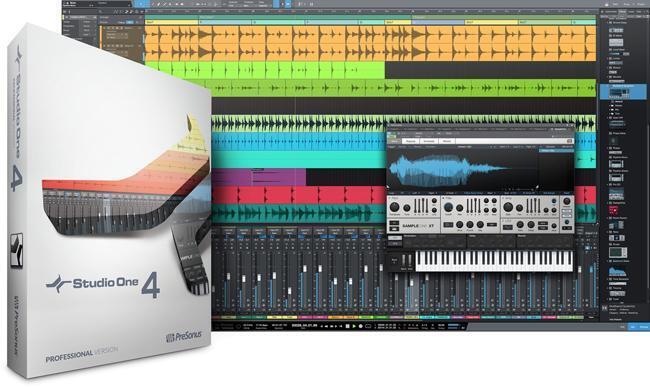
Studio One 4
Templates
When you open a new song in Studio One, you are immediately presented with a template dialogue box that looks like this.

Figure 1: This is the interface tab in the template dialogue box.
PreSonus provides some premade templates based on styles of music and the kind of interface you own, but today, we are going to focus on the User tab, which will display any templates that you have created.
Template for Simple One-person Demos
Other than my nearfield monitors, I use a DAW more than any other piece of equipment in my studio. Unlike my speakers, I use the DAW in very different ways for different tasks, and my setup changes based on that. I also tend to use different audio interfaces depending on what I am working on, and templates can ease that process.
Working up a song demo is one of the most common things I do, and I tend to do something structurally similar every time. I like my Apollo Twin for this application because of the DSP plug-ins and the built-in talkback mic when I am working with another musician.
In my workflow, I tend to program drums, bass, and some keyboard sounds and record vocals and guitars. I also like to have a loop track and have the browser window open to find files that I might use to get started.
I generally use Battery by NI for drums, and I split the kick and snare out to separate channels because I find it’s quicker to set levels and processing in the DAW mixer. Setting this up is not incredibly intuitive as it requires turning on the multiple outs in Studio One and then routing all my kicks to an individual out and all my snares to a different individual out. Rather than doing this every time, I set it up once and save it as a part of this session (which then becomes my template).

Figure 2: You can turn on individual outputs for Battery by clicking on it (in the yellow box). Right clicking on the cell in Battery (in the green box) gives you the option of routing to an individual output, in this case the Direct Out St 1/2.
When I get finished, I have a session that has audio tracks for loops, vocals, and guitars and then instrument tracks for drums, bass, and piano. I also have the correct inputs on my interface routed to the tracks so that I don’t have to change anything when I start recording and overdubbing. In this case, I have a mic plugged into Input 2 on the Apollo and the guitar plugged into the front-panel hi-Z input.
When I have my session set up just like I like it, I pull down the File menu and select “Save As Template.” This creates a version of my setup that I can use as a starting point for my next session.

Figure 3: I’m happy to only have to create that setup once!
The next time I create a new song, I’ll just navigate to the User tab in the template dialogue box and select the template I saved. This will start my session with the same mixer, open windows, and track layout that I saved, including all the virtual instruments that are already instantiated and ready to start playing. This is a huge timesaver!

Figure 4: I have more time to spend creating when I start with a good template.
Template for a Full Tracking Session
Tracking multiple musicians requires a setup with a different emphasis. In this case, I am using the Keith McMillen K-Mix because I need something easily portable but with more inputs and outputs than the Apollo Twin.
I know that I want to create a couple of headphone mixes inside of the mixer and have a little bit of reverb to make my performers more comfortable. I also need a piano sound called up in case I need to play parts or chords for the musicians.
So, I set up the session to include all of that plus the hardware routing to the multiple ins and outs of the interface and saved this to a new template called “KMix Tracking.” Now when I go to do a recording session, all of those things are preconfigured just like I need them to be with no setup time.

Figure 5: Using my tracking template, all the ins and outs are prepped and ready to go.
Opening a template is like having a full-time second engineer working for you. This is the kind of feature you need to take advantage of, so you can spend more time making music. If you want to add Studio One to your rig or the perfect piece of hardware to make your recording go just a bit smoother, give your Sweetwater Sales Engineer a call at (800) 222-4700.