Recording a Grand Piano
Even the phrase “Grand Piano” evokes a sense of majesty, of power, of complexity. A grand piano has the power to be heard over a symphony orchestra, or it can be whisper quiet, providing an underscore to a lullaby. With more than 12,000 moving parts, a nine-foot-long grand piano is the most complex, as well as the largest, instrument most of us will ever play. No matter the style of music — jazz, rock, country, pop, R&B, or classical — there’s a place for a grand piano. One of my favorite places for a grand is in the recording studio where I regularly get to record them.
There are a lot of ways to record a grand piano. Since very few of us have regular access to more than one grand piano (I certainly don’t), I let the style of the music dictate which microphones and mic placements I’ll use. Sometimes a given type of music will even cause me to move the piano into a different physical space to take advantage of its distinct acoustic properties. The best way to learn which of the mic placements works best for you is to experiment, but here are a half dozen approaches that I regularly use.
The approaches described below are what I use for the seven-foot, six-inch Yamaha DC7 Mark IV Disklavier that we have here at Sweetwater Studios, and the accompanying samples were recorded with the piano in the main tracking room with the lid fully open on the tall stick. While some of these concepts can be used with upright pianos, today’s discussion is primarily aimed at recording an actual grand.
I suggest that you listen to the audio samples of the microphone placements discussed below; you’ll be able to hear the differences between the placements as well as some surprising similarities. There is not one best approach — a well-rounded engineer will adjust to meet the specific circumstances of every session.
Cutting Through a Mix
If you need the piano to cut through a mix — whether on a rock track or a contemporary jazz track — try a spaced pair of small-diaphragm microphones with a cardioid pattern about six inches above the hammers. This placement can emphasize the percussive aspects of a piano since it does a good job of capturing the sound of the hammers hitting the strings. It can also de-emphasize the low end of the instrument a bit, helping to brighten up the overall sound.
Start with the mics about 15 inches apart and listen to the balance between the low and high strings. You’ll want to be sure that the two mics are spaced far enough apart that both the highest and lowest notes are pretty similar in level, but close enough together that the notes in the middle of the piano don’t disappear. There may be hot spots if the microphones are too close to the hammers, and the notes right under the mics will sound louder than those farther away.
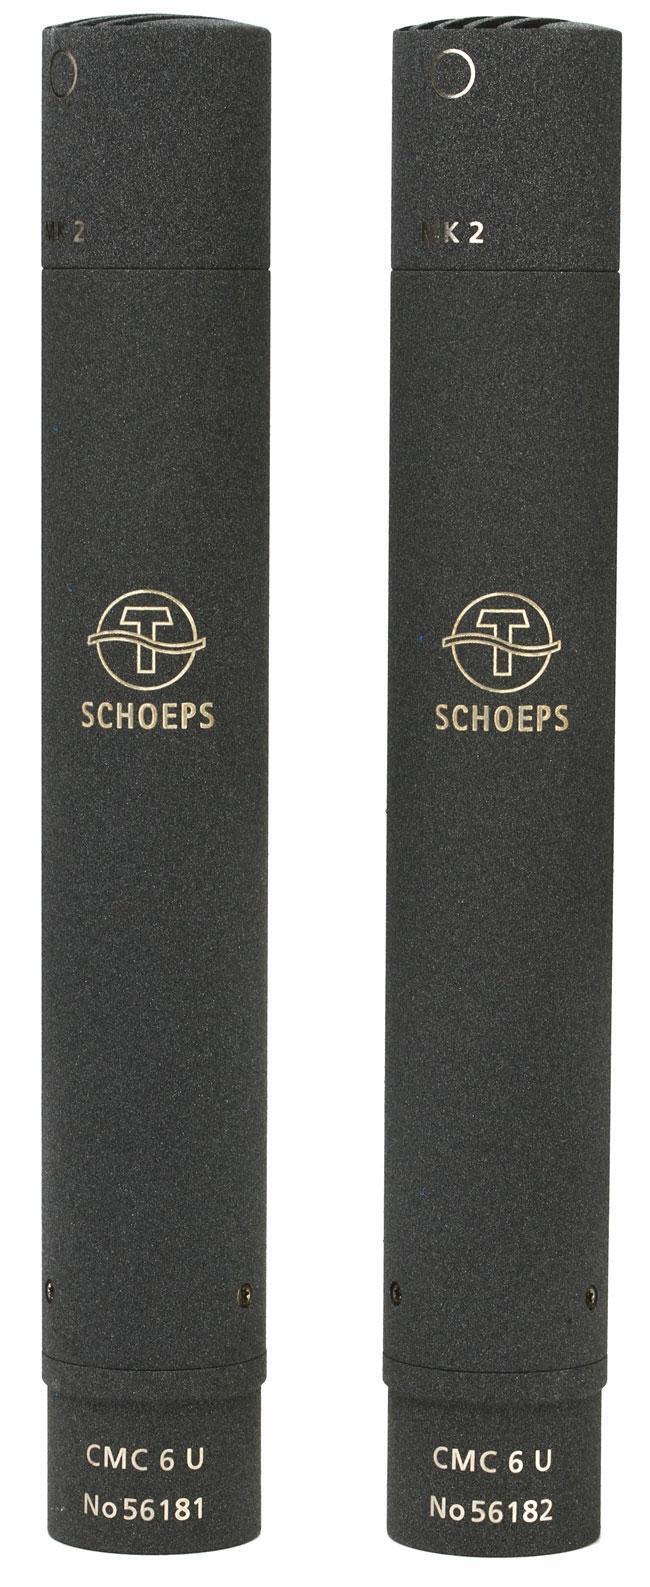
Audio sample 1 features a spaced pair of Schoeps CMC 6/MK 2 small-diaphragm microphones with cardioid capsules (sold separately) placed 15 inches apart and six inches over the hammers.
Sitting in the Track
When the piano’s primary role on a session is support rather than being the featured instrument, especially when recording more old-school styles of music, a spaced pair of large-diaphragm mics inside the piano can be great. For this sort of application, you generally don’t need to emphasize either the transients or the high frequencies, but simply want to capture a warm, full-range piano sound.
Place a pair of large-diaphragm microphones with a cardioid pattern facing toward the strings, about 18 inches apart, four to six inches above the strings, and six to eight inches behind the hammers. The resulting sound will be more mellow than mics placed directly above the hammers (as in the first example). If you should need to darken the recorded sound of the piano even more, move the mics farther from the hammers, closer to the end of the piano. Besides picking up a bit less of the transient high frequencies, this placement also brings the mics closer to where the instrument’s bass strings cross under the midrange strings, which will enhance the bottom end of the piano. Angle the mics slightly away from each other instead of pointing them straight down to get a bit more left to right separation and, therefore, a bit wider stereo image.
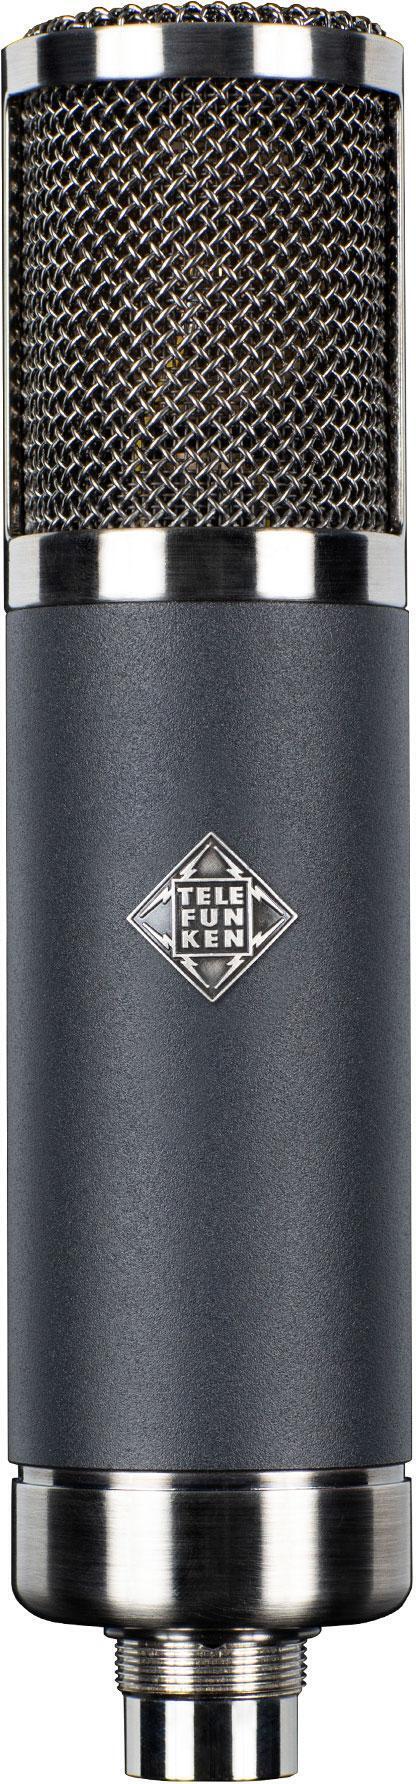
Audio sample 2 features a spaced pair of large-diaphragm Telefunken TF47 microphones set to cardioid and positioned 18 inches apart, six inches behind the hammers, and four inches above the strings.
Contemporary Commercial Recordings
For day-to-day work — that is, for most projects destined for rock, pop, or country radio — I’ll usually use a pair of AKG C414 microphones: one near the hammers up high and the other roughly where the bass strings cross the lower-mid strings. This setup combines some of the top end of a mic near the hammers with the enhanced low frequencies of a mic over the bass strings and offers a natural-sounding stereo image. It’s not exaggerated but rather a bit wider of a sound than you would get with a pair of large-diaphragm mics next to each other.
The C414 microphones are large-diaphragm mics, and I use them in a cardioid pattern without the high pass filter engaged. One mic is placed about 18 inches into the piano from the highest strings and about four inches behind the hammers. The other mic is about 18 inches into the piano from the low side and approximately 36 inches away from the hammers, or almost 30 inches from the foot of the piano (these measurements are based on the Sweetwater Studios’ seven-foot, six-inch Yamaha DC7 Mark IV Disklavier — your mileage may vary, depending on the size of your own piano).
Audio sample 3 features a pair of AKG C414 large-diaphragm microphones set to cardioid and positioned with one near the hammers on the high side of the piano and the other over the point where the bass strings cross the mid strings.
Capturing a More Classical Sound
The mic setups discussed so far involve placing microphones inside the piano, but — when you’re working in the world of classical music — things change. Most of the concertgoers who listen to classical music are more familiar with the sound of an un-miked grand piano in an acoustic space like a recital hall than they are with the close-miked sound of recordings. So, when working in those fields, I will typically offer a more traditional microphone placement. Which particular placement depends in large part on the desires of the pianist, the producer, or the label.
A-B Stereo Miking
The classical version of close-miking uses a traditional A-B stereo microphone configuration with two omnidirectional mics placed at the lip of the piano. A recording with this setup gives an audience’s perspective of the piano sound, and the amount of ambience in the recording can be increased by moving the microphones farther away from the instrument. The stereo image produced by an A-B setup is derived from slight time and phase differences between the sound source and each of the two microphones; these differences are caused by the relative distances between the sound source and each mic capsule.
Start with a pair of omni mics placed in the bend of the piano, 15–20 inches apart, and pointing at the piano lid (a lot of the sound the audience hears is the reflections from the lid). Experiment not only with the distance between the two mics, but also with the distance from the instrument; the farther away you place the mics, the farther apart you can put them — up to about five feet, if the pair of mics is five or six feet back.
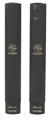
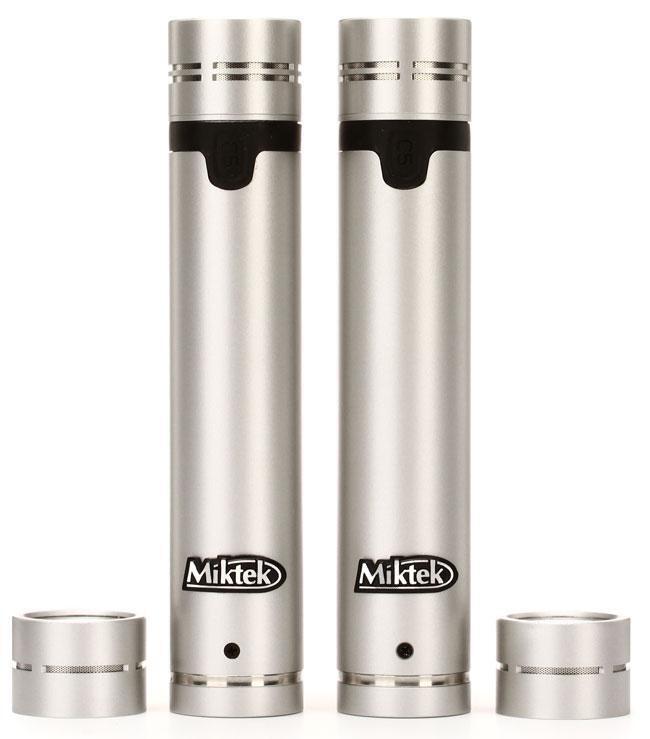
Audio sample 4 features a pair of Miktek C5 small-diaphragm microphones with omni capsules in an A-B setup in the curve of the piano. The mics were about 16 inches apart, placed with the capsules above the lip of the piano case, and pointed across the strings toward the open lid.
XY Miking
A pair of cardioid microphones in an XY pattern can be just the thing if you’re concerned with phase coherence — and only want to use one mic stand (if you don’t already own a stereo bar, it’s worth getting one). An XY stereo setup is a coincident technique, meaning the capsules of the two microphones are as close together as possible and angled 90 degrees to each other to produce a stereo image. The stereo image is produced by off-axis attenuation of both microphones’ pickup pattern. This means that the stereo image is produced by differences in level rather than the differences in time and phase of an A-B setup.
Though you should experiment to find out what distance between the microphones and the piano works best for your specific situation, I’ll usually start with the XY pair between four and eight feet in front of the piano and five or six feet off the ground. If that doesn’t work (or captures a bit too much of the room), I’ll move the microphone pair closer to the piano.
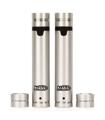
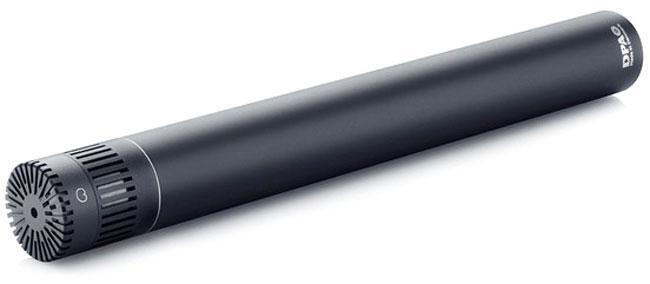
Audio sample 5 features an XY pair of DPA 4011A small-diaphragm microphones on a stereo bar placed five feet from the piano and five feet off the ground.
Blumlein Pair
Finally, if you’re lucky enough to have a great-sounding room in which to record, a classic Blumlein pair can yield a marvelous recording. Another coincident technique, it not only captures the piano in much the same manner as an XY pair, but also provides a great sonic picture of the acoustic space. The trick is that a Blumlein pair is made up of two microphones with figure-8 patterns.
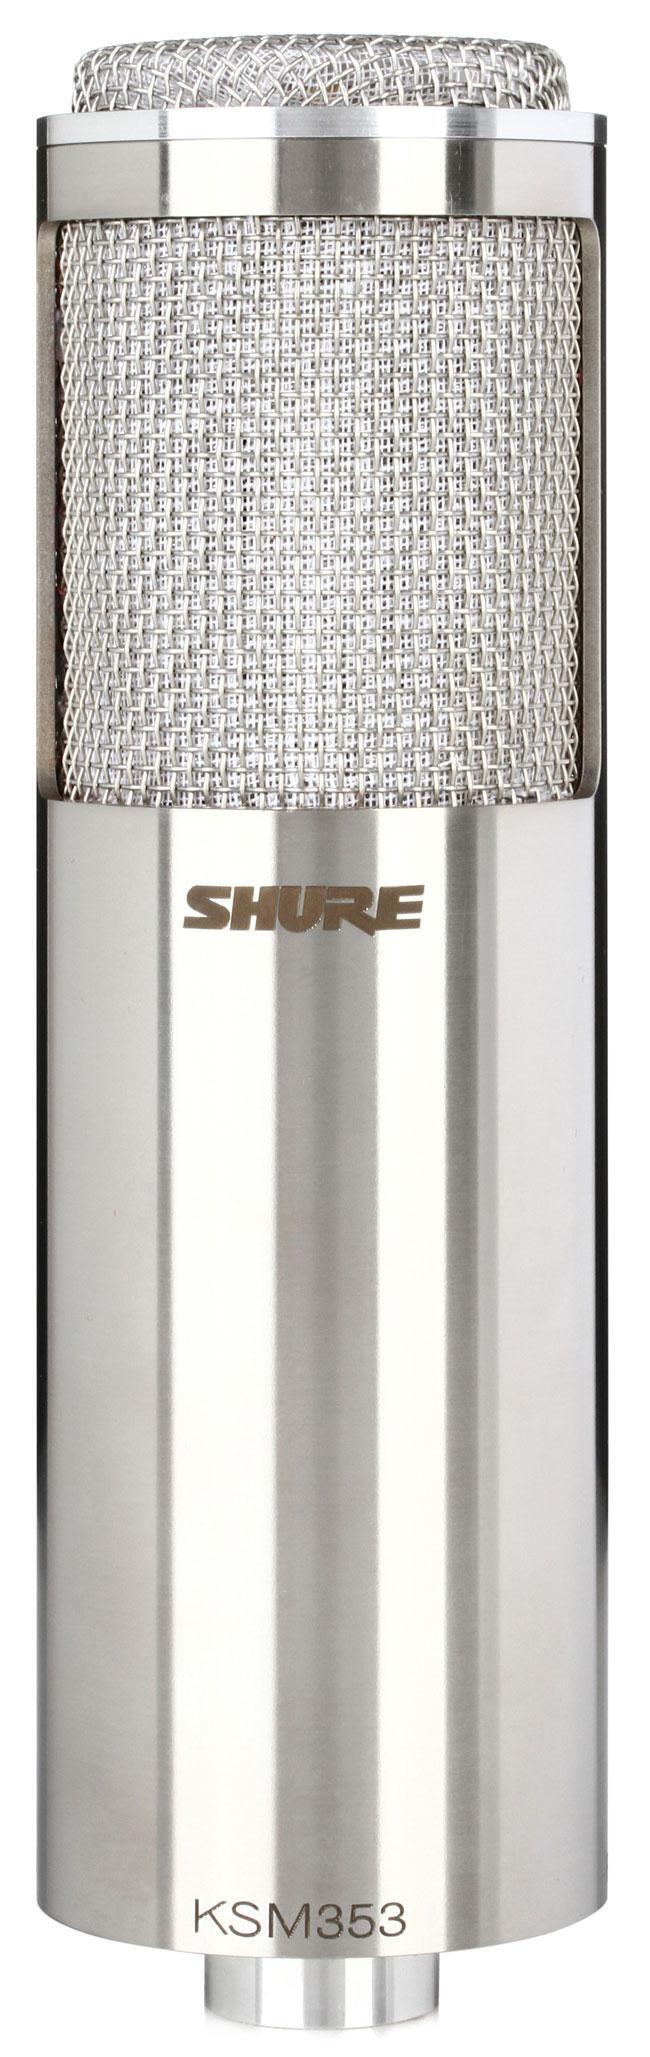
Though any pair of mics with a figure-8 pattern can be used to create a Blumlein pair, I have a fondness for ribbon microphones like Shure’s KSM353/ED. Since one side of the mic is facing the piano, the blend of piano to room is controlled by the distance between the instrument and the microphone. I typically start with the mics five to six feet away from the instrument and about six feet off the ground.
Audio sample 6 features a Blumlein pair of Shure KSM353/ED microphones placed eight feet from the piano and six feet off the ground.