Assignment: Select a vocal arrangement, have your group of singers and/or instrumentalists record their performances on their phones, have them send you the videos, edit them together into a virtual choir performance, and post the final video online. Sounds simple, right? Well, I decided to try. Here’s what I discovered along the way.
What are the steps involved in making one of these music videos? Here you go.
Contact Your Musicians
You can use any means you are comfortable with such as email, Facebook Messenger, etc. I would recommend not texting, so you aren’t overwhelmed with messages!
Choose a Song
You can open up the song-selection process and allow everyone on the project to give suggestions. Once you decide on the song, you can purchase a vocal arrangement or write your own. You can create a backing track for the musicians to use when recording or just have everyone record to a metronome or a click track. Since you’re going to blend them all together, you’ll definitely need a pitch reference, so some musical guide track is recommended. It would be wise to select a constant tempo. This will allow you to edit to a grid and make post production much, much easier.
Instruct Your Musicians on How to Record
Your musicians will likely have varied experience with recording and will probably be using their phones to capture both audio and video. In that case, you need to give clear instructions to ensure everyone captures the best recording possible. Here’s a list of guidelines to pass on to your musicians.
1. Ask everyone to record to your backing track or click track. Have them use earbuds/headphones to ensure there is minimal bleed from the track into the phone microphone. Ask people to not turn up the volume of the track too loud so it isn’t picked up by the mic.
2. Ask everyone to find the quietest place in their house. Remind people not to run major appliances while recording and to limit other sources of noise like dogs, children, etc. Even then, there will be some unwanted noise and an audible hiss from the phone mics. This can be minimized with noise reduction software, which I will discuss later on.
3. Have all your musicians select the part they want to sing (e.g., soprano, alto, tenor, bass, solo, etc.). If you lack enough singers for a section, you can always have some singers record two parts.
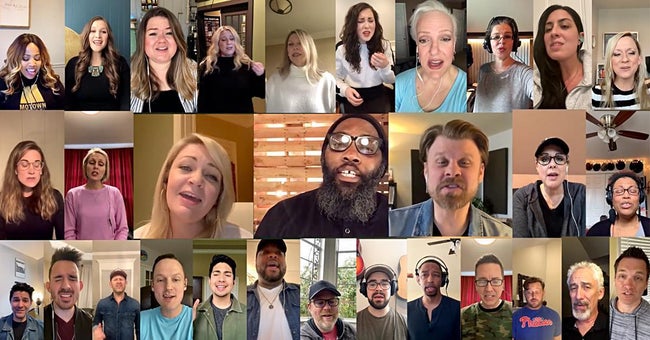
4. Ask everyone to find a neutral backdrop, such as a blank wall, with decent lighting for their video. You may wish to send them a screenshot of another virtual choir video to use as a reference. Here’s an example:
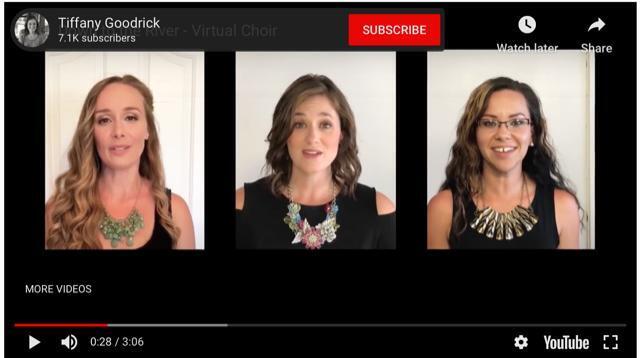
5. You may want to ask everyone to shoot their videos in portrait mode (vertical) rather than landscape (horizontal). This will make video editing simpler and cleaner. The above screenshot is a good example of that.
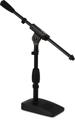
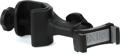
6. Remind people not to hold their phones while recording. It will be moving around and distracting. You can rest the phone on a solid surface or use a cheap phone tripod. I like using an iKlip Xpand Mini attached to a mic stand when I record with my phone.
7. Ask everyone to upload their videos to a shared folder through a service like Google Drive or Dropbox. Alternatively, using services like WeTransfer or Hightail will work, but uploading all of them to a single location will allow you to be more organized throughout the editing process.
8. Once everyone has uploaded their videos, download them to a designated folder on your computer or hard drive.
Now for the fun part: editing!
Audio Editing
1. Import the audio from each video into your DAW (digital audio workstation). If you created a backing track in a DAW and intend that to be part of the final product, then it would be wise to import into that original project. Align all your audio files to your backing track and/or tempo grid.
NOTE: If you are looking for a DAW, be sure to check out these options:
2. Start by editing and polishing the individual choir tracks — things like pitch correction, timing adjustments, balancing the SATB sections, etc.
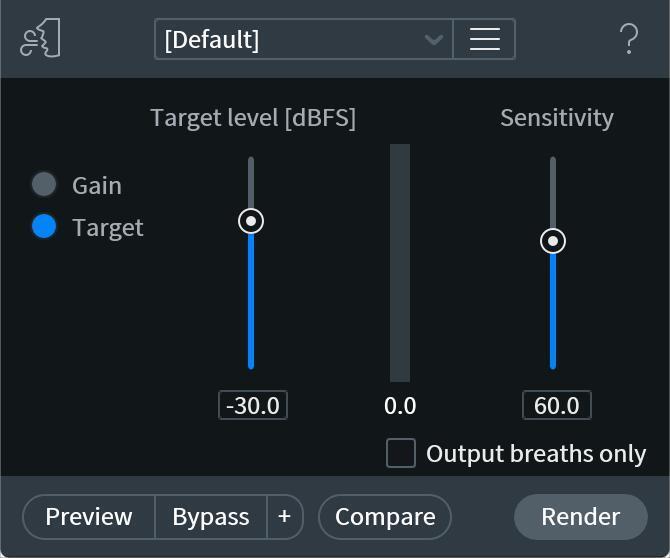
3. Considering the nature of most audio captured by cell phone mics, you’ll need some software to clean up the sound. I would recommend the iZotope RX 7 plug-ins. RX 7 is well known as one of the leaders in audio restoration software. RX 7 Breath Control and RX 7 Voice De-noise are two particularly useful tools. The great thing about these plug-ins is you don’t need to be an expert on audio restoration to start using them. With Voice De-noise, simply press “Learn” and play back a section where the noise is isolated. On future playback, RX 7 will reduce that noise profile in your audio clip. The Breath Control plug-in will reduce the breath noise automatically in default mode, but of course, there are ways to tweak it further.
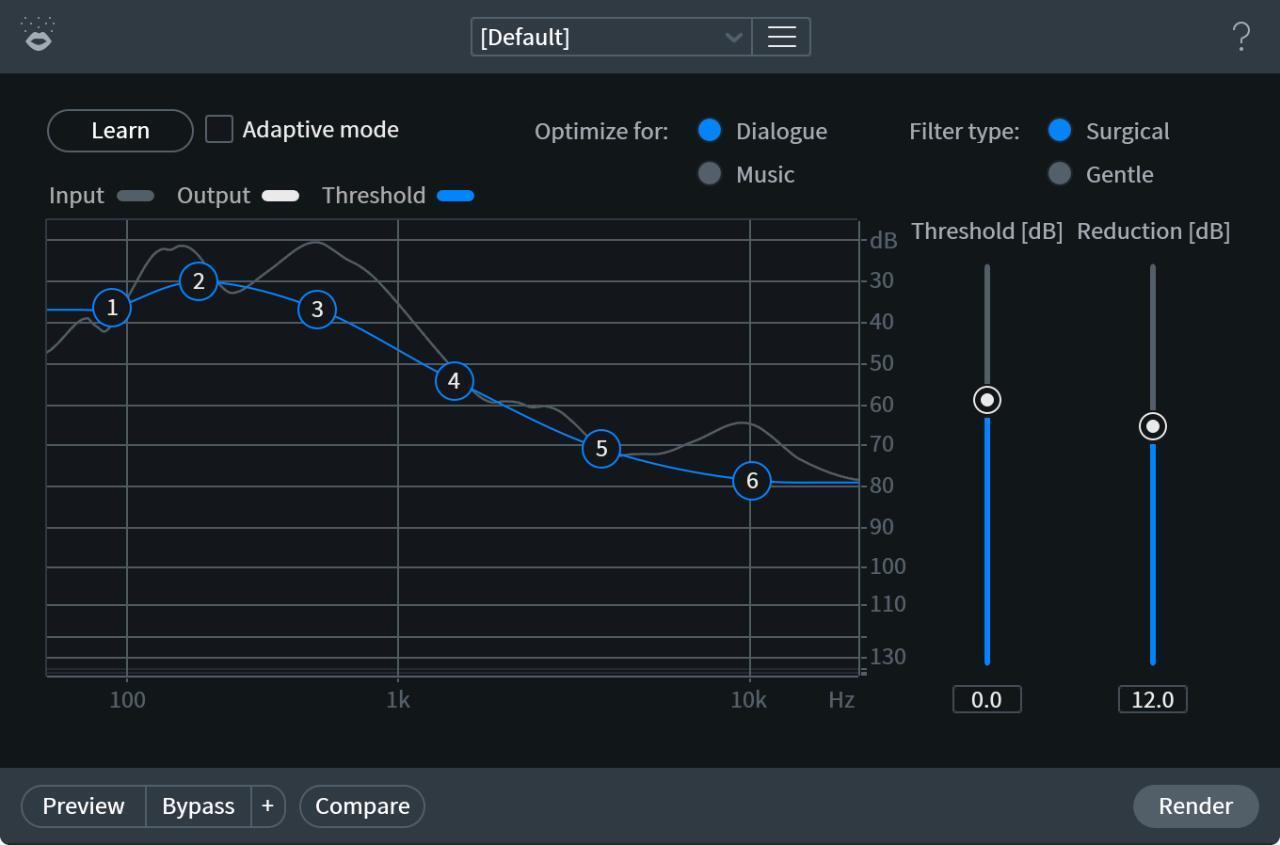
NOTE: It’s a fact that there is only so much you can do to improve audio captured with a phone. It’s not the most ideal recording solution to begin with, and “it is what it is,” so to speak. However, software like RX 7 can make drastic improvements.
4. You may intend to use your backing track to accompany the singers in the final product. You may decide to add live instruments, use virtual instruments, add sequenced drums, or all the above. If you’re looking to do that, here’s some gear that will get you started:
- Nord Stage 3 Keyboards
- Focusrite Scarlett 2i2
- Native Instruments Komplete 12
- Novation Launchkey 61
- MacBook Pro
- Sennheiser HD 280 Pro Headphones
- Gator Frameworks Compact Mic Stand
- Westone Am Pro 30 In-Ear Monitors
- Glyph Studio External Drive
- D-Link USB Hub
- Viewsonic Computer Monitor
5. Phone microphones can be easily overpowered, which causes clipping. You may need to take out the occasional distortion and do some EQ work to diminish any high-end brittleness. The RX 7 De-clip plug-in can help with that.
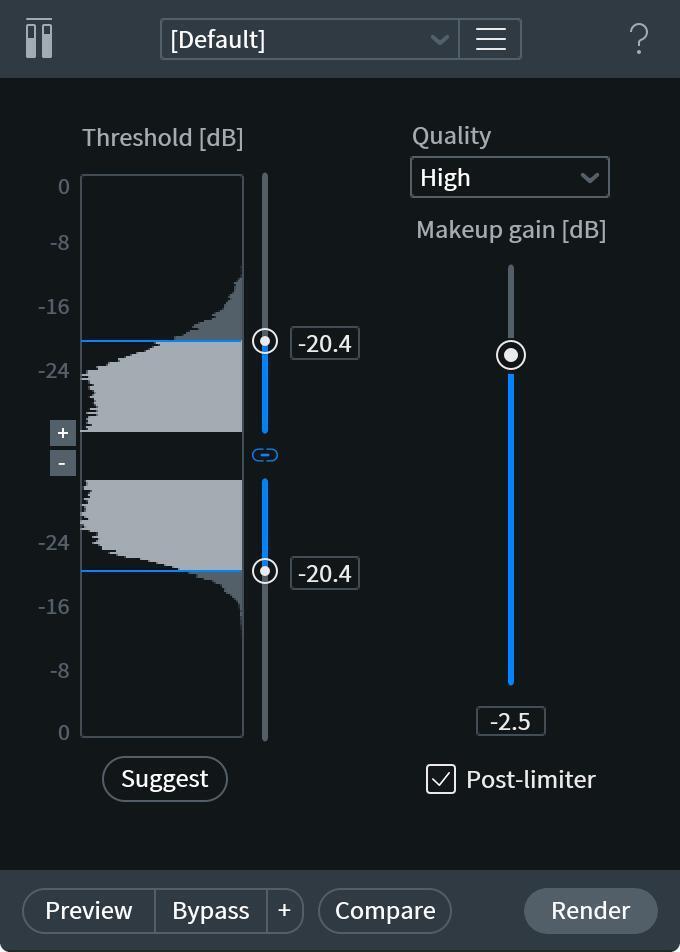
6. Now, you can complete all mixing and mastering. Here are some plug-ins I commonly use for this phase:
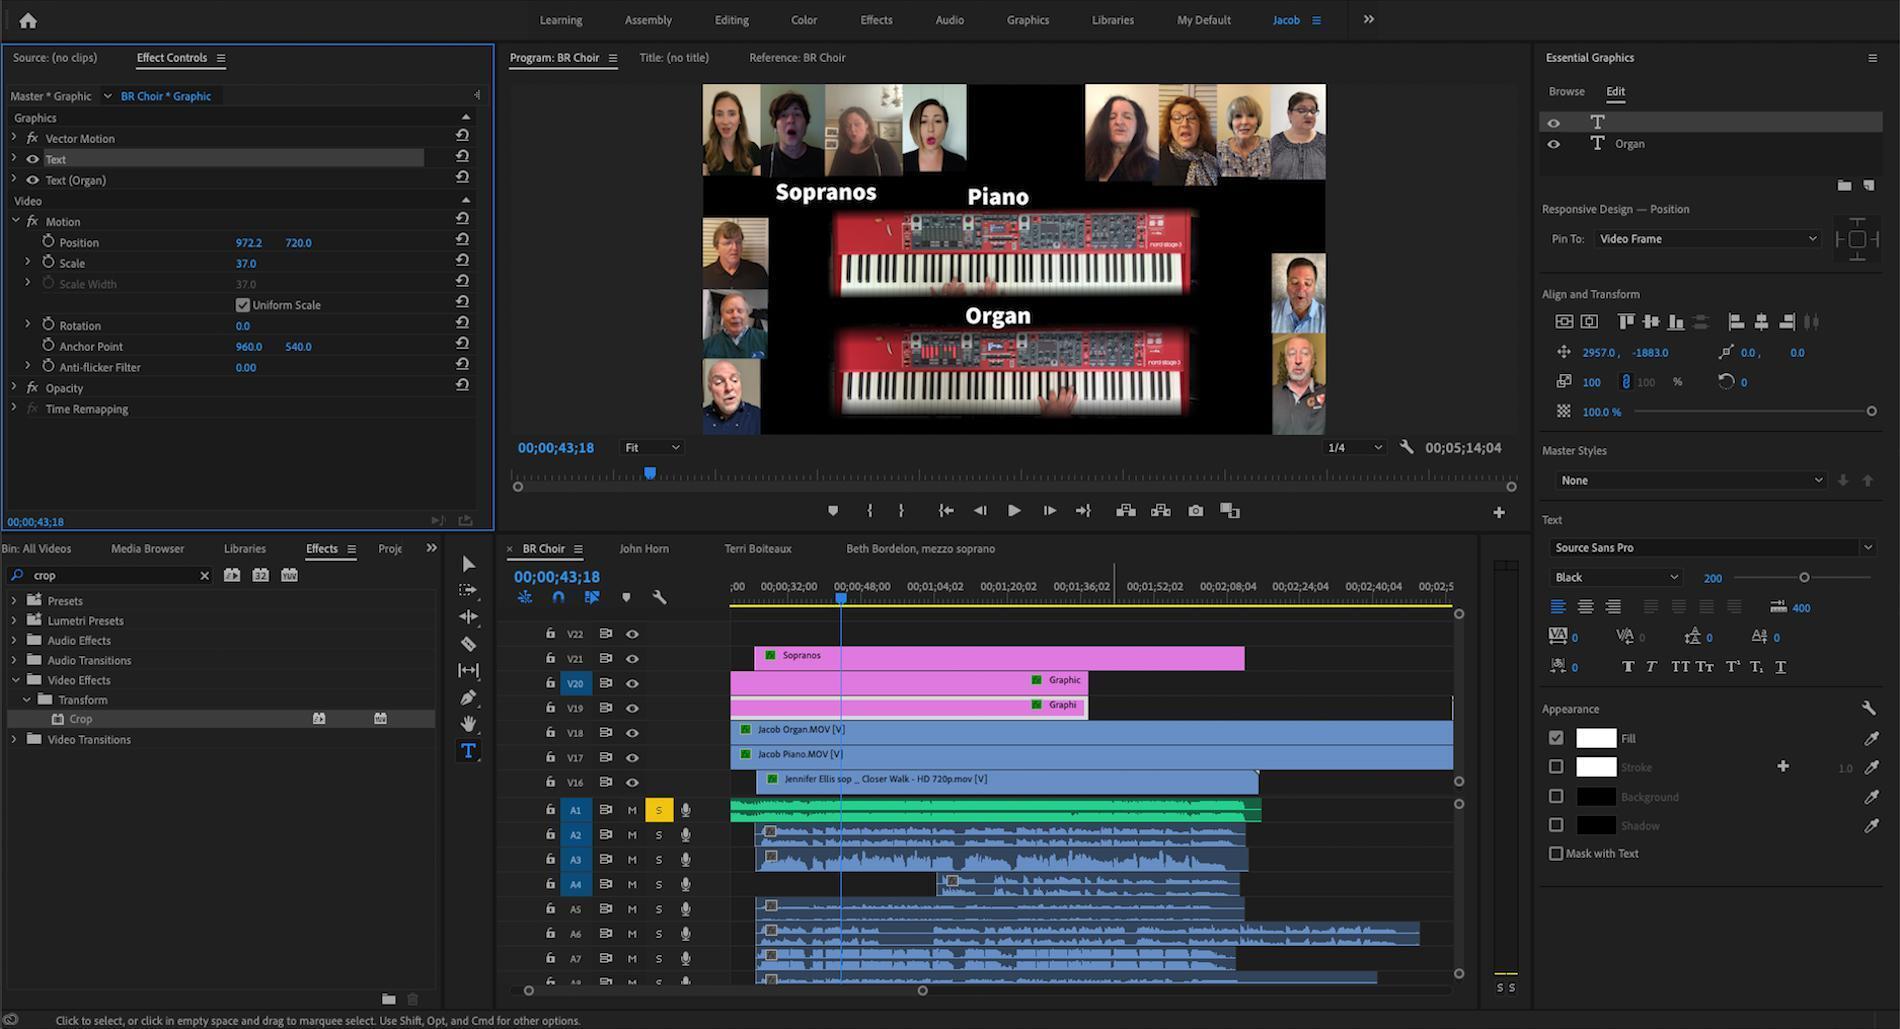
Video Editing
I use Adobe Premiere to edit my own videos. Adobe is considered an industry standard. There are other free or more affordable options like Apple iMovie, Lightworks, and HitFilm Express that also work well.
Although I’m not a video editor by trade, I found it easier to learn Premiere than I imagined. This is probably because I began with iMovie, which helped me transition into a professional program.
Video editing will take some time to learn, especially when editing multiple videos in a collage layout, which can put considerable strain on your computer. But from one musician to another, I think you can do it! Just be patient with yourself. Alternatively, you could send your videos to a professional video editor or a video-savvy friend. There also may be a musician on your project that has video editing experience, so be sure to ask your group first. In my case, that musician is usually me…
NOTE TO STUDENTS: Adobe has a great rate for students on all their apps!
Posting the Video
Post the video to your favorite social media channel(s). There are times of the day/week when posting will get more views/clicks. Data on finding the best times is easily accessible online, so be sure to check that out. If there is a way people can subscribe and/or contribute to your channel, encourage them to do so at the end of the video.
Closing Thoughts
Here’s the hard truth: These types of projects can be a lot of work, especially if you have a lot of musicians on your project. There are apps you can use like Acapella that require no post-production work. However, if you want to take your virtual-performance video to a higher level, this is what it takes. And if I can do it, then you can do it! I hope this helps you in creating your own videos. Good luck!
Learn more in our article about Nashville’s Inspiring Cell Phone Choir!