Your music performances now get rants and raves from fans. You love rocking out, and your hobby has now become a side hustle. You’re making some extra cash — but it’s still missing something. You’ve got everything you need:
- Awesome audio gear and instruments from Sweetwater – √
- Endless hours of practice and rehearsal – √
- Awesome songs (whether your own material or covers) – √
So, what’s missing? How do you take yourself and/or your band to the next level? What makes large concert tours and performances so much more entertaining? Oh yeah, lighting! Of course, it’s lights! You need to get some lights to bring your performances to the next level, but where do you start? Well, my friend, you have come to the right place to take your show to the next level without breaking the bank!
First, here are a few key points about why we need lights (you can find some of these hints in my “Stage Lighting 101” article):
- We need to see the performers!
- We want to create an atmosphere or mood that is similar to our song(s).
- We need to make the artist look larger than life and create some separation between musicians.
Here’s a great place to start. Let’s take care of front lighting so that we can see our performers. There are no hard and fast rules to this, but there are a few guidelines that lighting directors (LD) have discovered over the years.
Light Each Band Member
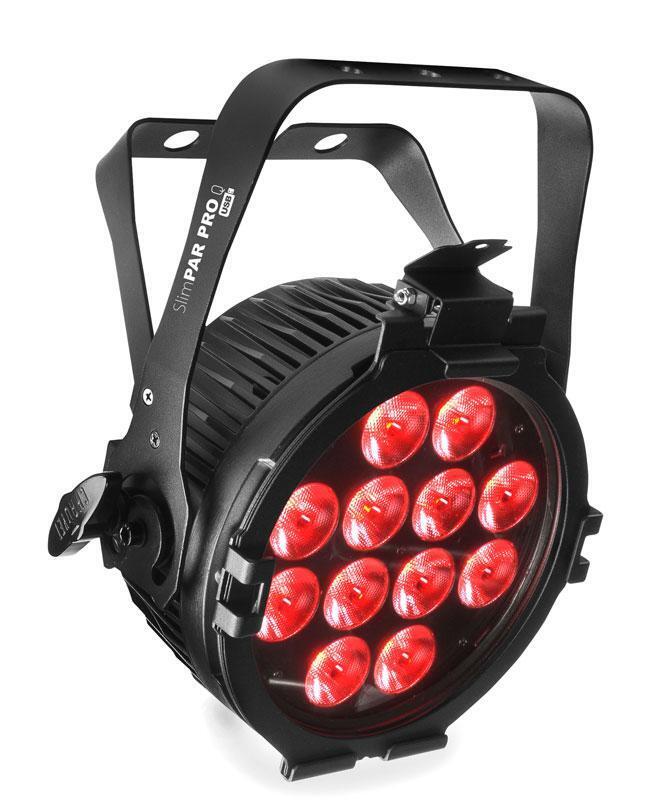
Get at least one light for each member of the band. This way you can control how bright or dim each member appears. This really helps when highlighting solos (or hiding bass players). I would choose the Chauvet DJ SlimPAR Pro Q. This light will give you a wide variety of color control as well as a warm white stage wash. Another option (but with less control) would be a pair of Fresnel fixtures, such as the Chauvet DJ EVE F-50Z. These fixtures are more expensive than the SlimPAR Pro Q, but they cover a much larger area of your stage, at the expense of control over your lights. Because of this, it’s much harder to highlight solos.
Whichever route you chose, you will also need some lighting stands. I prefer using tripod light trees, such as the Ultimate Support LT-88B. These allow you to hang a number of fixtures and move them to wherever appropriate depending on the venue. For most applications, you could use two of these to light up your entire stage.
Create an Atmosphere
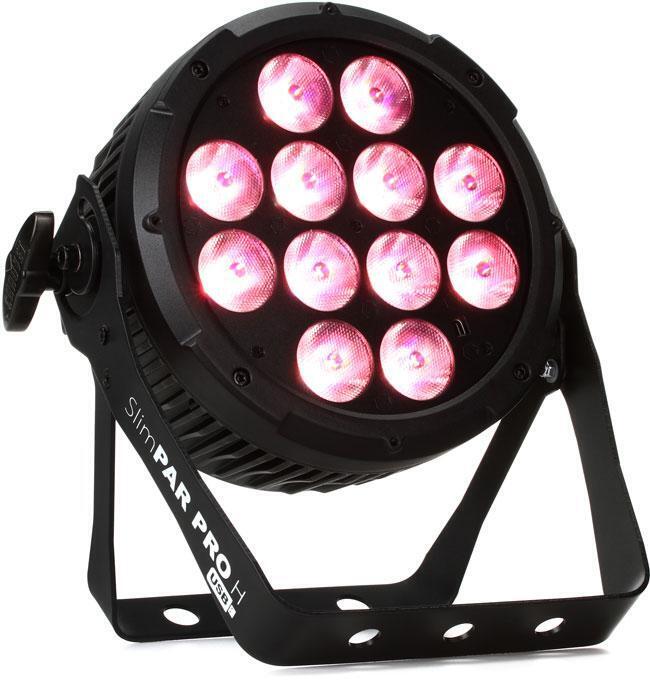
Create a mood or atmosphere. This is the fun part of lighting, and the possibilities are pretty limitless. Start by replicating what you did with the first front-lighting routine above and get some more SlimPAR Pros; however, in this case, I would go with the Chauvet DJ SlimPAR Pro H, or the hex-color version of the Pro Q. This will offer you even more color options as well as UV, which gives your colors more “pop.” Start with at least one light per musician, but you can get as many as you like. You can put these lights on the same stands mentioned before or go for the Gator Frameworks GFW-LIGHT-LT1 lighting truss. The stands or truss would go behind the musicians and could be focused on a number of different positions: the dance floor for the audience, the walls or ceiling to “paint” the venue, or on the stage for even more options — or even all of the above.
Focusing the lights placed behind the musicians on the musicians is how you create that “larger than life” effect, and everyone on the stage really pops. Beyond that, you could add a few effects that go over or on the crowd, such as the Chauvet DJ Kinta, or some moving fixtures for some moving excitement!
Add Atmospheric Effects

You need some atmospheric effects. I highly recommend going with a haze machine over a fog machine in most applications because this allows you to see the beam of light cutting through the air without being a thick cloud of smoke or being distracting. However, if you want that effect, you can go with a fog machine. The Chauvet DJ Hurricane Haze 2D is my go-to haze machine for most performances, and if you need more haze, just add another machine!
Control It All
To pull all this together, we need to be able to control the light fixtures. To understand how lights communicate and get the right controller, check out “Stage Lighting 101, Part 2: Understanding DMX.” Once you have your controller set up and lights connected, you can start programming and designing. There are no hard and fast rules to lighting design. It’s up to you and the programmer to determine what the song needs. I’d personally start by watching some of your favorite concerts, but pay extra close attention to the lights and get some ideas. Lighting design is a fun and creative process that can further extend your music capabilities — that’s why I continue to be a lighting designer to this day!
If you have any questions about stage lighting or what fixtures would work best for your application, don’t hesitate to reach out to your Sweetwater Sales Engineer at (800) 222-4700.