
TC Helicon Perform-VE Quickstart Guide
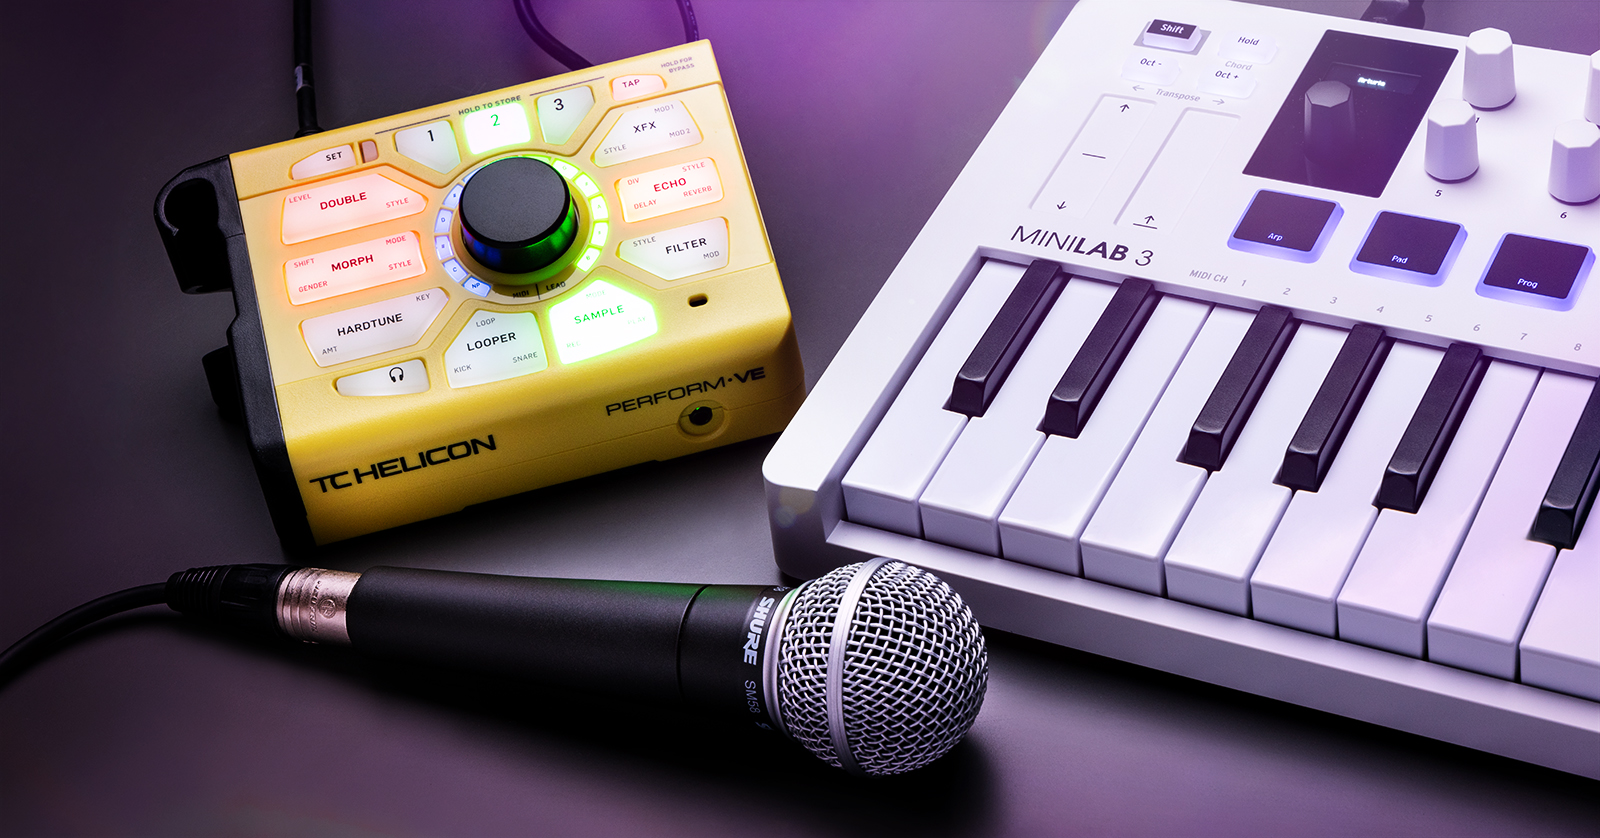
The TC-Helicon Perform-VE is an excellent vocal sampler and processor that you can incorporate into any live or studio setup. This guide will show you how to register, set up, and use it for the first time! Follow the sections below to get started. This guide will get you up and running, but check out the Perform-VE user manual for more information!
- Register the Perform-VE
- Update the Firmware
- Setup and Connections
- How to Use the Perform-VE
- TC-Helicon Support Resources
Register the Perform-VE
While it’s exciting to take your gear out of the box and start playing, you must first register the Perform-VE with TC-Helicon. When you register your Perform-VE, you’ll receive a three-year warranty. Please note that you must register the device within the first 90 days of purchase.
Update the Firmware
TC-Helicon will release firmware updates periodically, often adding new features and addressing any issues in the current version. Updating the firmware requires the use of the TC-Helicon VoiceSupport 2 app for macOS or Windows.
On your computer, go to the Products page on the TC Electronic website. Search for “VoiceSupport.”
On the VoiceSupport product page, click Downloads. Download and install the version of the app for Mac or Windows.
Be sure to download the VoiceSupport 2 Reference Manual from the same page.
Once you have installed the app, launch it.
Connect your unit to your computer using a USB data cable.
If the app informs you that there’s a firmware update, follow the on-screen prompts to install it.
Learn more in this section in our SweetCare guide:
Setup and Connections
After registering your Perform-VE, it’s time to get set up and connected. Setting it up is straightforward: simply connect a MIDI controller to your Perform-VE with a 5-pin MIDI cable, connect your microphone to the MIC IN jack, and use two TRS-TRS or TRS-XLR jacks to connect to a mixer or other sound system.
If you want to stream music from a mobile device, use an 1/8-inch cable and connect it to the AUX jack. The signal will be mixed with the MIC IN. If you find that the volume from the AUX input is too loud, you must adjust the level directly from your mobile device.
Footswitch (Optional)
IMPORTANT! You must connect the footswitch before you turn on the Perform-VE. If it’s connected when the power is already on, the pedal won’t work, and you will need to power cycle the device.
If you have TC-Helicon’s Switch-3 or Switch-6, connect it to the PEDAL jack. You can use the
footswitch to control virtually any function on the Perform-VE except for the following:
- Trim
- +48V
- Headphone Level
- Lock/Mute (Talk is assignable)
Set the MIDI Channel
When you connect a MIDI keyboard to the Perform-VE, you must set the MIDI channel. One unique feature of the Perform-VE is that you can even create splits. This means you can have one part of your keyboard playing a sample on the device and the other part playing a different sound!
- Connect the MIDI keyboard to the unit.
- Press and hold the SET button, then press any key on your MIDI keyboard.
- To create a split, press and hold the SET button on your MIDI keyboard, then press and hold a key up or down one semitone. For example, if you want middle C and up to control the Perform-VE, press and hold the middle C on your keyboard, then press and hold the C# key right above it.
How to Use the Perform-VE
TIP: You can save any presets you create by pressing and holding 1, 2, or 3. Once the number button flashes, your preset is saved.
The Perform-VE has plenty of effects and unique features you can work with. With the bright and intuitive controls, it’s straightforward to use onstage.
Set the Input Gain Before Getting Started!
Before you start, you need to adjust the input gain so it’s not too soft or clipping.
Press the AUTO-GAIN button to adjust the input gain and perform at performance level. Once the SET button begins flashing, the mic input gain is set.
- If the gain is too low or too high, you can press the SET button and use the knob to adjust the gain manually.
- If you’re using a condenser microphone, hold the SET button and press 2 to turn on phantom power.
How to Sample Audio
If you want to trigger audio samples with your MIDI keyboard, you’ll need to record them first.
- Press the SAMPLE button. It will turn green.
- Press and hold the bottom left of the SAMPLE button while recording. Once you are finished recording, let go of the SAMPLE button. (The SAMPLE button will stay green.)
- You can now play the recorded sample on your MIDI keyboard!
- If the SAMPLE button is green, you can play the recorded sample. If you turn off SAMPLE, you then enter what’s called Note Harmony mode. The Perform-VE will then use the sample you recorded and create a harmony based on what you sing!
- Use the knob to increase or decrease the harmony effect.
Apply and Edit Effects
After you have recorded your sample, it’s time to play with the effects! The effects are applied in real time, which is excellent when you want to edit effects on the fly during your performance.
After you have recorded your sample, it’s time to play with the effects! The effects are applied in real time, which is excellent when you want to edit effects on the fly during your performance.
- Press the button of the effect you want to adjust. The effect’s button will begin to flash.
- Press and hold a corner of the effect to adjust a specific parameter of that effect, then use the knob to adjust that parameter. Each corner of the effect has text to indicate what parameter you can change.
- For example, the MORPH effect has a Shift parameter you can adjust, which is indicated by the word MORPH in the top-left section of the button. So, if you want to change the Shift parameter, press and hold the top-left corner.
- Once you’ve made the changes you want, double-tap the button to apply the effect.
TC-Helicon Support Resources
Now that you have the basics down, check out the TC-Helicon Perform-VE tutorial playlist below for more great information!
When you need help, Sweetwater has the answers!
Our knowledge base contains over 28,000 expertly written tech articles that will give you answers and help you get the most out of your gear. Our pro musicians and gear experts update content daily to keep you informed and on your way. Best of all, it’s totally FREE, and it’s just another reason that you get more at Sweetwater.com.

