
Roland JD-08: How to Use the Roland JD-08
In our JD-08 Setup and Connections guide, we showed you how to register your device and the different types of connections available. In this guide, we will show you how to use the JD-08! Follow the sections below to get started.
- Getting sound out
- Selecting and playing patches
- Initializing and saving a patch
- JD-08 MIDI channel settings
Getting sound out
Once you have the JD-08 registered, you can start making all your connections. The easiest way to get sound out is to insert the included four AA batteries, connect headphones to the PHONES jack, and then power up the JD-08. After the connections have been made and the JD-08 is turned on, turn the volume knob on the back next to the PHONES jack to a lower position, then press the NOTE button at the bottom left of the front panel to start playing the default patch. Slowly turn up the volume knob to get to your desired volume level.
- The unit can alternately be powered via the USB-C port as long as the power source provides at least 500 mA.
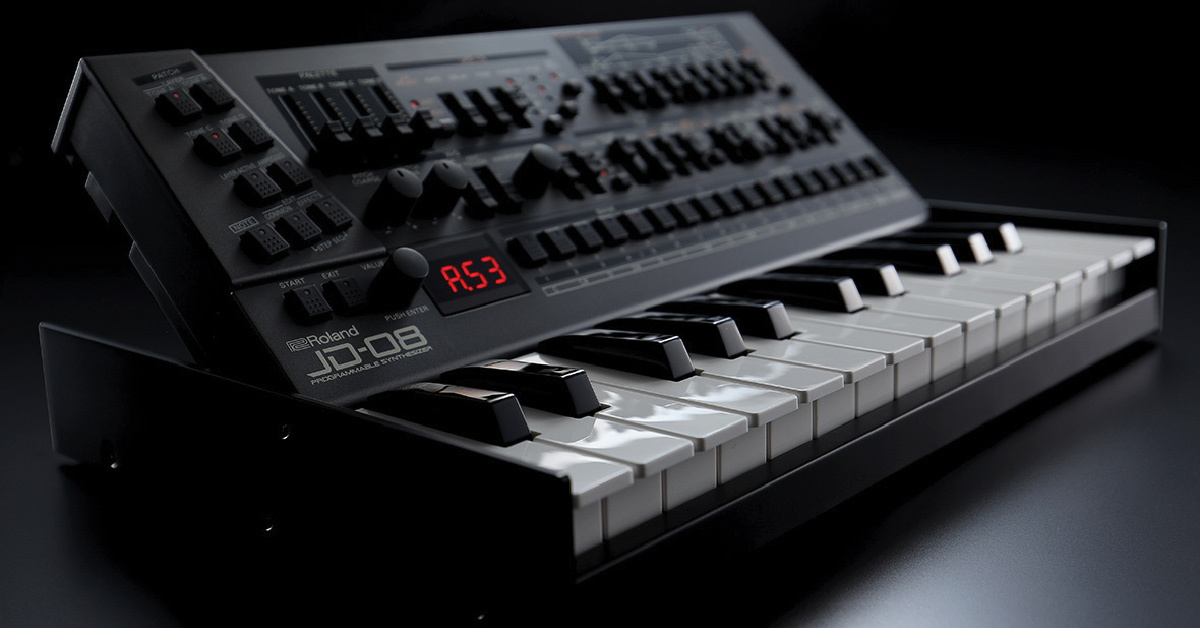
- You can also connect the K-25m keyboard unit to turn your JD-08 into a keyboard synthesizer. If you do use the K-25m, be sure to connect it before turning on the power on the JD-08!
Selecting and playing patches
The JD-08 consists of two parts (sequences) and has 256 patches loaded to four different banks (A–D). Each patch consists of up to four layers. Factory patches are loaded from locations A11 to C27, and locations C28 to D88 are dedicated to initialized patches. All four layers on initialized patches are basic sawtooth waves.
While you can play around with the controls on factory patches, below are the steps to select, edit, and play an initialized patch. Once you get the hang of the basics, you can start to explore the endless number of features the JD-08 has to offer! If you do want to play around with the factory patches, be sure to check out Roland’s JD-08 Sound List!
Selecting a patch
Selecting a patch on the JD-08 is straightforward. Simply press the 1 button to cycle to the bank (A–D) you want to navigate to, then use the rest of the step buttons to select the patch number within that bank. In this example, let’s choose patch number D22.
- If lit, press the NOTE button to turn off note playback.
- Press the 1 button three times to navigate to bank D.
- Press the 2 button, so it displays d.2 –. Buttons 9 through 16 will start flashing.
- Press the 10 button to select 2. You have now selected patch number D22.
Editing a patch
Now that you’ve selected a patch, it’s time to get creative! You can edit and control every layer individually, which allows you to build intricate and unique sounds.
- Press the NOTE button so it’s lit. This will let you preview the sound as you’re editing.
- With only the TONE A button lit, adjust any settings.
- Once you’re happy with the sound of TONE A, press the TONE A button, then press the TONE B button. The TONE A button should be unlit, and the TONE B button should be lit.
- This will disable TONE A, allowing you to edit and play TONE B independently.
- Press the LAYER ACTIVE button, so the TONE B button starts flashing.
- Adjust any settings you want, then press the LAYER ACTIVE button to stop editing the layer.
- Follow the above steps to edit TONE C and TONE D.
Playing a patch
You can play sounds right off the bat if you have a MIDI keyboard or K-25m keyboard unit. However, if you don’t have one available, you can play one directly from the JD-08. Using a keyboard is straightforward, so let’s learn how to play sounds directly on the JD-08.
- Press the NOTE button so that it is lit.
- Press the TONE buttons to choose the layers you want to be played back. For example, if you’re going to layer only tones A and C, press those two buttons, ensuring that TONE B and TONE D buttons are unlit.
- Use buttons 1–13 to play the notes. Every number button also has a note letter under them.
- Buttons 14 and 15 will lower and raise the octave, respectively.
- Button 16 and PAGE/TIE will set the sound mode of the patch to SOLO, UNISON, and POLY.
Initializing and saving a patch
The JD-08 comes with factory patches loaded to patch locations A11–C27. Initialized patches are from C28–D88. You can also initialize any patch if you want to create a new patch from a blank slate.
Initializing a patch
- Select the patch you would like to initialize, then press and hold the 3 button.
- If you want just to erase the effects currently applied to the patch, press and hold the 4 button.
Saving a patch
Once you have created or edited a patch, you must save it. Switching to a different patch without saving will revert that patch slot to what it was previously set to when you loaded that patch. A small dot at the end of the screen indicates if a patch has been modified.
- Make sure you are not in Note Mode, Sequencer Mode, or Arpeggio Edit mode.
- Press the BANK 1(5)–4(8) buttons to select the group and bank where you want to save the data.
- Instructions on how to navigate groups and banks are above.
- Long-press one of the NUMBER 1–8 buttons to select the patch number you wish to save.
- The display blinks several times, indicating that the tone is saved in the selected patch number.

JD-08 MIDI channel settings
The JD-08 allows you to set a system MIDI channel and a MIDI channel for each of the two parts. The system MIDI channel will control the current part selected on the JD-08, but if you would like to control each of the two parts regardless of which part is selected on the JD-08, you can set each part to its own MIDI channel. Follow the steps below to set the MIDI channels.
Setting the MIDI Receive port
- Make sure you are not in Note Mode, Sequencer Mode, or Arpeggio Edit mode.
- Press the MENU button.
- Turn the VALUE knob so that the third button flashes and ‘nidi’is displayed on the screen.
- Press the VALUE knob. The first button should be flashing now, and ‘CH’is displayed on the screen.
- Turn the VALUE knob so that the fourth button flashes and ‘r.KEy’ is displayed on the screen.
- Press the VALUE knob.
- Turn the VALUE knob to select ‘OFF’, ‘nidi’, or ‘USb’
- ‘OFF’will prevent MIDI from being received.
- ‘nidi’will allow MIDI to be received from the MIDI DIN connection.
- ‘USb’will allow MIDI to be received from the USB connection.
- Press the VALUE knob to select one of the three options.
- Press the MENU button twice to exit the menu.
Setting the system MIDI channel
If you’re sending MIDI into the JD-08 via the MIDI In DIN connection or via USB-MIDI, you will need to update the JD-08’s internal MIDI settings.
- Make sure you are not in Note Mode, Sequencer Mode, or Arpeggio Edit mode.
- Press the MENU button.
- Turn the VALUE knob so that the third button flashes and ‘nidi’is displayed on the screen.
- Press the VALUE knob. The first button should be flashing now, and ‘CH’ is displayed on the screen.
- Press the VALUE knob. The MIDI channel number is displayed on the screen.
- Turn the VALUE knob to select a MIDI channel number.
- Press the VALUE knob to set the MIDI channel number.
- Press the MENU button twice to exit the menu.
Setting the part’s MIDI channel
- Make sure you are not in Note Mode, Sequencer Mode, or Arpeggio Edit mode.
- Press the MENU button.
- Turn the VALUE knob so that the third button flashes and ‘nidi’is displayed on the screen.
- Press the VALUE knob. The first button should be flashing now, and ‘CH’ is displayed on the screen.
- To adjust the MIDI channel for:
- Part A, turn the VALUE knob so that the second button flashes and ‘CH.A’ is displayed on the screen.
- Part B, turn the VALUE knob so that the third button flashes and ‘CH.b’ is displayed on the screen.
- Press the VALUE knob. The MIDI channel number is displayed on the screen.
- Turn the VALUE knob to select a MIDI channel number.
- Press the VALUE knob to set the MIDI channel number.
- Press the MENU button twice to exit the Menu.
Related Articles
When you need help, Sweetwater has the answers!
Our knowledge base contains over 28,000 expertly written tech articles that will give you answers and help you get the most out of your gear. Our pro musicians and gear experts update content daily to keep you informed and on your way. Best of all, it’s totally FREE, and it’s just another reason that you get more at Sweetwater.com.

