
1010music Bento Quickstart Guide
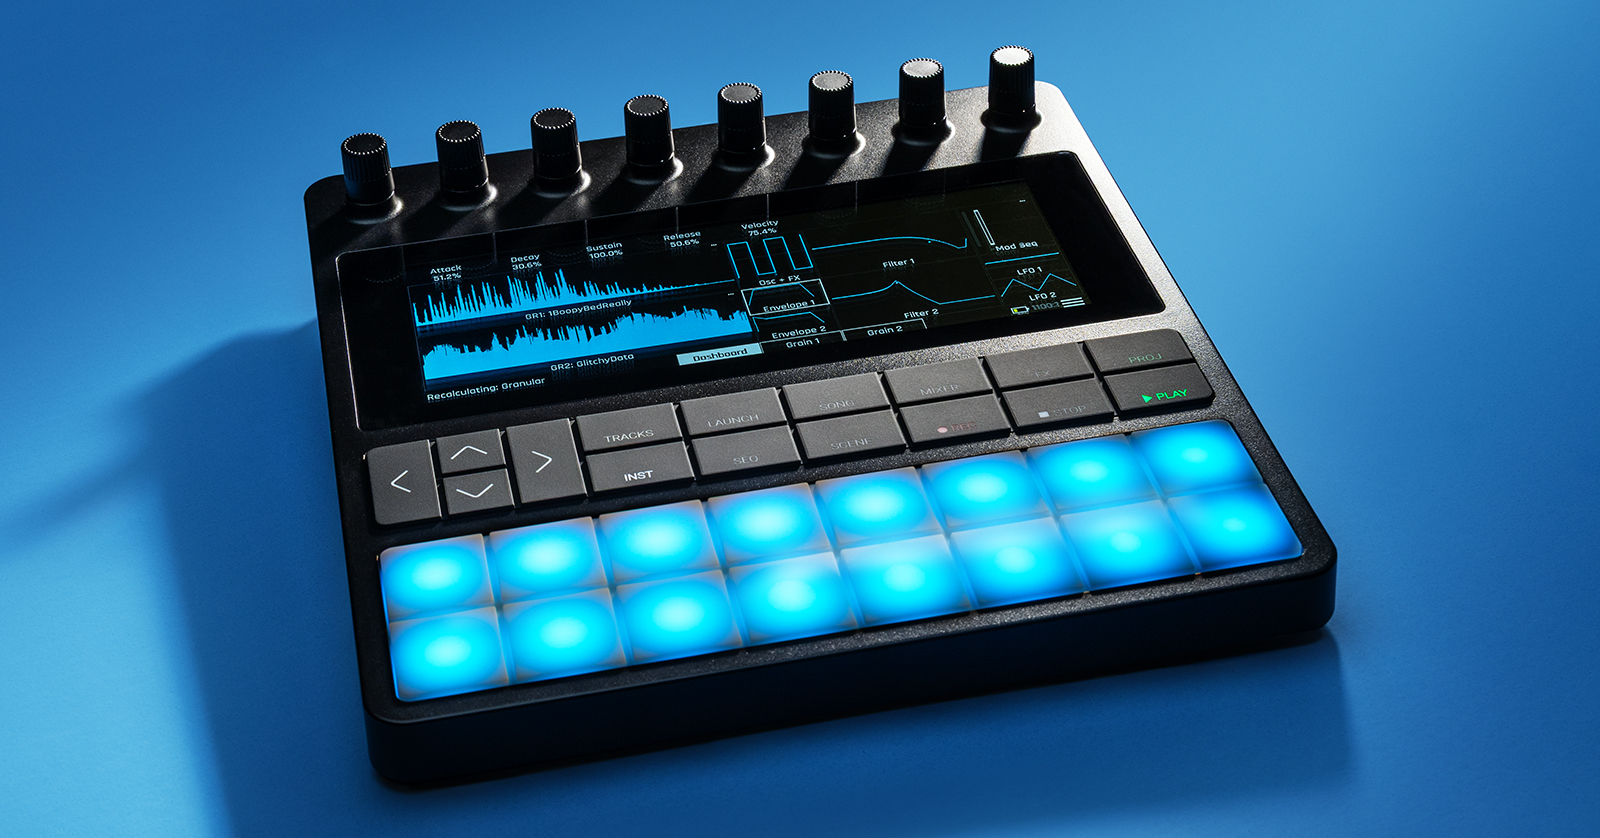
The 1010music Bento is a compact yet powerful all-in-one sampler and sequencer that can unlock creativity and is the perfect centerpiece for any rig. In this guide, we will show you how to update, navigate, and use the Bento for the first time. Follow the sections below to get started.
Update Bento Firmware
NOTE: You will need a microSD card reader for transferring your firmware.
Before you get started, you’ll want to make sure your Bento is running on the latest firmware. 1010music will periodically release new firmware that adds features and samples and addresses any issues present in the current version.
- Press the PROJ button and note the firmware version currently installed. Power off the device.
- Go to the 1010music Downloads page, navigate to Bento, and download the latest firmware.
- If the current version listed matches the installed version, then you’re all set!
- Insert the included microSD card into an SD card reader. Connect it to your computer.
- Navigate to your Downloads folder, locate and extract the firmware files, and copy and paste bento1.bin and bento2.bin to the root directory of the microSD card.
- Safely eject the SD card reader from your computer, remove the microSD card, and insert it into the Bento. Make sure the metal leads are pointing up.
- Press and hold the Power button until the Boot Loader screen appears, then press the REC button to begin the installation process.
- Once that process is complete, the device will restart. Do not disconnect or power it off during the installation process!

Click the image to download Bento firmware.
Setup and Connections
The Bento is straightforward to navigate. Thanks to its touchscreen controls, nearly everything you can do on the pads can also be done on the screen.
- The Bento has two MIDI In ports and one MIDI Out port. You must use 3.5mm MIDI Type B cables.
- Audio levels are set on a per-track basis. You can access these controls by pressing the MIXER button.
- The knobs at the top of the Bento control are associated with the functions listed below them on the display.
- Always insert the microSD card into the Bento with the metal leads facing upward.
Working with Sounds
There are five different track types available: Granular, Multisample, One Shot, Loop,and Slicer.
- Double-tap the track you wish to work with. You will see the Granular factory presets appear.
- Use the eight encoders on top to change the various parameters associated with them.
Granular
- The eight encoders will initially adjust the global instrument settings.
- Press the different cells of the preset to adjust individual elements (e.g., Filter, LFO, and Envelope).
- Instruments have two waveform layers (Grains). Double-tap a Grain from the Dashboard to select it, then double-tap it again to change the individual waveform.
Multisample
- Multisample allows you to load one sample and turn it into a pitched instrument. Use the up and down arrow buttons to change octaves.
- Press Main or MIDI, then use the top encoders to adjust the sample’s parameters.
One Shot
- Allows you to load 16 samples and assign them to the performance pads.
- Once you assign a sample to a performance pad, you can double-tap its cell to update its various parameters.
Loop
NOTE: Loop tracks cannot be sequenced.
You can record incoming audio and assign it to a loop track.
- Create and open the loop track from the Track window.
- Press the performance pad (or double-tap the associated cell on the display) where you want to record the audio loop, then press Recording at the bottom of the screen.
- Use the leftmost encoder to change the audio input source, then press the REC and PLAY buttons to begin recording. Press STOP to stop recording.
- Double-tap the recorded loop’s cell to open its Dashboard, where you can fine-tune its settings.
Slice
- Allows you to slice samples and assign them to the performance pads.
- Once a sample is assigned to a performance pad, you can double-tap its cell to update its various parameters.
Create a Project
Creating projects on the Bento is straightforward. Each project consists of eight tracks, each with four sequences. This guide will show you the basics to get you up and running, but make sure to check out 1010music’s quick start guide for more information.
- Press the PROJ button, then the menu icon at the bottom-right corner of the display. Choose New Project, then press Load. You will then be taken to the Tracks screen.
- Change the project’s BPM, Root Note, and Scale by pressing the menu icon and selecting Project Settings. You can then use the top three knobs to adjust the associated setting.
- Double-tap one of the empty tracks to open the Patch Preset window.
- Select the instrument type and patch, then press Load. You will be taken back to the Tracks screen.
- Press New to load a Granular, Multisample, One Shot, Loop,or Slicer track.
- To delete a track, press it, press the menu icon, and press Cut Track.

Track window
Creating a Sequence
Sequences are the building blocks of a project on the Bento. Each track consists of four sequences, each with up to 256 steps.
- Press the LAUNCH button to view the tracks and their sequences.
- Press the + icon on the display to add a sequence, then press the SEQ button to edit the sequence.
- Tap steps on the grid to add or remove notes. You can also live record sequences by pressing REC and PLAY and playing the pads.

Grid screen
Related Articles
When you need help, Sweetwater has the answers!
Our knowledge base contains over 28,000 expertly written tech articles that will give you answers and help you get the most out of your gear. Our pro musicians and gear experts update content daily to keep you informed and on your way. Best of all, it’s totally FREE, and it’s just another reason that you get more at Sweetwater.com.

