
What do you think of when you think of Ableton Live? Probably multitracks, running tracks, or maybe electronic music? I think of it as a tool for leading worship. That’s right, you read that right: “a tool for leading worship.” I view Ableton Live in the same way that I view Planning Center, as a resource that is essential when planning a worship service.
In this article, I’m going to take a look at how I use Ableton Live as a tool for leading worship and how you can use Ableton Live to plan and prepare for leading worship.
Create Individual Song Files
To start using Live to plan for a worship service, you should start by creating individual Live Sets for each song. In addition to the stems you’ll use onstage, there are a few other helpful things to include. For years, I’ve been including “Original Songs” in all my Ableton Live files. An original song is simply the original MP3 recording of your song synced with your stems.
You should use Live’s Warping feature to warp your song and make sure it’s the exact same tempo as your stems. Check out these two tutorials for more information on Warping in Ableton Live:
This will benefit you in rehearsal and allow you to reference the original file without needing to hold your phone up to the mic anymore! This isn’t only beneficial in rehearsal.
As you plan your set and consider songs, you can quickly listen to songs and jump around in the arrangement. You’ll be able to quickly adapt the arrangement to fit the set (more on this in a moment) and rehearse your set fully as you’re planning.
In addition to the original recording, your reference file should include stems (if you have them) or a click track, locators, and a tempo track. Having your stems or click track added to your Set will allow you to make edits to your file as you prepare and also apply them to your file for live use.
The tempo track will keep everything in time, and your locators will allow you to quickly jump around your arrangement and will help you edit your arrangement quickly.
Check out these tutorials for more info on creating and adding locators to your Ableton Set and on saving your tempo with a tempo track.
Finally, you should use a consistent naming convention across all of your reference files so you can easily find the correct version of your song. For example, I often use the following naming convention when naming Live files:
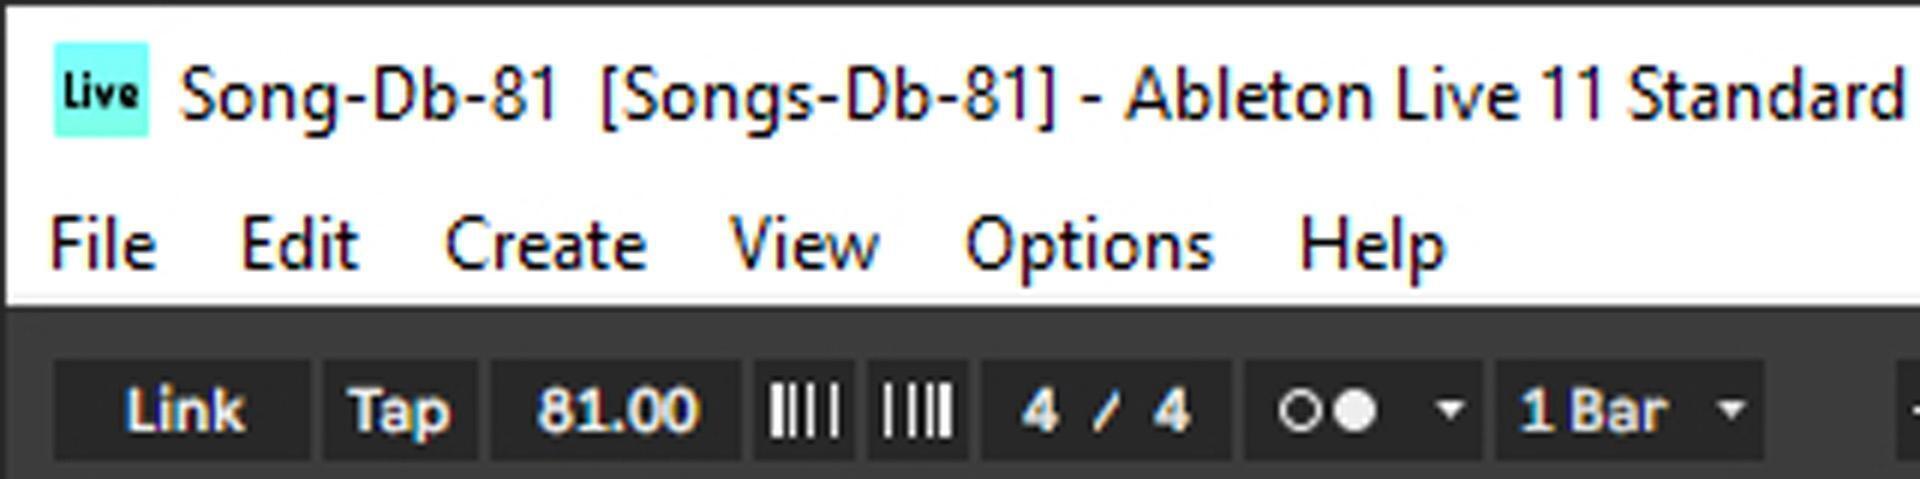
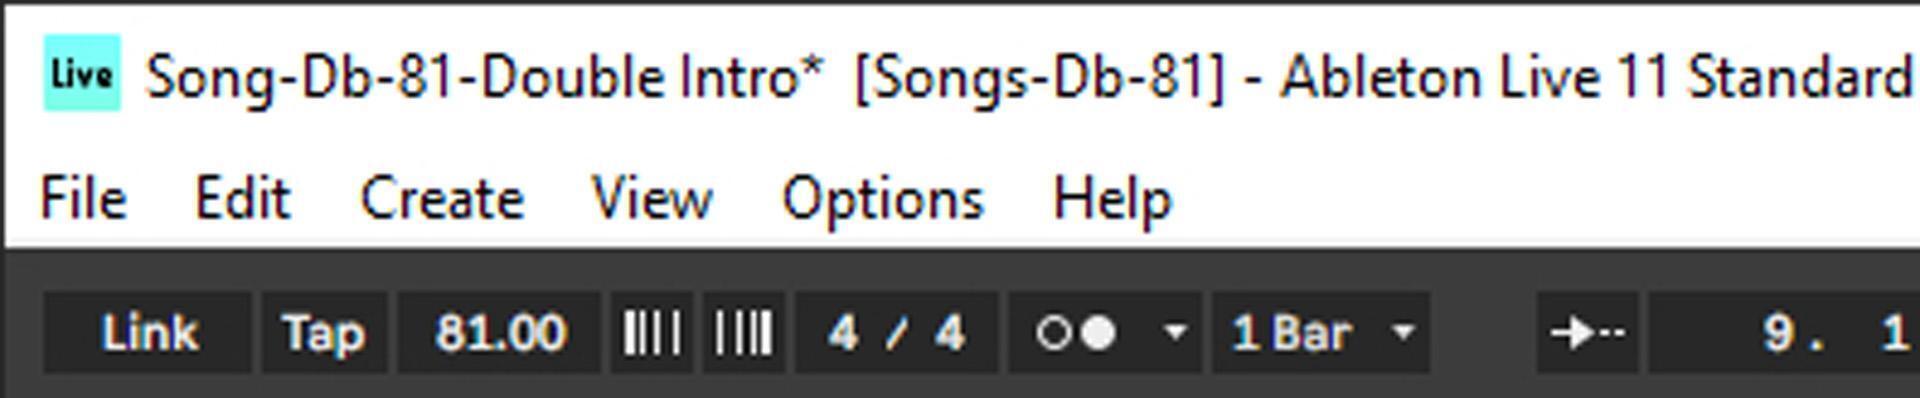
This allows me to quickly know what key and tempo my song is in. For different arrangements or versions of the song, I simply append that structure with a description of the edit. For example:
With your reference files created, you’re now able to use Ableton Live to plan and prepare for your worship service.
Easily Customize Arrangements
With your reference file created, it’s incredibly easy to make edits to your song arrangement. When you edit the original song, you’re also editing your stems to use live onstage. This will save tons of time and keep your band on the same page.
You don’t have to play a song exactly the way the original artist did. Based on what else is happening for that service and what other songs you’re doing, or simply to freshen things up, you can easily make changes to your song.
Because of time, you may choose to shorten a particularly long song. To easily flow between songs, you might change the key or tempo of your next song. Or, perhaps with a different worship leader this week, you’ll want to bring down the key a few steps. You can do all that in your Ableton session, and the changes will also apply to your stems.
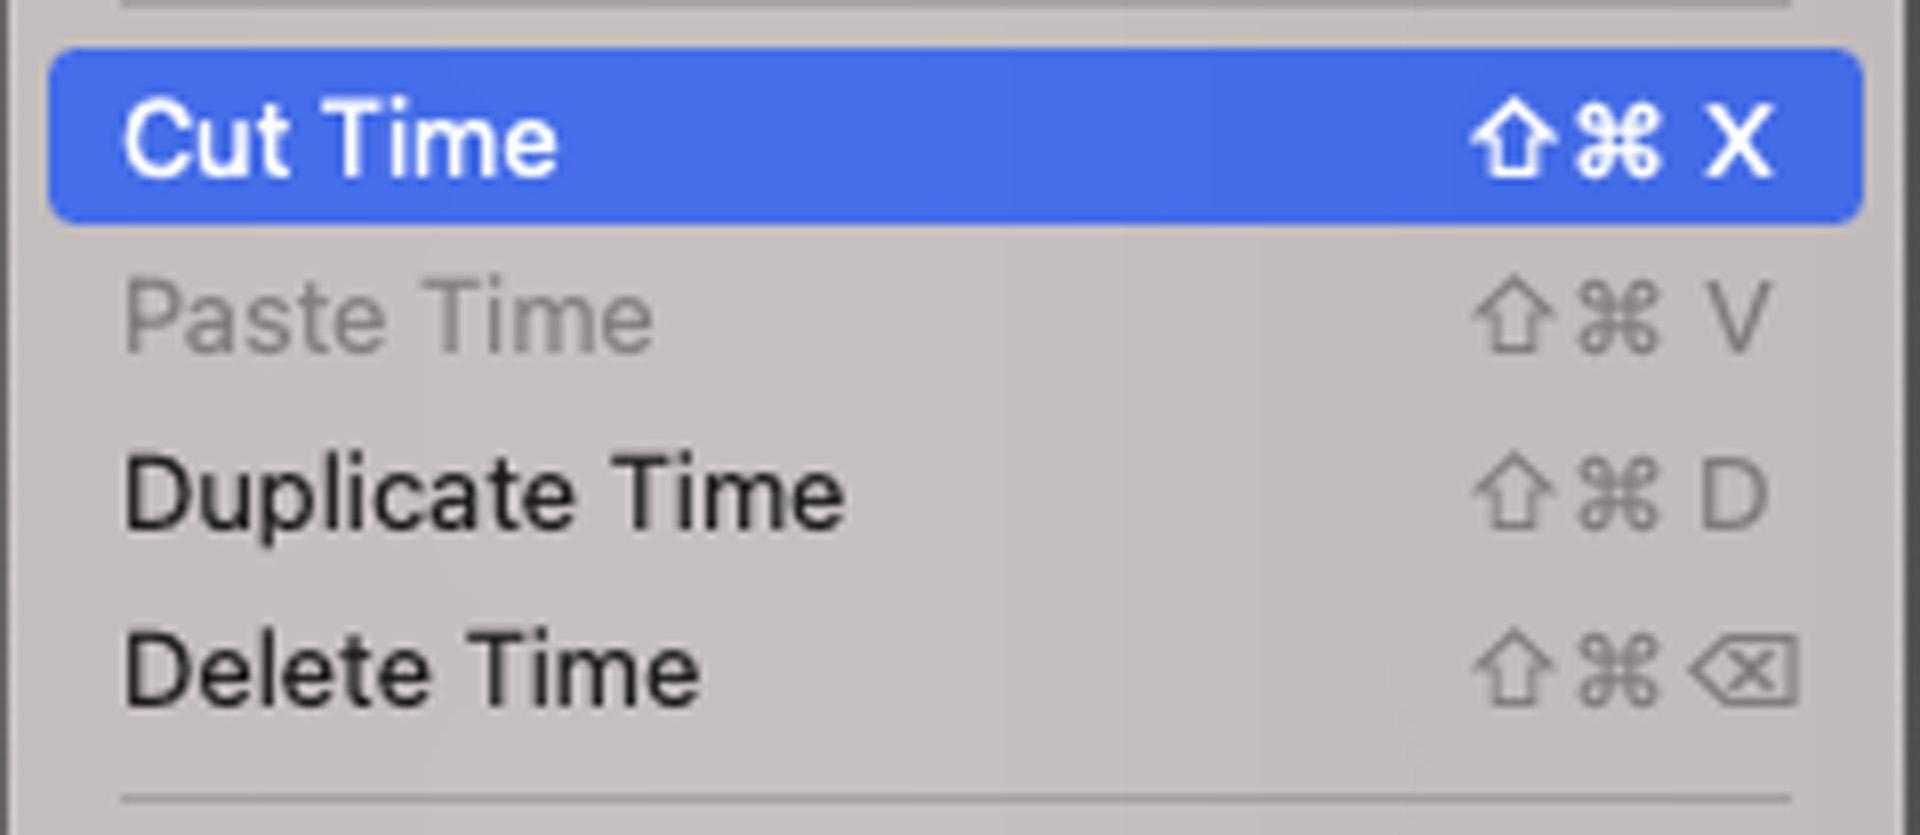
To quickly edit files in Live, use the Edit Time commands available in Arrangement View. Check out the following tutorial for more info:
Once you’ve made your edits, take advantage of Live 11’s ability to apply crossfades across multiple tracks. This will help make your edits sound natural and like they’ve always been there.
Check out the following tutorial for more info:
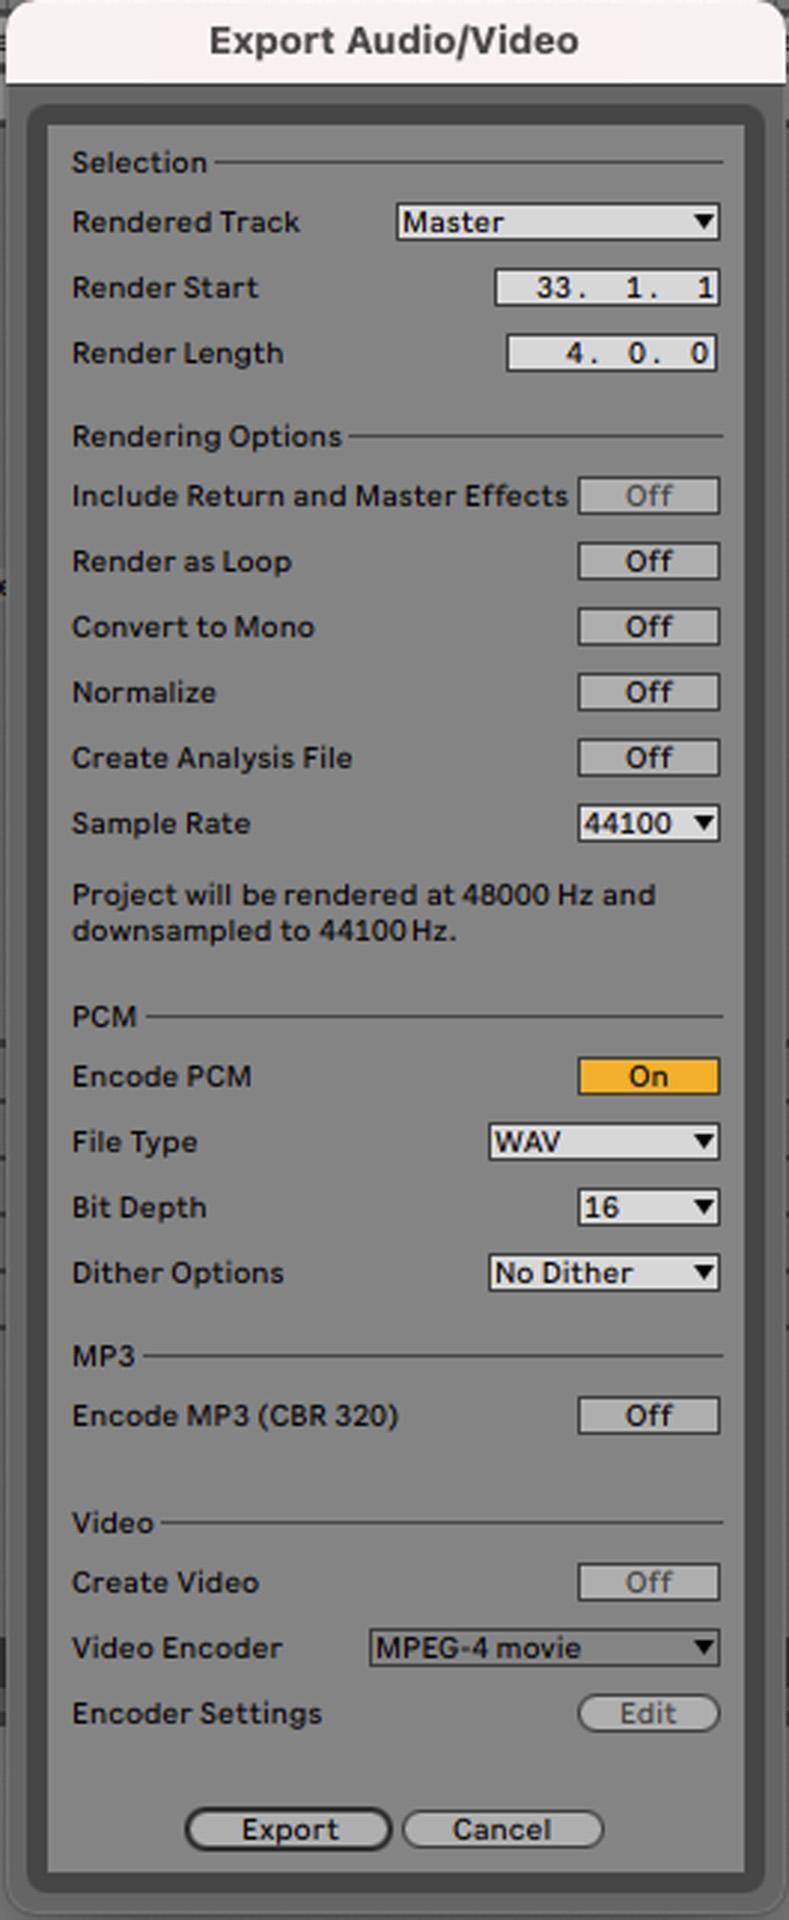
Finally, with your edits applied to your files, you can now share the exact arrangement with your team. You can quickly export the edited version of your original song in the correct key and tempo and with the correct song structure. You can share this file with your team or upload to Planning Center. No more trying to explain the arrangement to your team — give them the exact arrangement you want to do.
Check out the following tutorial to learn more about exporting files from Ableton Live:
Visualize Your Whole Set
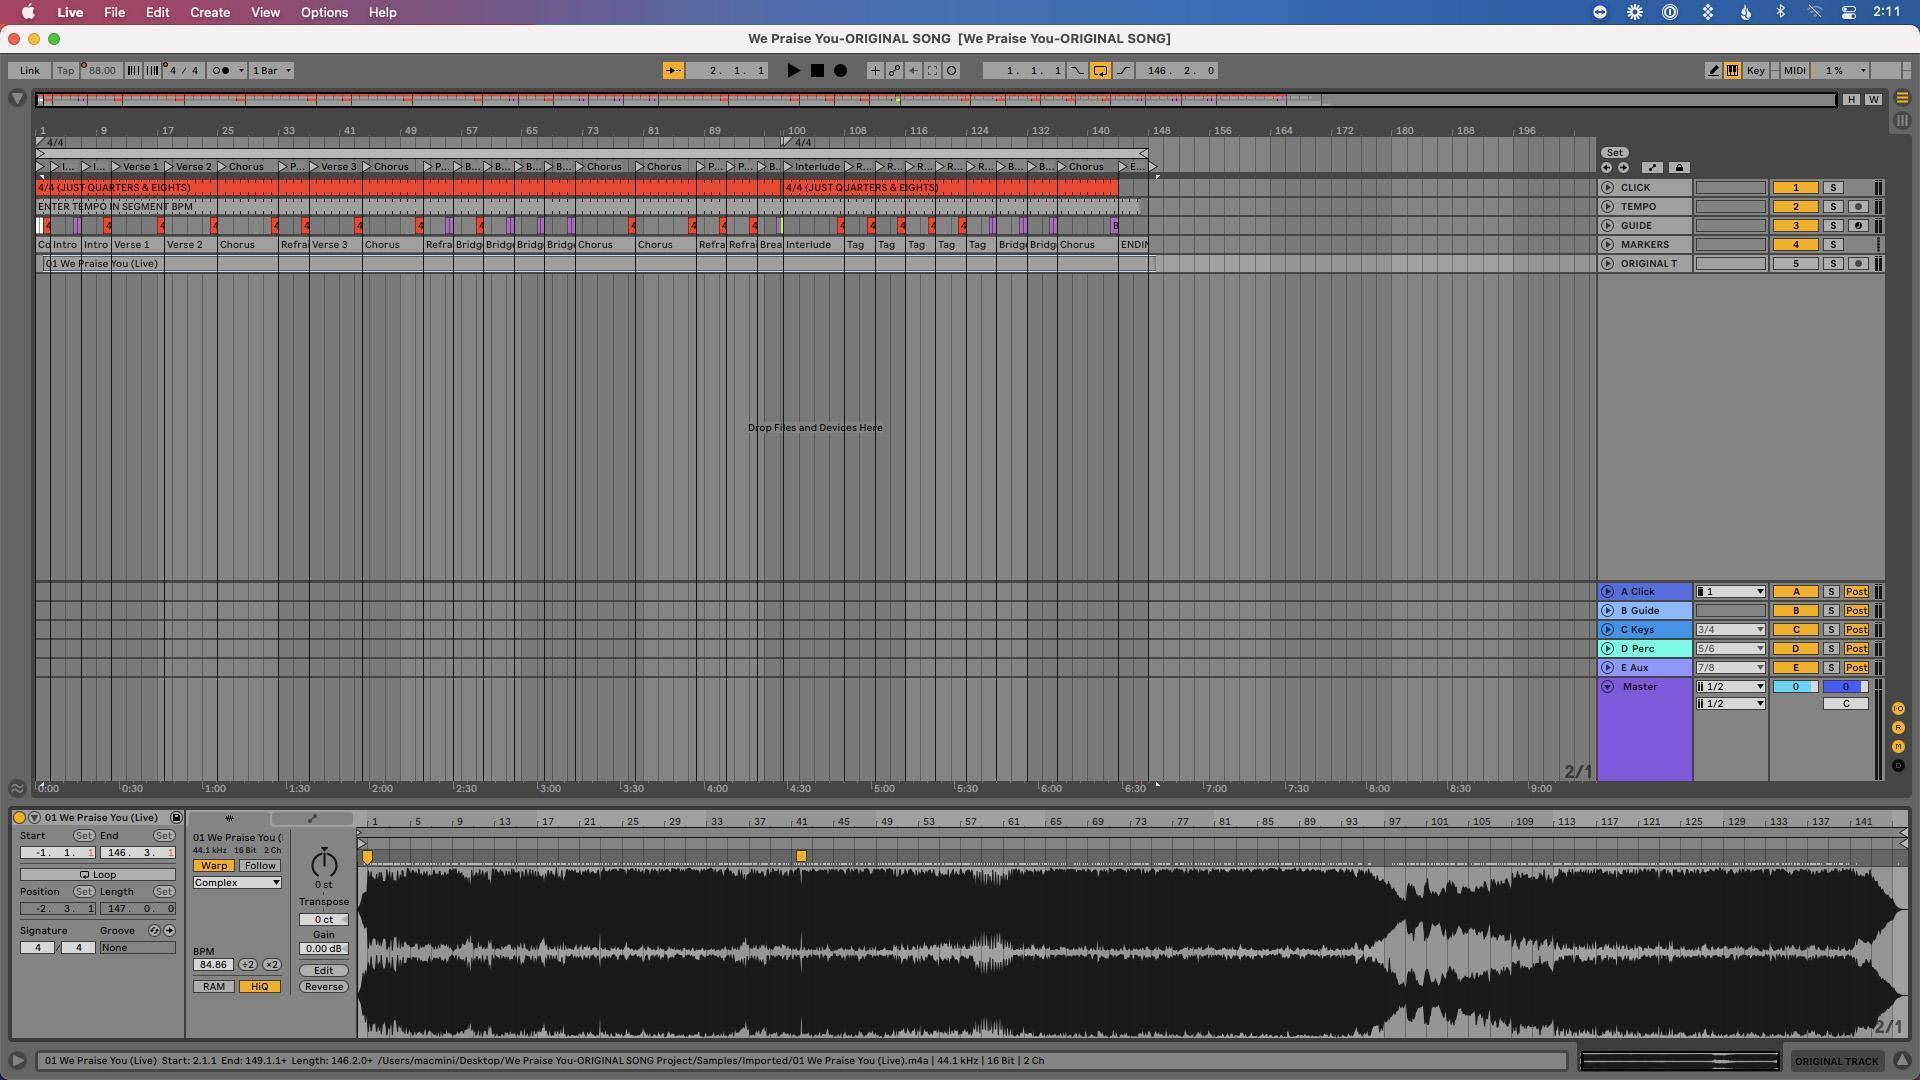
Using Ableton’s Arrangement View, you can drag each of your songs into a single Ableton Live file to build your set. This allows you to visualize your entire set and every song at one time.
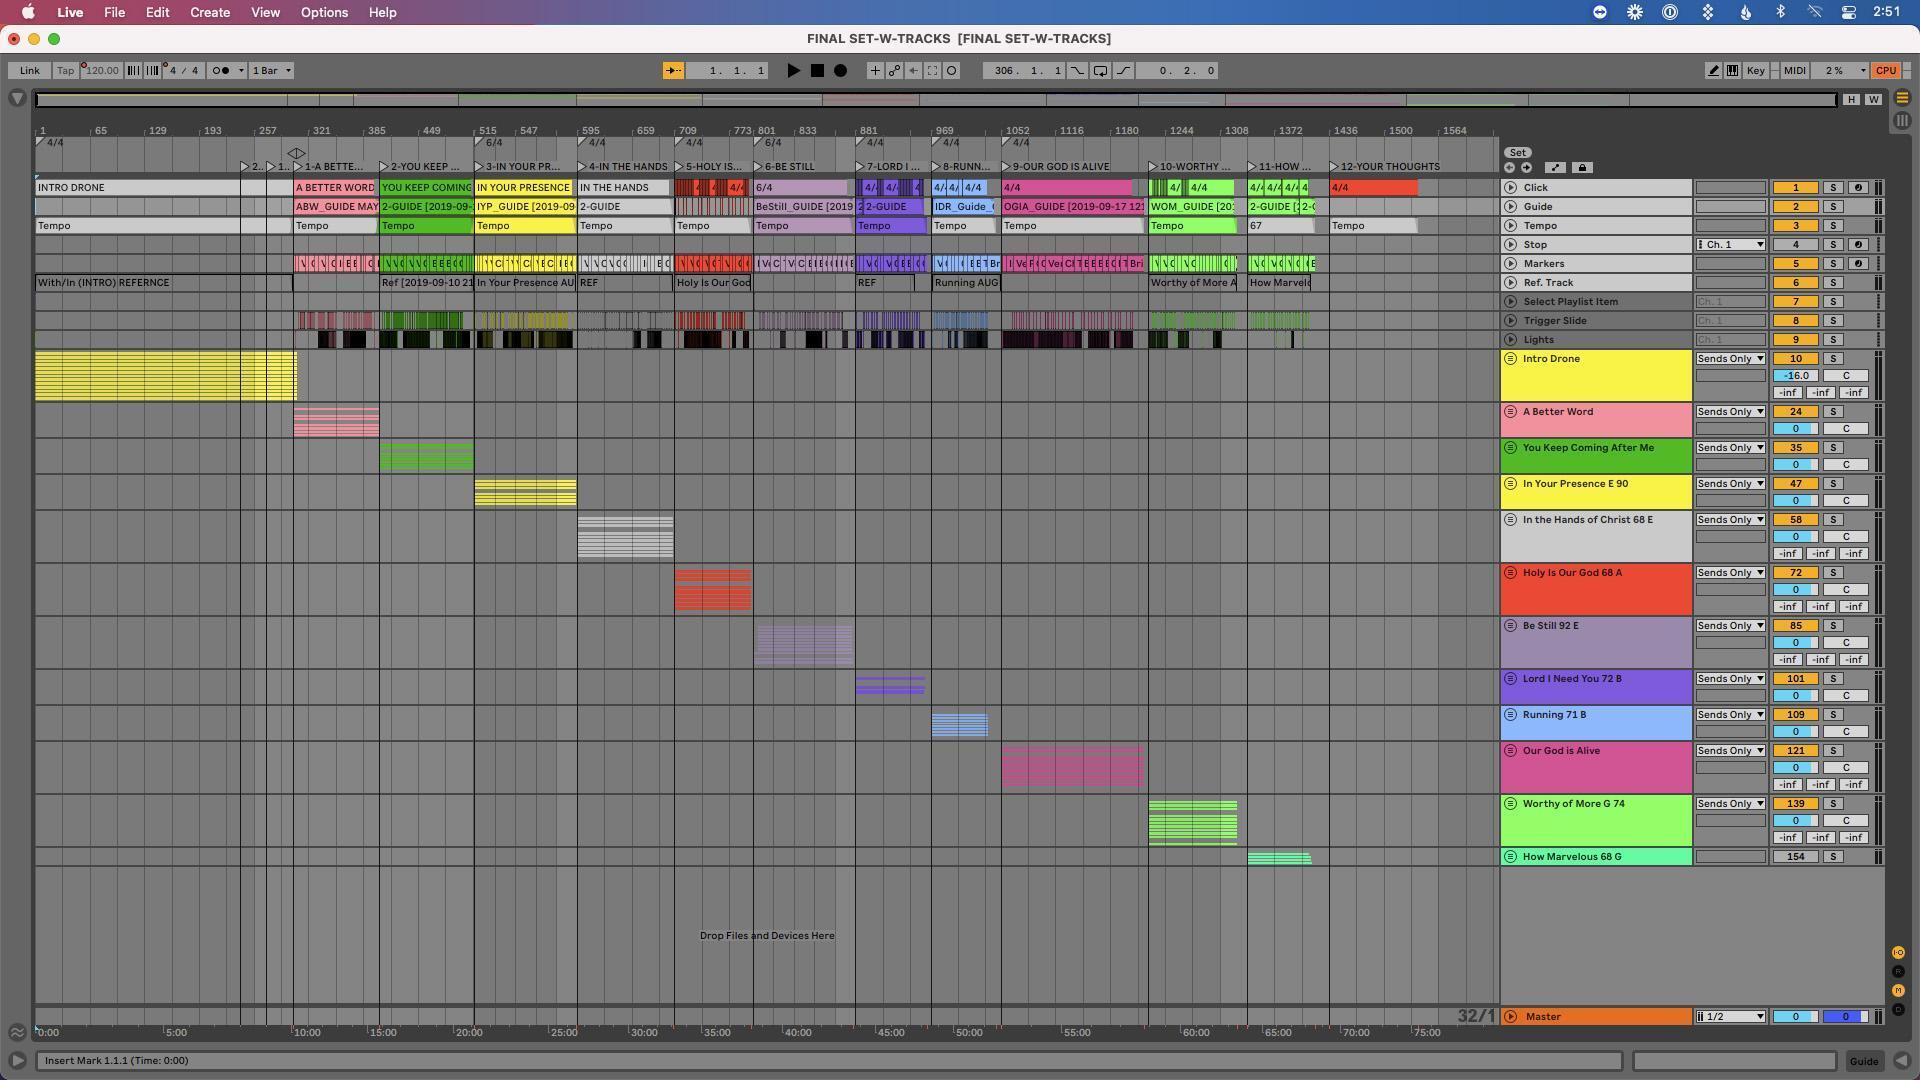
With all your songs in one file, you can easily listen through your set all together and move from thinking of your songs as disparate items, and now you can tell a cohesive story where every element works together.
Making Edits
With all your songs together, you now get a chance to see how they all work together. You still have a chance to edit your songs to shorten time and maybe speed up a song by a few BPM or cut an additional bridge once you view the whole set.
Maybe you realize it would be nice to tag a song from your opening set in the middle of your closing song. With all your songs in one set, you can now easily make that happen. Nothing is final at this stage, and you can continue to make tweaks and edits.
Tighten Up Your Transitions
You can easily take your set to the next level by focusing on the spaces between your songs. Improving your transitions is easy when all your songs are in the same file. On top of that, you can solo your original songs and listen through your set. Any weird transitions? Anything that doesn’t flow well? Here’s your chance to fix it. Here are a few tips to keep in mind as you do:
- Create transitions with the congregation in mind. One of my favorite tricks is to solo the original song and listen as songs flow together. Don’t listen with the click enabled. If you create transitions with the click in mind, they’ll always feel a measure or two longer than they should to the congregation. Kill your click and listen with the original songs enabled only.
- In most cases, you can easily shorten the fade-out time of stems to flow into the next song faster. Just because the original artist fades out the ending over 20 seconds doesn’t mean you need to! Use those Edit Time commands and the ability to crossfade to quickly make the transition.
- Once you’ve got your transitions figured out, render the full set with your transitions included. Unmute your click for this so the team will know what to expect. Post this on Planning Center and give your team a chance to practice transitions at home.
Ableton Live isn’t simply another DAW; it’s a tool for leading worship. It’s a resource you can leverage when you’re planning and preparing for your worship service. Use the techniques and tips shared in this article to improve your time after Sunday, and your time on Sunday will be far less stressful and far more engaging.