
Turntable Care and Maintenance Guide
This guide will show you how to take care of your turntable so you get the best sound possible out of it every day. We’ll discuss the issues that might arise, how to test for problems, and how to get it up and running. Follow the sections below to get started.
- Clean the Turntable
- Replace the Stylus or Cartridge
- How to Align the Cartridge and Balance the Tonearm
Clean the Turntable
Like all other gear, turntables should get a good cleaning every once in a while. It goes without saying that a turntable dust cover is the best line of defense, but we recommend regularly giving it a good clean. Even the smallest bits of dirt, debris, or grime on the stylus or spindle can affect the turntable’s sound quality and sometimes even its pitch.
Here is a list of a few things you’ll need:
- 20 weight oil (lubricant) with PTFE (Teflon). 3-in-ONE motor oil or sewing machine oil should do the trick.
- Make sure it’s detergent-free, as oil detergents can cause long-term damage.
- Compressed air
- Stylus brush
- Mr. Clean Magic Eraser (DIY)
- Record brush
- Vinyl Record Cleaning and Care Kit
- Clean the stylus using the stylus brush, then use the microfiber cloth to pick up any dirt or grime left behind. Cleaning the stylus not only helps with the pitch issues, but also helps prevent damage to the record!
- Always brush the stylus going back to front. Brushing it front to back or side to side can bend or break the stylus or cantilever.
- If you don’t have a stylus brush, use a Mr. Clean Magic Eraser. Gently lower the stylus onto the Magic Eraser and lift it until the stylus doesn’t leave any residue.
- Once the stylus is clean, place the stylus guard on and spray compressed air to blow away any dust or dirt you collected.
- Place a small drop or two of the lubricant at the base of the motor shaft and spindle, then wipe down any excess with a clean, microfiber cloth.
- Clean your vinyl using a Vinyl Record Cleaning Kit.
How to clean the stylus on your cartridge
Replace the Stylus or Cartridge
NOTE: Some cartridges will have a built-in stylus (needle) and cannot be removed. If this is the case, you must replace the entire cartridge.
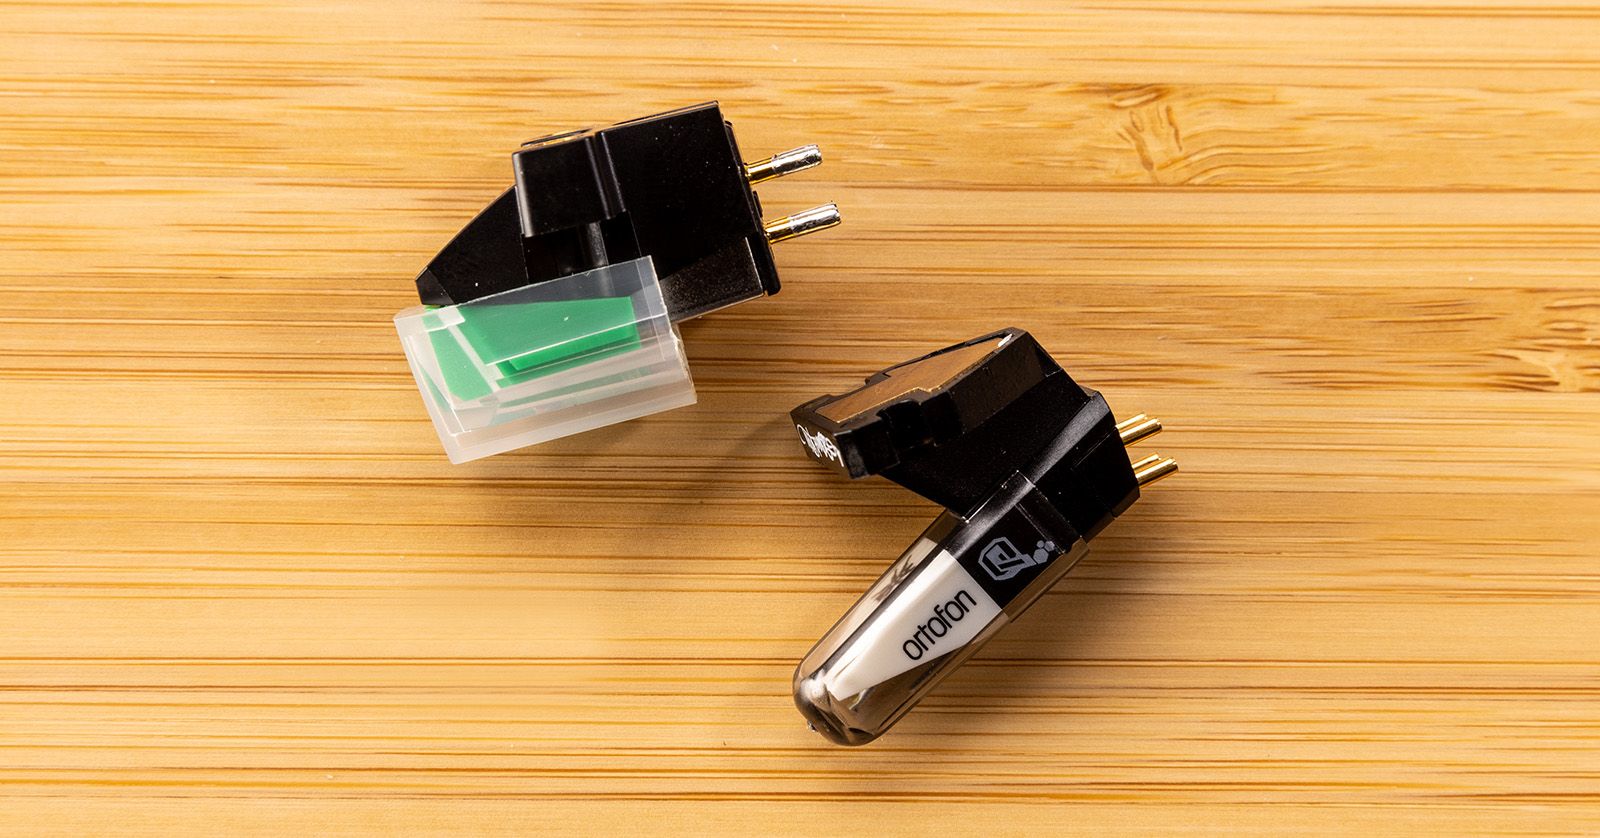
Different types of cartridge and Styli
Turntable styli (needles) are resilient, even for the scratching and back-cueing DJs. Regular cleaning allows you to get between 500 and 1000 hours, depending on your application.
However, it’s time to replace the stylus or cartridge when there’s general sound degradation like fuzziness, distortion, and loss of high-end frequencies. A bad stylus will also often jump or skip, which will cause damage to your record, so if this happens, it’s time to replace it ASAP!
You should have a small flathead screwdriver if you have a cartridge with a removable stylus. If the cartridge has a built-in stylus, you’ll also want a small set of needle tweezers. Small, curved needle-nose pliers will do the trick if you don’t have tweezers.
Replace a turntable stylus
To remove a stylus, grip the cartridge and carefully pry the stylus off using the small flathead screwdriver. Once removed, carefully grab the stylus from its sides and attach it to the cartridge.
Replace a turntable cartridge
IMPORTANT! Don’t yank out the wires, as you may damage the wiring or leads.
If your stylus is bad and the stylus is built into the cartridge, you’ll need to replace the entire cartridge. The cartridge is attached to the headshell by four color-coded leads that correlate to each channel’s positive and negative terminals.
TIP: There is a universal color code for turntable cartridge leads. Check out Shure’s cartridge guide for more information!
- Remove the cartridge from the headshell and set the screws aside.
- Grasp the base of the lead wires using the tweezers and gently remove them.
- Attach the lead wires to the replacement cartridge, then reinstall the screws. Setting it in the middle is a good starting point.
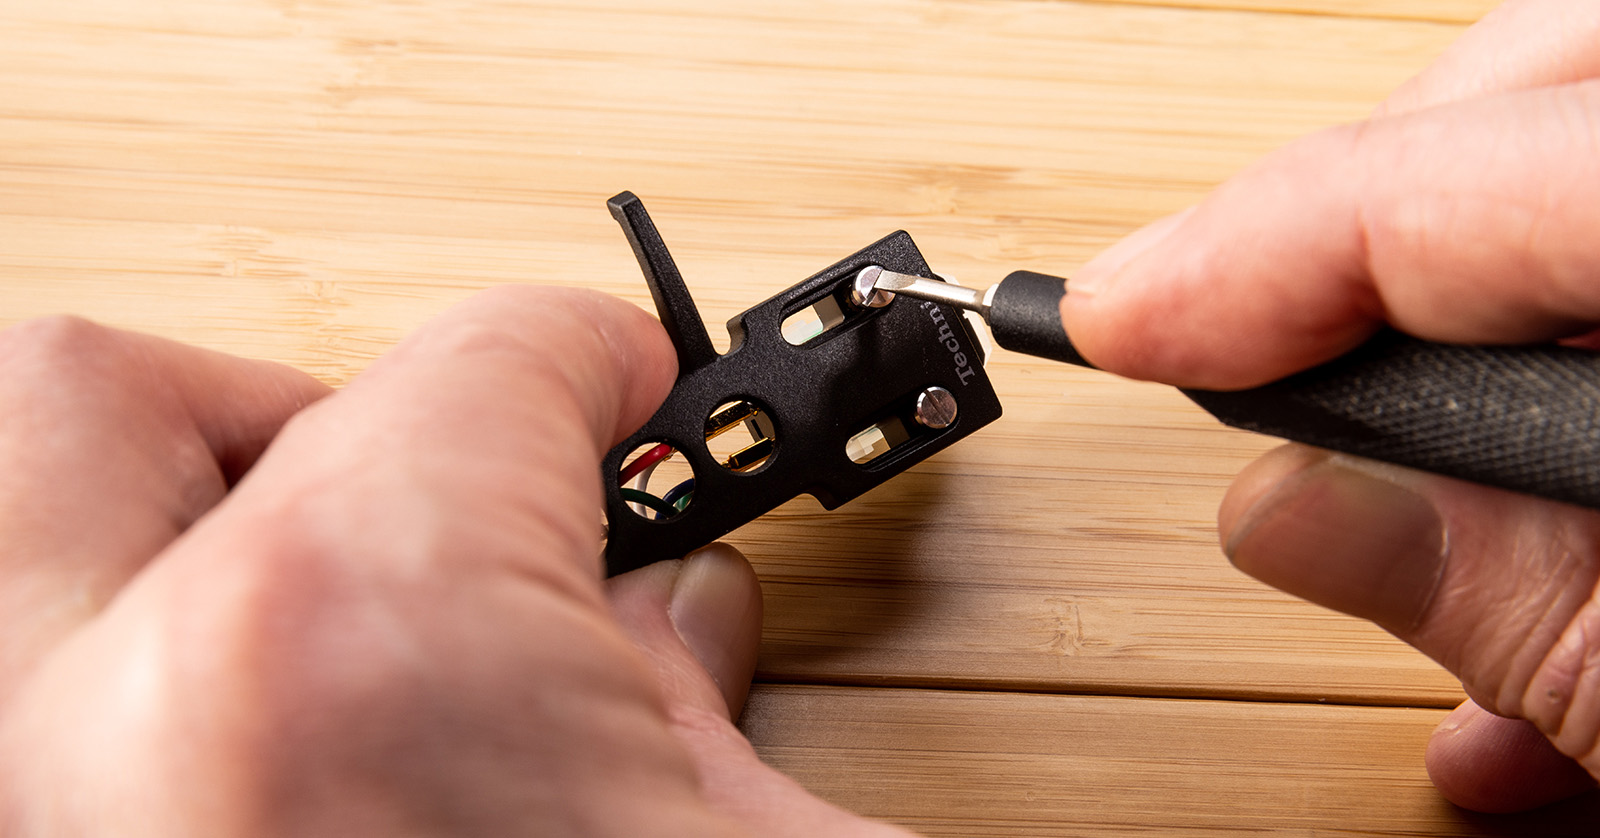
Unscrewing the cartridge
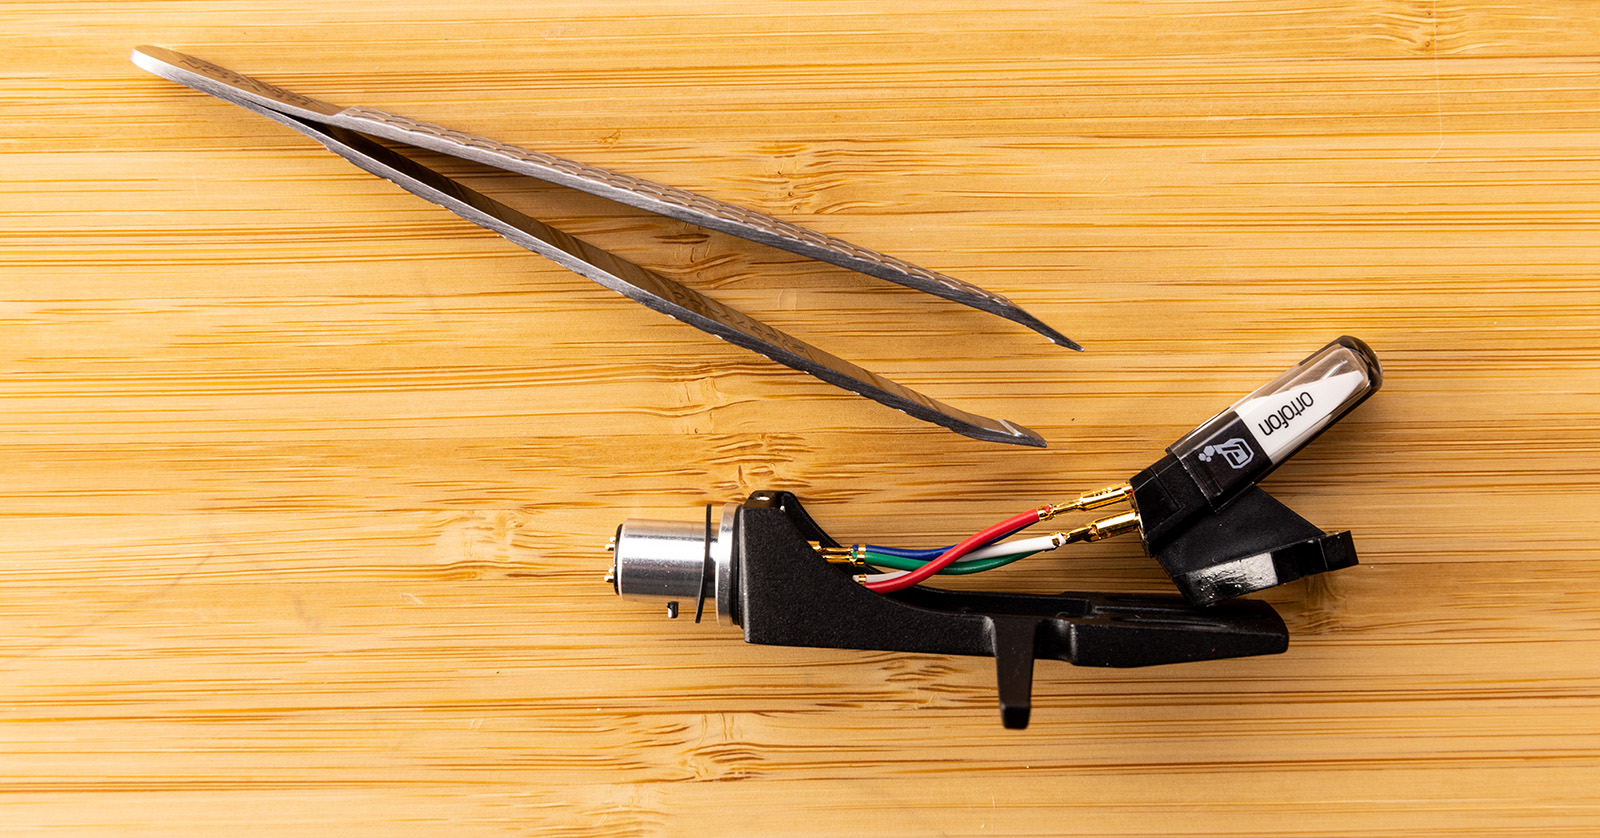
Use tweezers to attach the leads
How to Align the Cartridge and Balance the Tonearm
After installing your cartridge, you must align the cartridge and balance the tonearm correctly. You’ll get some audibly bad sound quality if either is misaligned. If it’s misaligned too much, there will be poor sound quality and potential damage to the stylus or record. Aligning the cartridge and balancing the tonearm takes time and patience, but it’s ultimately worth it.
How to align the cartridge
After the stylus and cartridge are replaced and attached to the headshell, you’ll first need to perfectly align the cartridge.
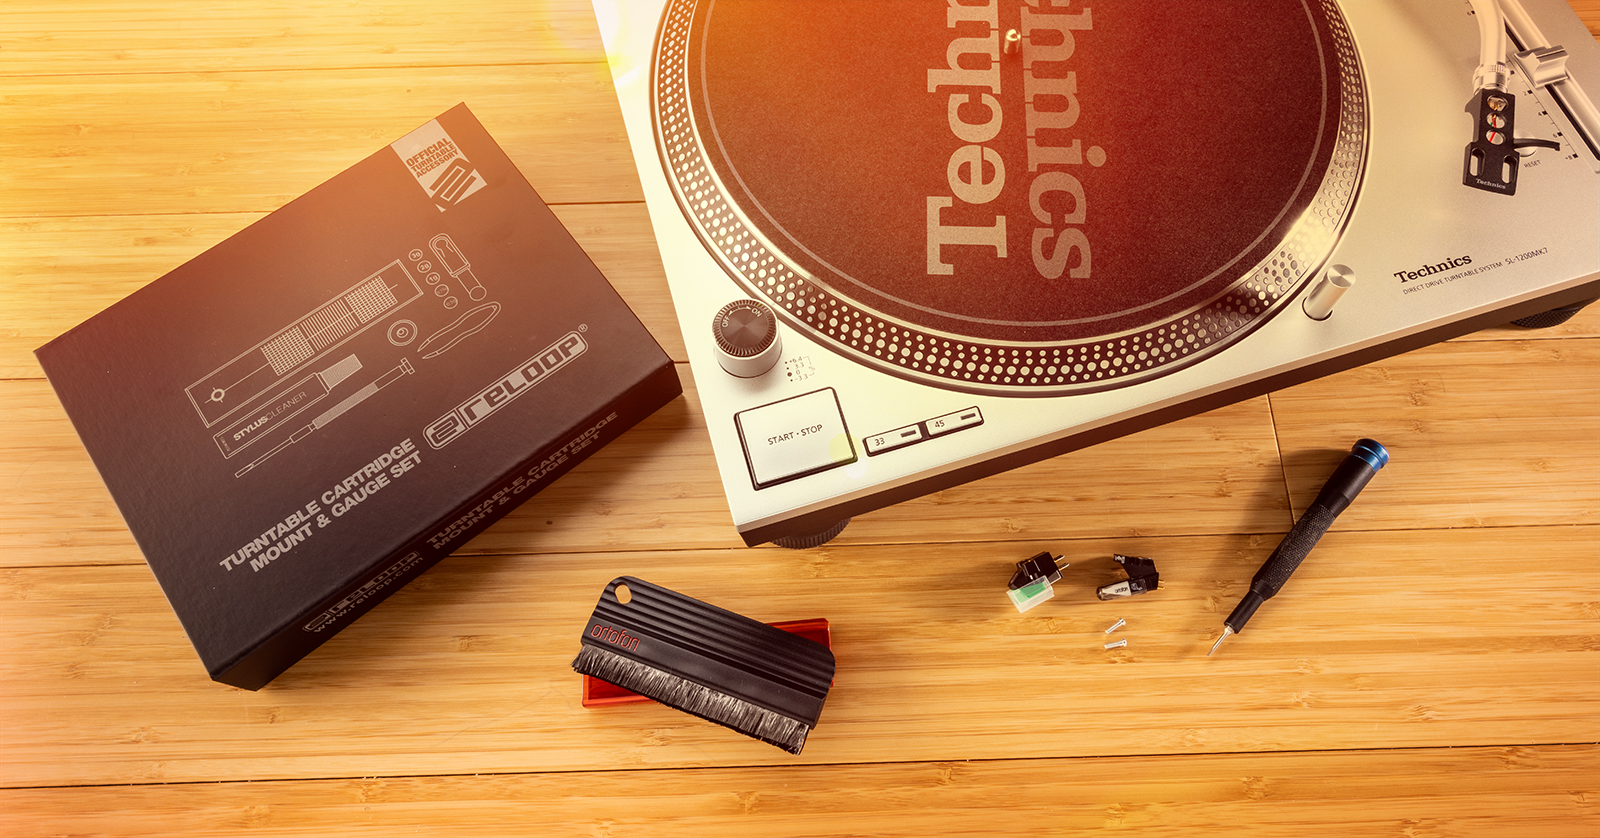
- Attach a cartridge alignment protractor, like the one that is a part of the Reloop Turntable Cartridge and Mount Set, to the turntable’s spindle.
- If you don’t have one on hand, you can also find printable versions online. If you print one out, ensure it’s set to the correct resolution.
- Grab the tonearm and carefully lay it so the stylus rests on the center of point B, then use the markings until the edge of the cartridge is aligned perfectly with the protractor.
- Taking care that the cartridge doesn’t move, turn the platter and move the tonearm so the stylus rests on the center of point A. Follow the same procedure to align correctly.
- Once aligned with point A, turn the platter, move the tonearm so it rests on the center of point B, check to make sure it’s still aligned, then tighten the cartridge screws.
- If it’s misaligned when double-checking, follow the same steps until it’s aligned perfectly in both spots.
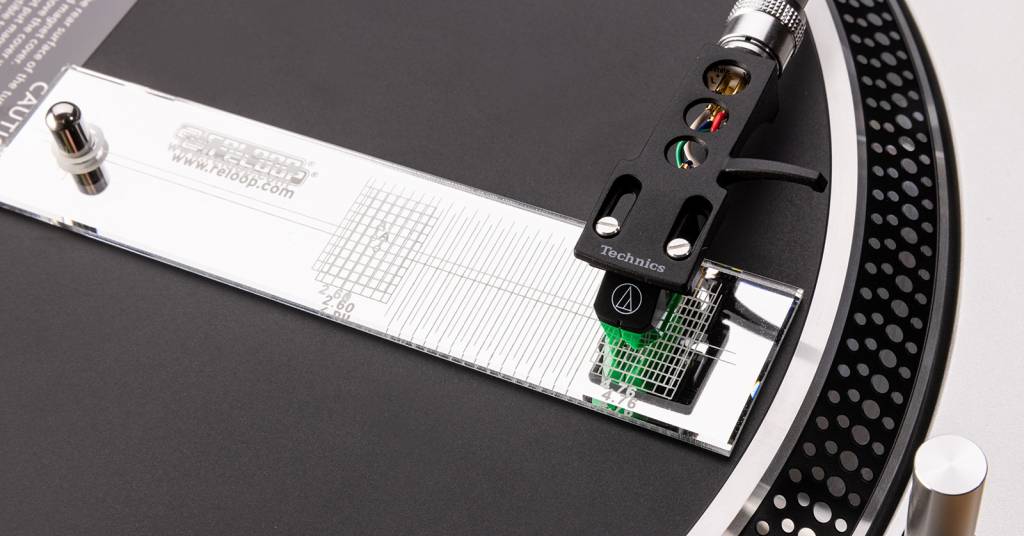
Cartridge Setup | Lateral Alignment
How to balance the tonearm
Now that the cartridge is aligned, you must balance the tonearm to set the stylus tracking force. Simply put, the tracking force is the cartridge’s weight on the record. An unbalanced tonearm will result in audio quality and overall performance like a misaligned cartridge.
- Place the turntable on a completely level surface and adjust the feet accordingly. For the most accurate results, we highly recommend using a level tool you can find at any hardware store.
- Remove the stylus cover, making sure it doesn’t bump into anything, and free the tonearm from the rest.
- Set Anti-Skating to 0, then slowly twist the counterweight until the tonearm is perfectly parallel to the turntable.
- Once parallel, hold the counterweight and set the stylus pressure (inner dial) to 0.
- Turn the counterweight so the stylus pressure gauge reads the same as the traction force of your stylus. For example, if your stylus has a traction force of 3, ensure the pressure gauge reads 3.
- The traction force can vary between manufacturers, so check the cartridge tracking force specifications on the manufacturer’s product page.
- Set the Anti-Skating to the same number as the stylus pressure. Depending on your application, you should increase or decrease anti-skating after calibration.
- If you’re a DJ, you will want to set the Anti-Skating to 0.
Ortofon DJ Tutorial 1: how to adjust the weight on your turntable
Ortofon DJ Tutorial 2: How to set up antiskating & tonearm height
When you need help, Sweetwater has the answers!
Our knowledge base contains over 28,000 expertly written tech articles that will give you answers and help you get the most out of your gear. Our pro musicians and gear experts update content daily to keep you informed and on your way. Best of all, it’s totally FREE, and it’s just another reason that you get more at Sweetwater.com.

