Ableton Live Essentials: What Every New User Needs to Know
Working with Ableton Live opens up a world of possibilities for music production and performance. Renowned for its fluid integration of studio production and live performance capabilities, Ableton Live stands out as a go-to for musicians, producers, and DJs alike. This guide will help you understand the basics of Ableton Live and assist you in creating your first musical piece.
Discovering Ableton Live
At its core, Ableton Live is a digital audio workstation (DAW) that breaks the mold with its dual-view interface, allowing artists to compose music in a traditional linear arrangement and to experiment freely in a nonlinear Session View. This innovative approach facilitates on-the-fly music creation and performance, making it a favorite among live performers.
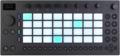
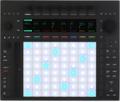
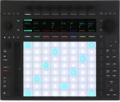
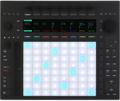
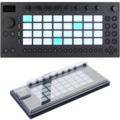
Furthermore, Ableton Live stands out as one of the few DAWs that boasts its own dedicated hardware, the Push, which integrates seamlessly with the software. Ableton’s Push controller offers a tactile experience, allowing hands-on control over nearly every aspect of the software from playing instruments to sequencing and arranging music directly from the hardware. The software itself is available in three different versions — Intro, Standard, and Suite — each escalating features, sounds, and capabilities. Suite, the most comprehensive version, offers an extensive library of sounds, instruments, and effects catering to any genre and style. In this article, I will use Ableton Live 12 Suite to highlight many of the features that this DAW offers.
Setting the Stage
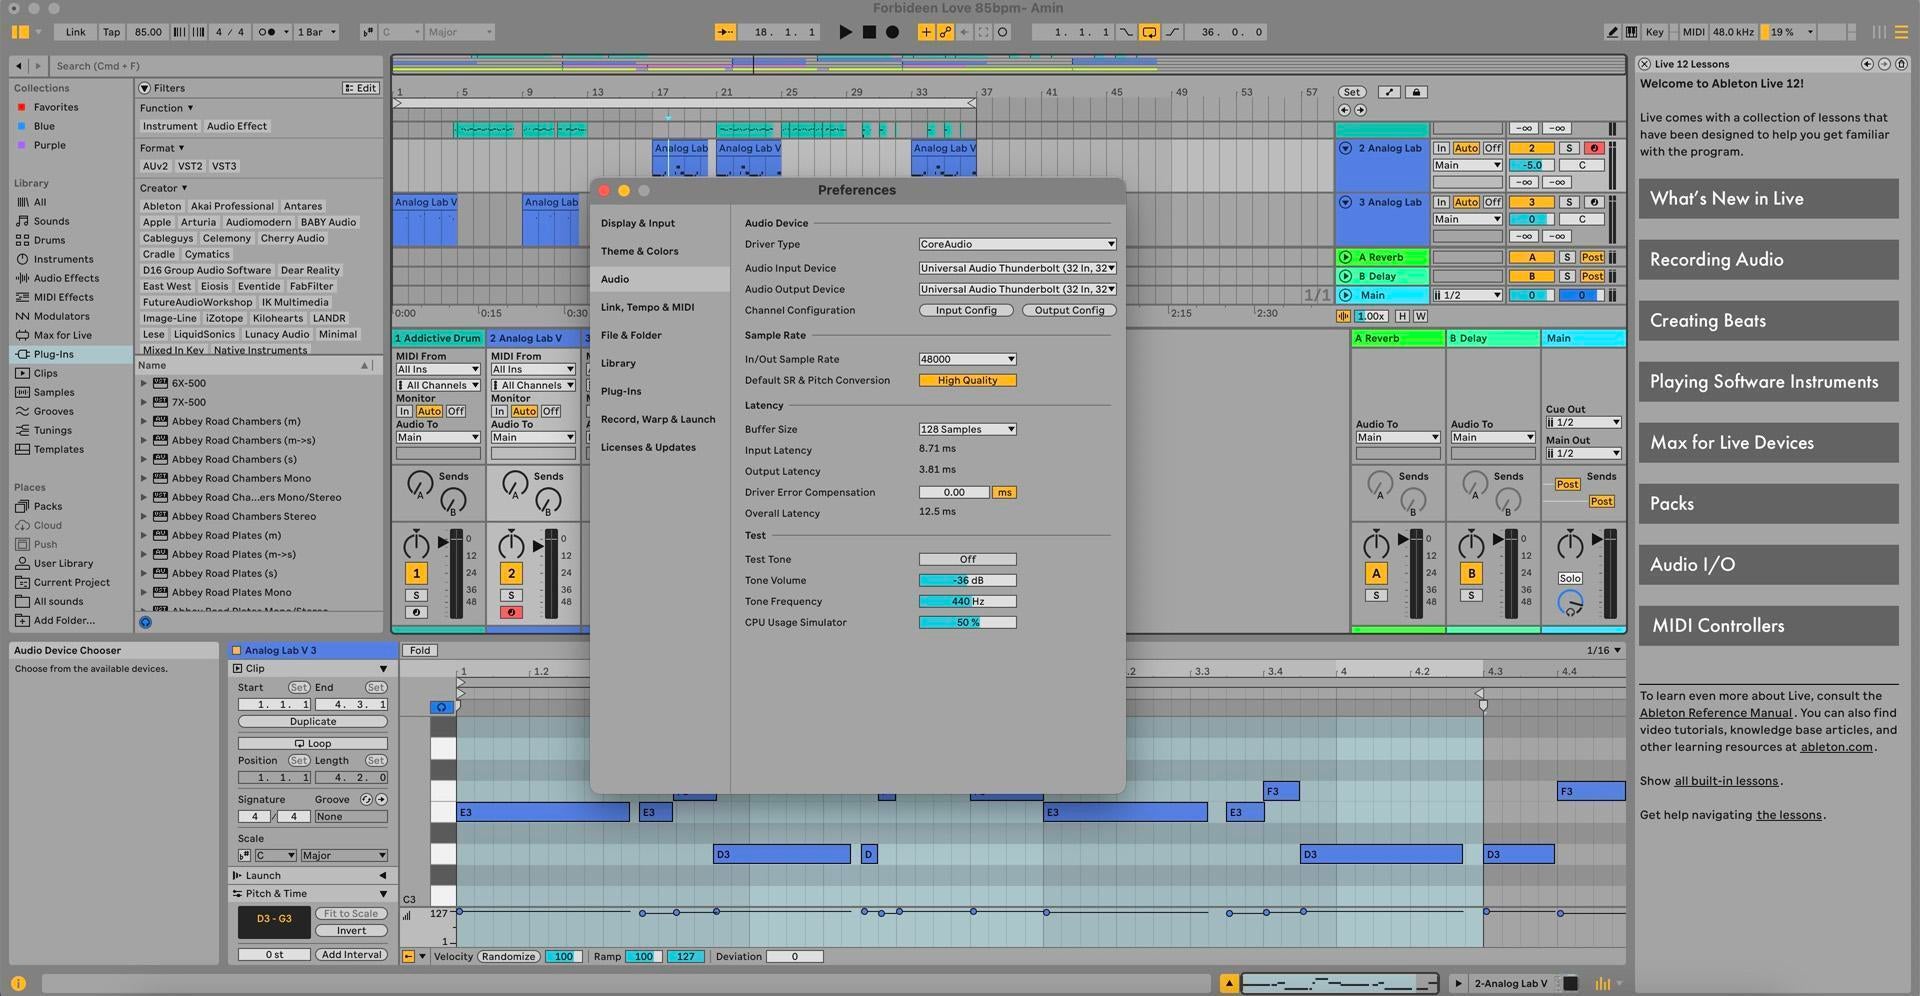
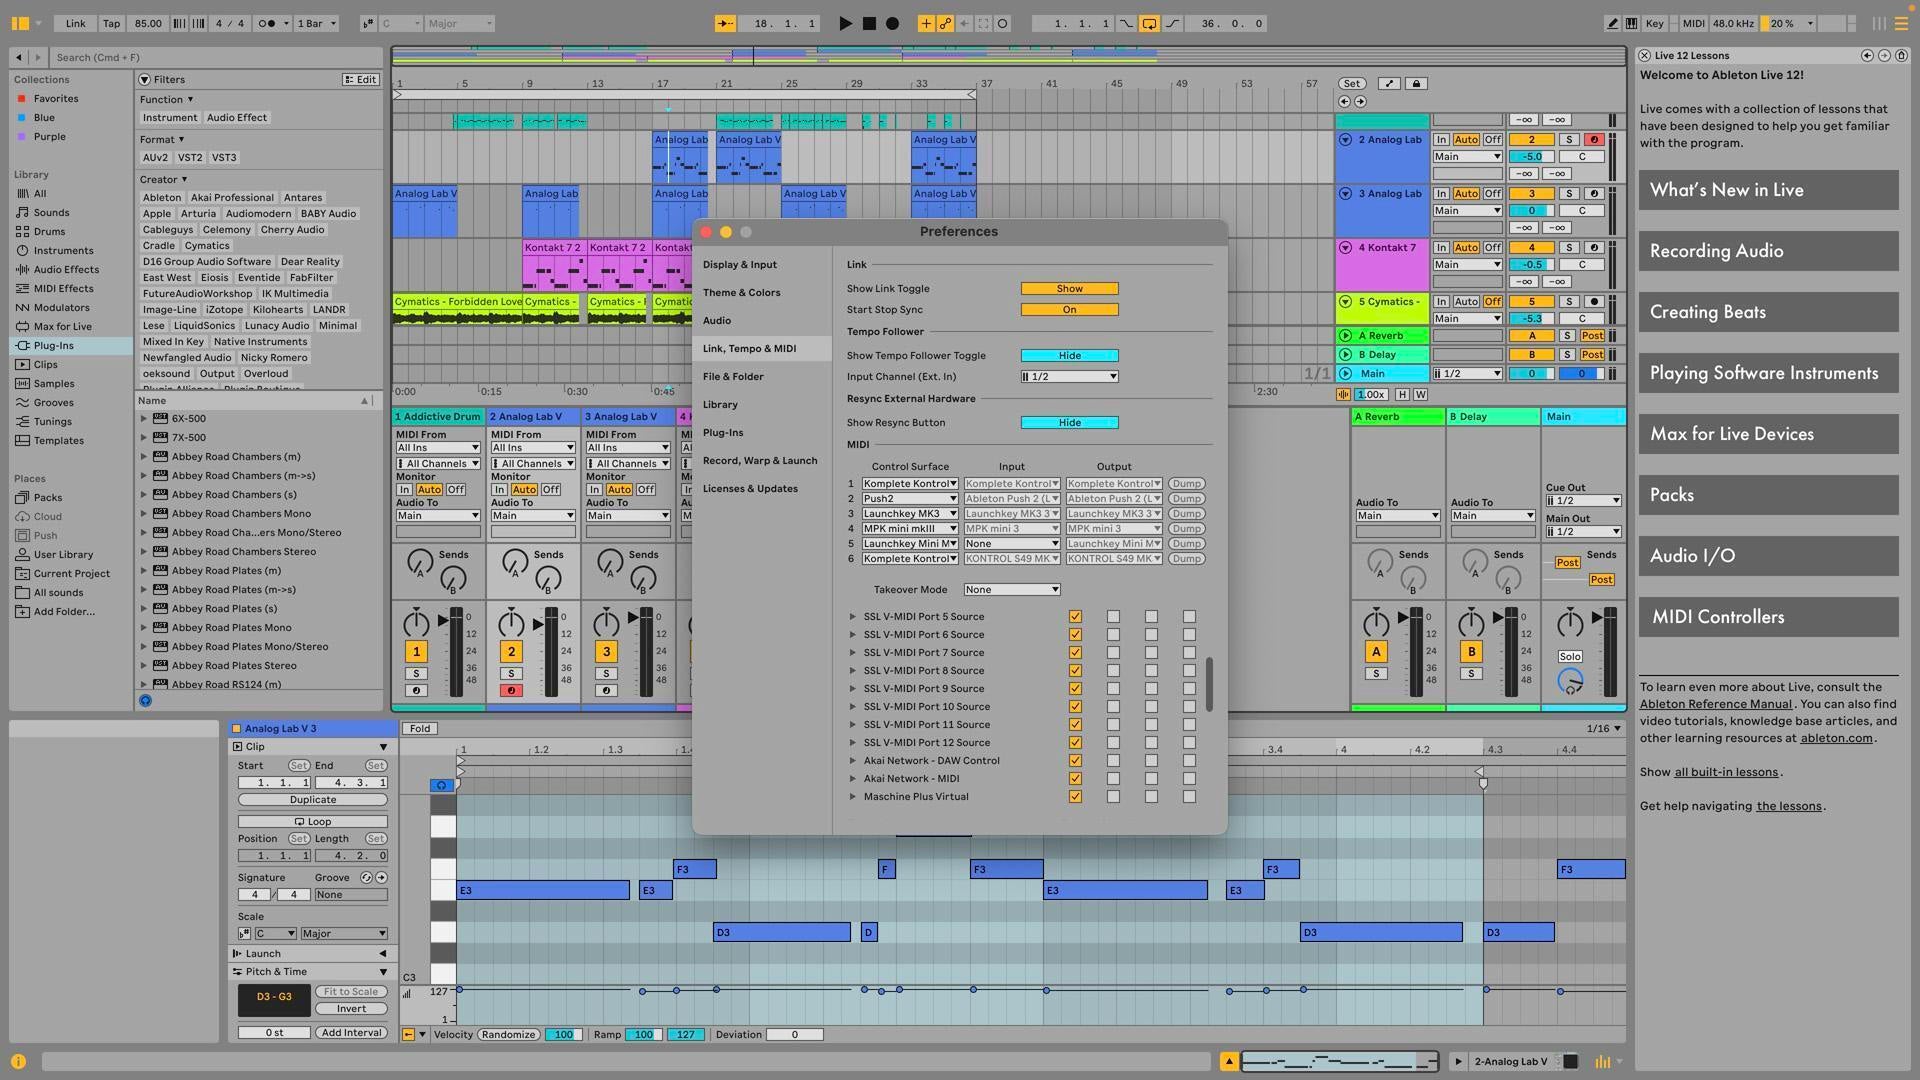
Audio and MIDI Setup
Assuming youʼve already installed Ableton Live on your computer, the next step involves configuring your audio source. Through Ableton Live’s “Preferences,” you can select your interface as the primary input and output device. Additionally, connecting MIDI controllers and configuring them in the “Link MIDI” tab allows for hands-on control of the software.
Crafting Your First Project
Understanding the Interface
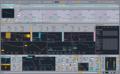
Ableton Live’s innovative interface is designed around two primary workspaces: Session View and Arrangement View. Each view caters to different aspects of music production and performance and offers unique tools and workflows to enhance creativity and efficiency.
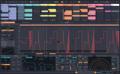
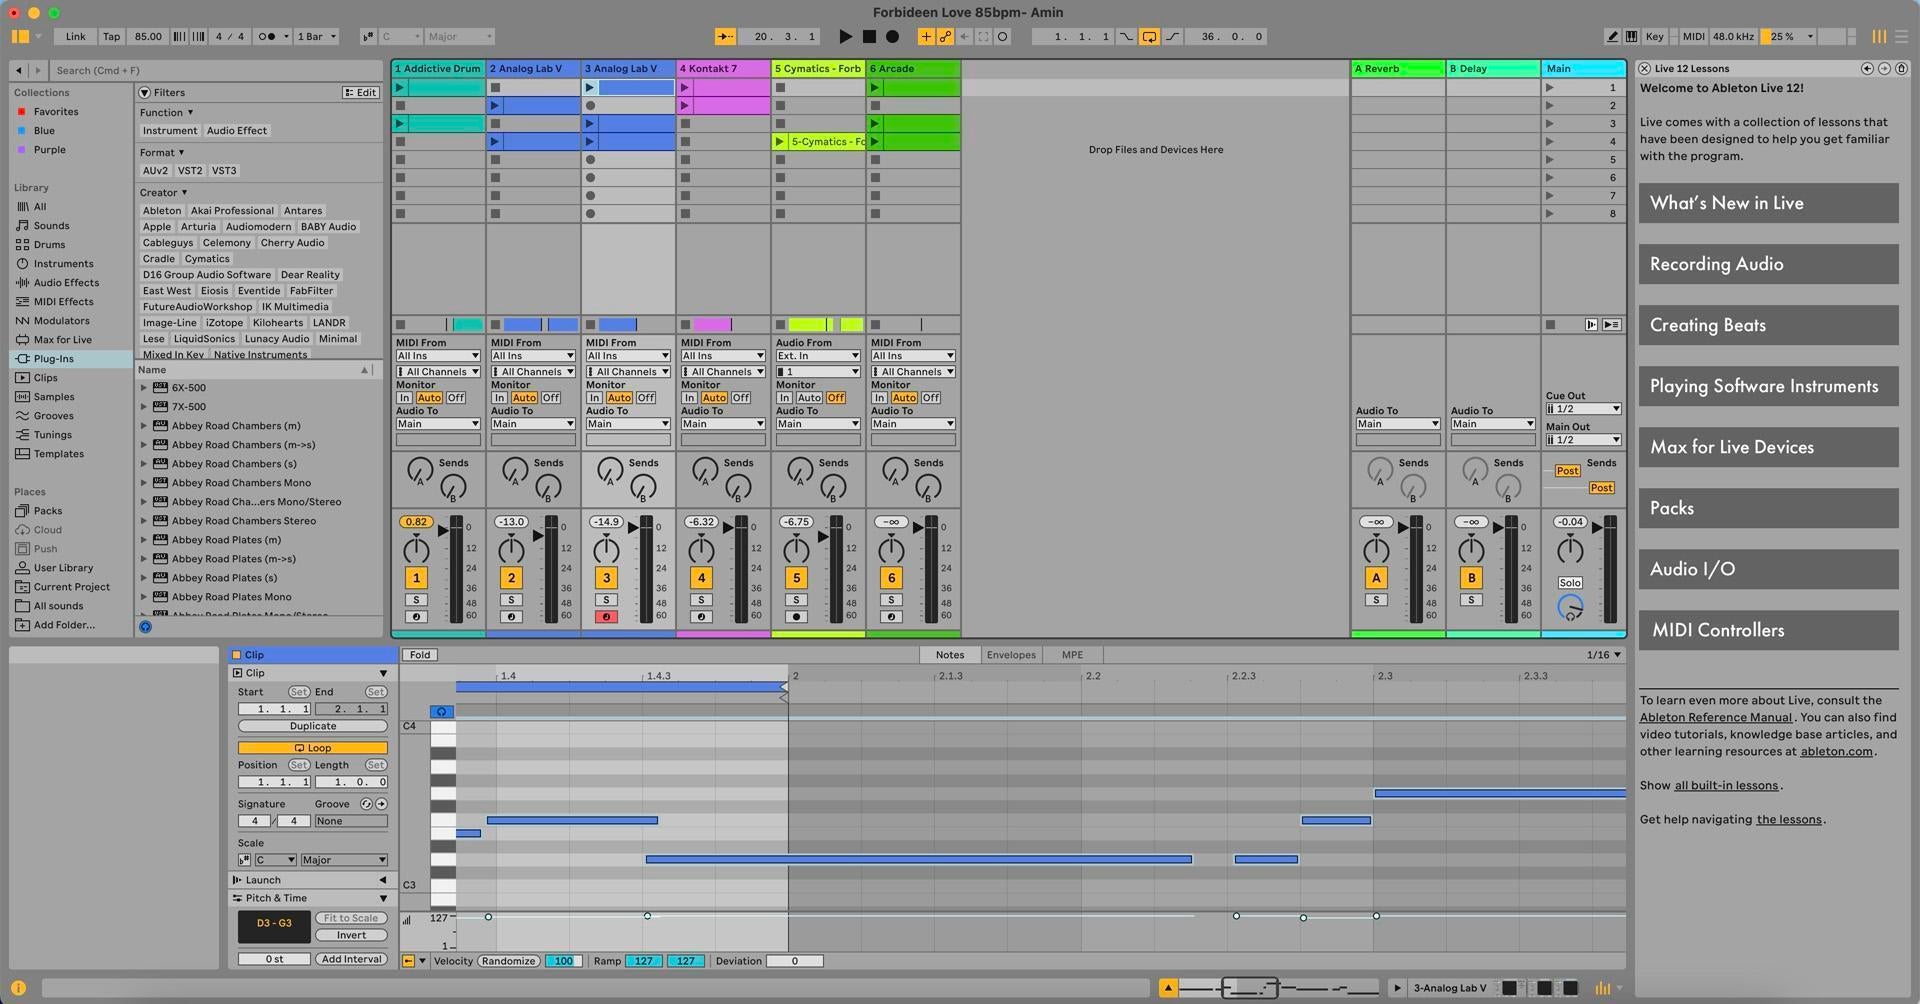
Session View: The Creative Playground
Session View is one of the defining features of Ableton Live, setting it apart from other DAWs. This view presents a grid-based layout that’s perfect for improvising and capturing musical ideas without the constraints of a linear timeline. Each cell in the grid can hold audio clips or MIDI clips that can be played independently or in combination, allowing for complex layering and sequencing on the fly.
Key Features:
- Clip Launching: Trigger clips in real time to build up songs or perform live sets dynamically.
- Nonlinear Composition: Experiment with different arrangements and combinations without altering the original clips.
- Real-time Looping and Sampling: Instantly record and loop audio or MIDI, an ideal feature for live performance setups.
- Flexible Routing: Route audio and MIDI in creative ways for complex sound design and live performance setups.
Session View encourages experimentation and can serve as a powerful tool for live performances, allowing artists to trigger loops, samples, and entire song sections without adhering to a fixed sequence.
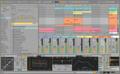
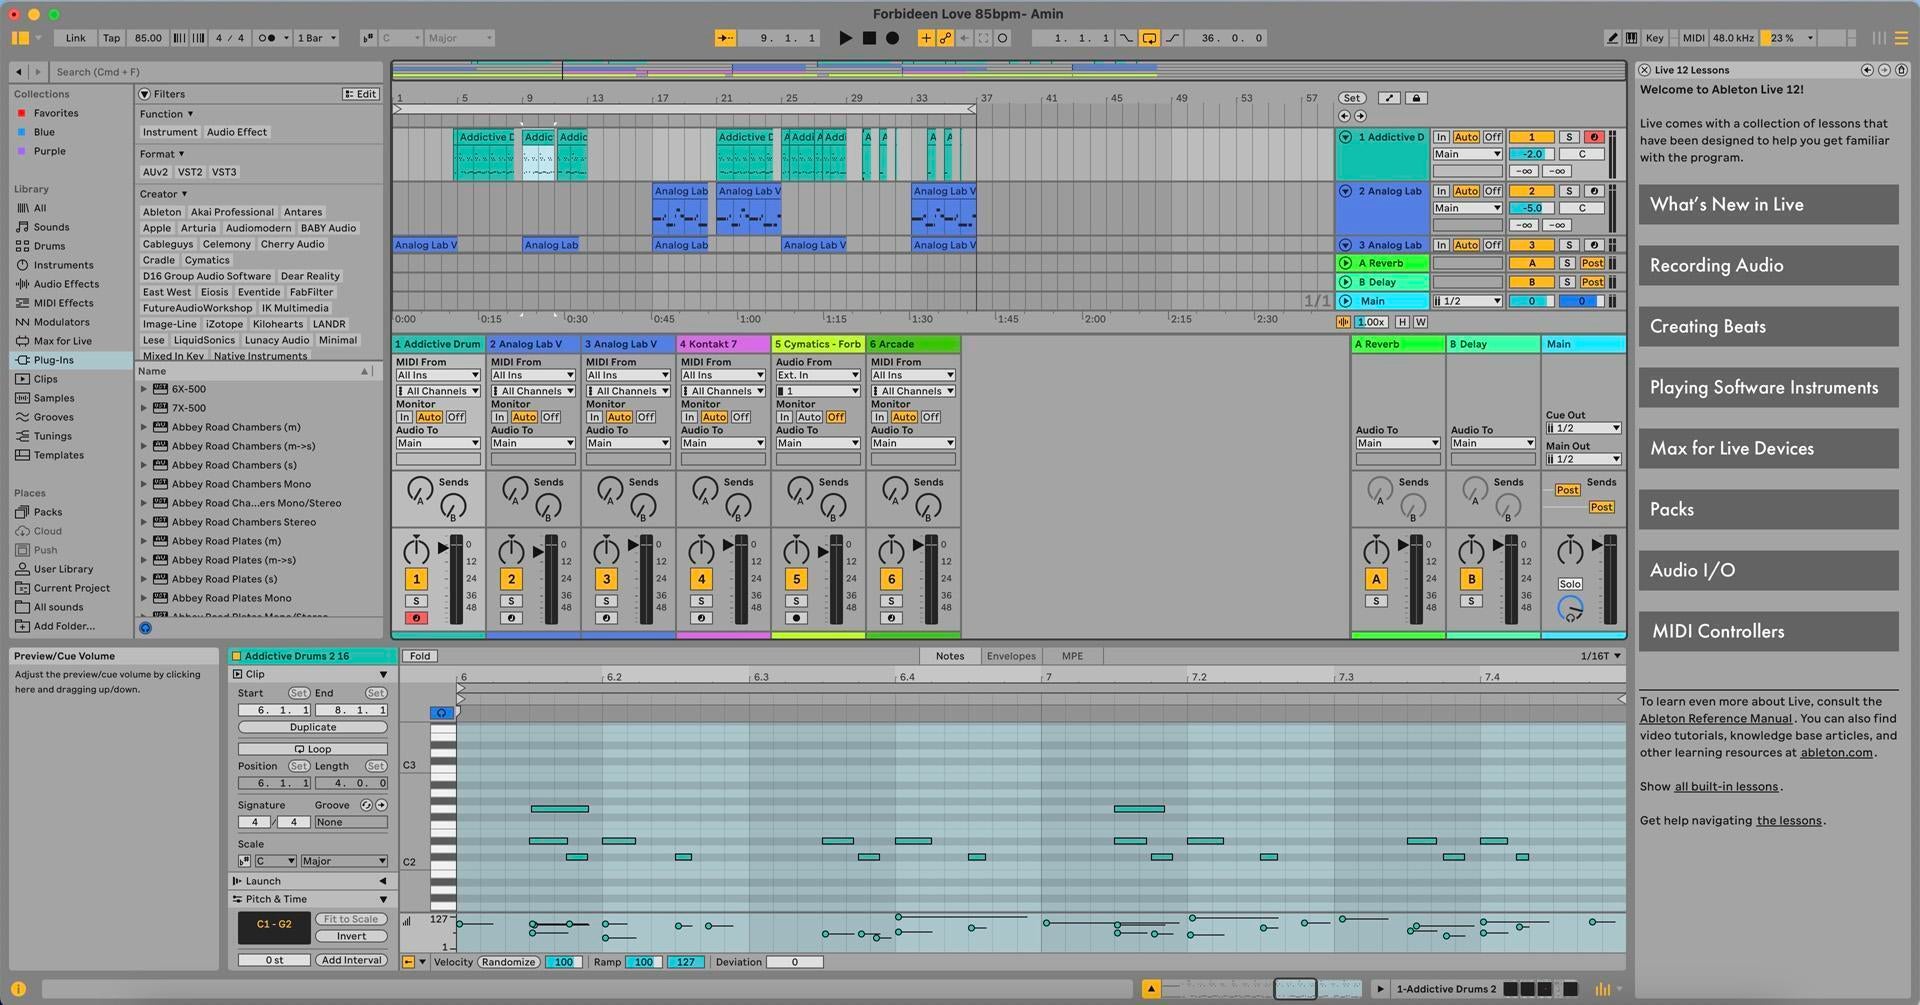
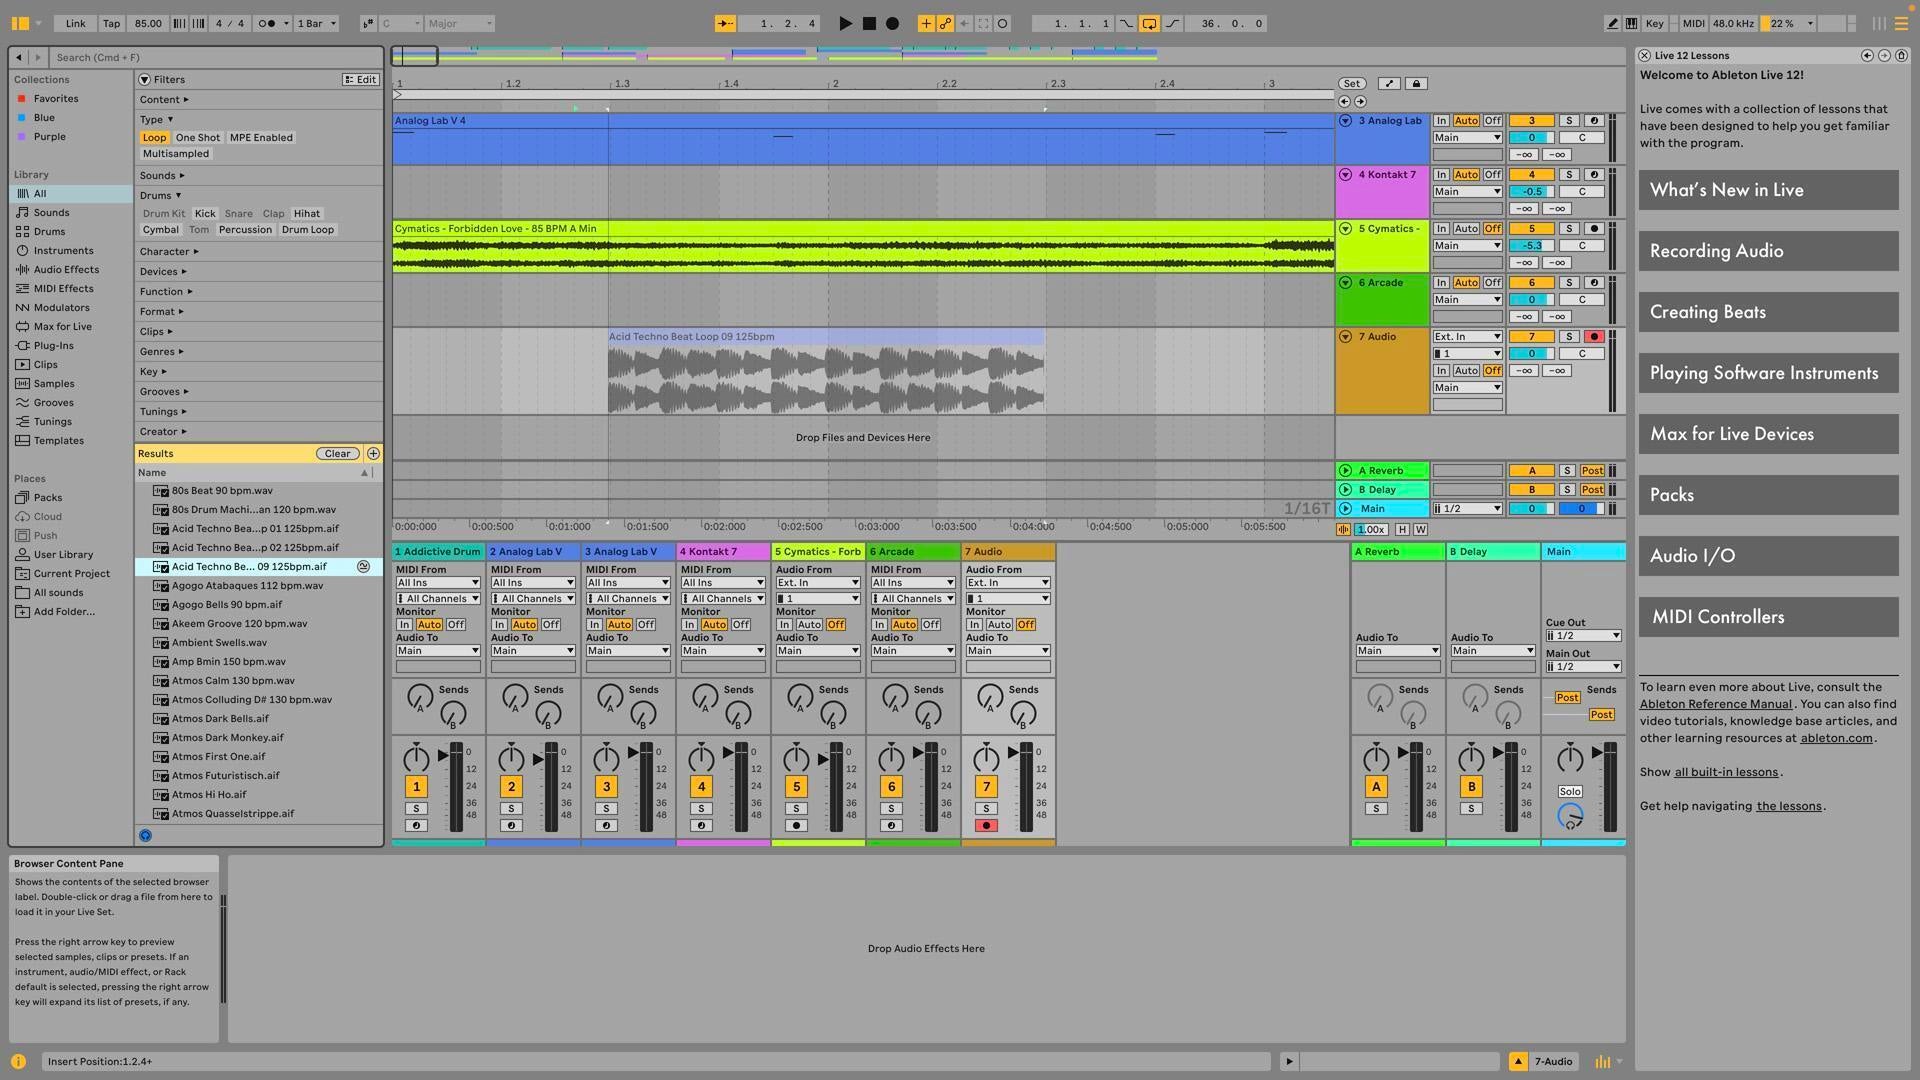
Arrangement View: The Structured Approach
Arrangement View offers a more traditional, timeline-based approach to music production. This view is laid out horizontally and works similarly to many other DAWs, allowing you to arrange your music along a time axis. Tracks are stacked vertically, and time moves from left to right, making it straightforward to compose songs, add automation, and fine-tune details.
Key Features:
- Linear Sequencing: Place and arrange clips along a timeline for precise control over the structure of your tracks.
- Automation: Draw automation curves for volume, panning, effects, and other parameters to add movement and dynamics to your music.
- Detailed Editing: Zoom in for detailed editing of audio and MIDI clips, including cutting, stretching, and merging.
- Comprehensive Overview: See the entire arrangement of your song at a glance, making it easier to manage complex projects.
Arrangement View is suited for traditional songwriting and composition, providing a clear and detailed environment for arranging your music from start to finish.
Integrating Both Views
One of Ableton Live’s strengths is the seamless integration between Session and
Arrangement Views. You can freely move ideas between the two, using Session View to brainstorm and capture spontaneous moments of inspiration then transitioning those ideas into Arrangement View to refine and structure your compositions. This flexibility makes Ableton Live a versatile tool for all stages of the music production process from the initial creative spark to the final arrangement and mixing.
Exploring Sounds and Instruments
Ableton Live’s sound library ranges from rich synthesizers to authentic acoustic instruments. Dragging these sounds onto tracks in the interface is the first step in the creation process.
Exploring the vast array of sounds and instruments is a foundational aspect of working with Ableton Live, a DAW celebrated for its extensive sound library and intuitive design. This platform offers users a treasure trove of sonic possibilities, from deeply textured synthesizers to lifelike acoustic instruments, all designed to cater to a wide range of musical genres and production styles. Understanding how to navigate and utilize this sound library effectively is crucial for anyone looking to harness the full creative potential of Ableton Live.
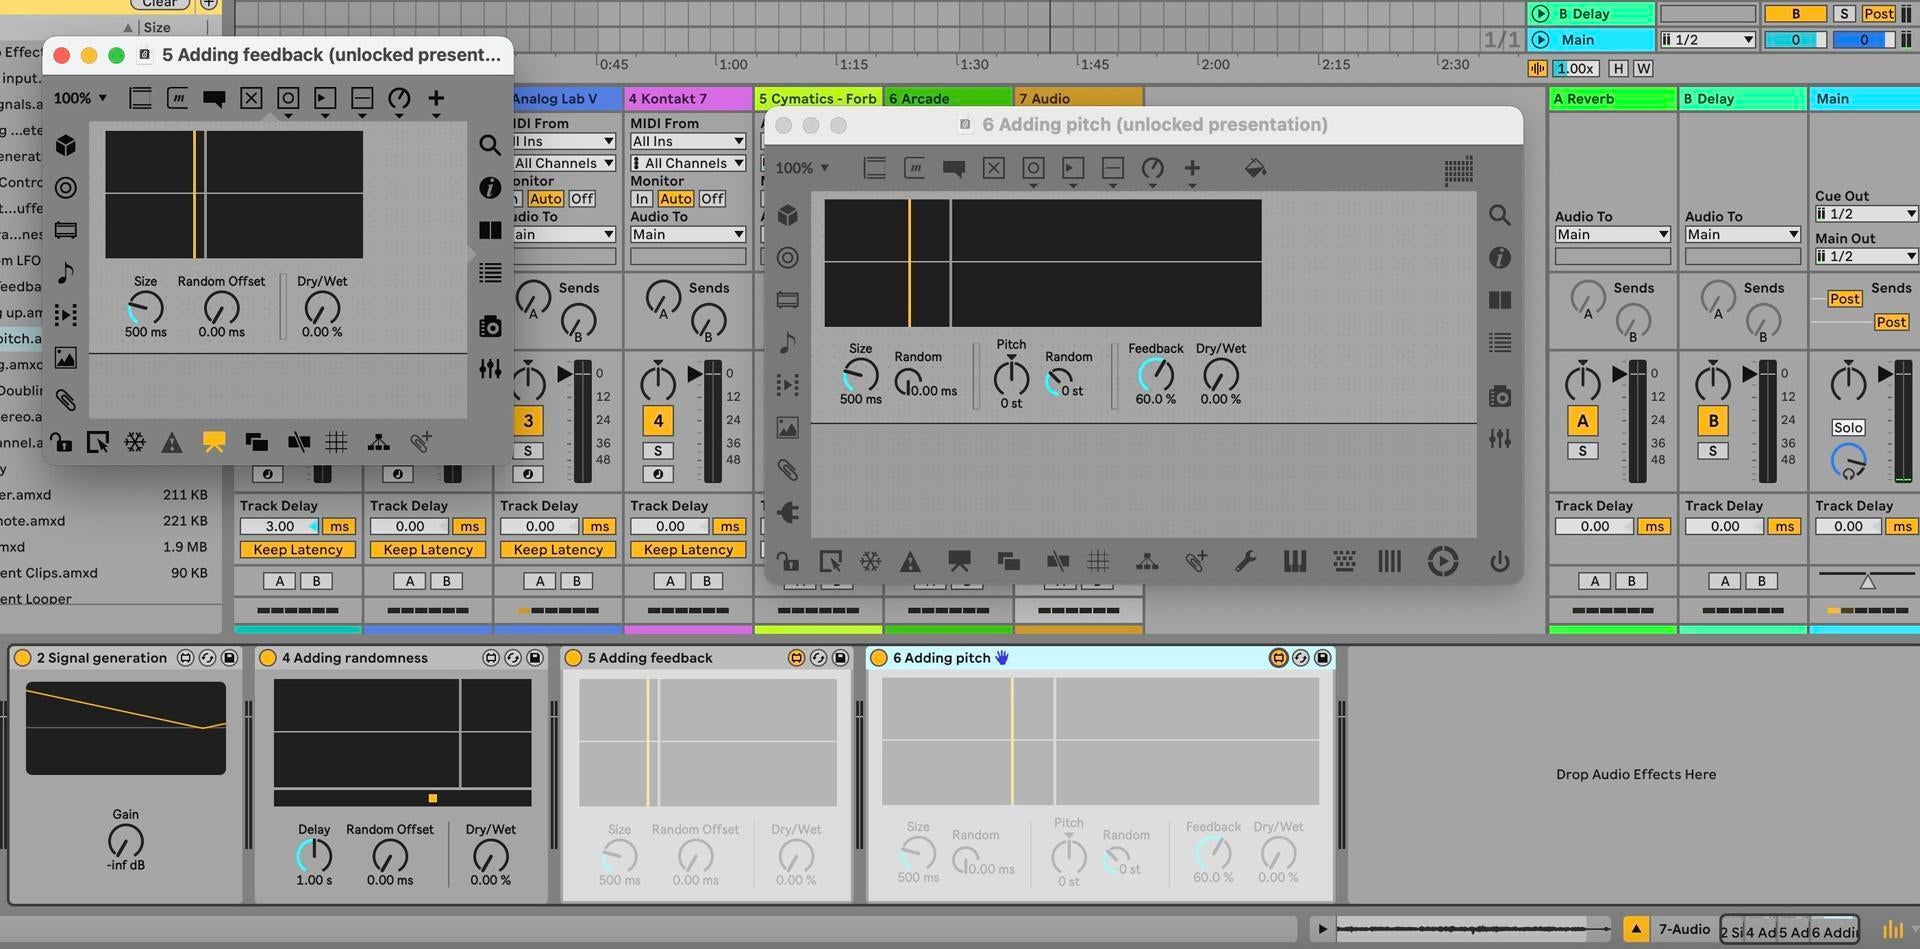
Customization and Sound Design
One of the many things that sets Ableton Live apart is the depth of customization available for each sound. Users are not limited to the presets; each instrument and sample can be deeply customized using Ableton’s array of effects and modulation tools. This means that a simple piano sound can be transformed into something completely new, or a synthesizer patch can be meticulously sculpted to fit perfectly into a mix. The ability to layer sounds, apply effects, and adjust parameters in real time provides endless possibilities for sound design.

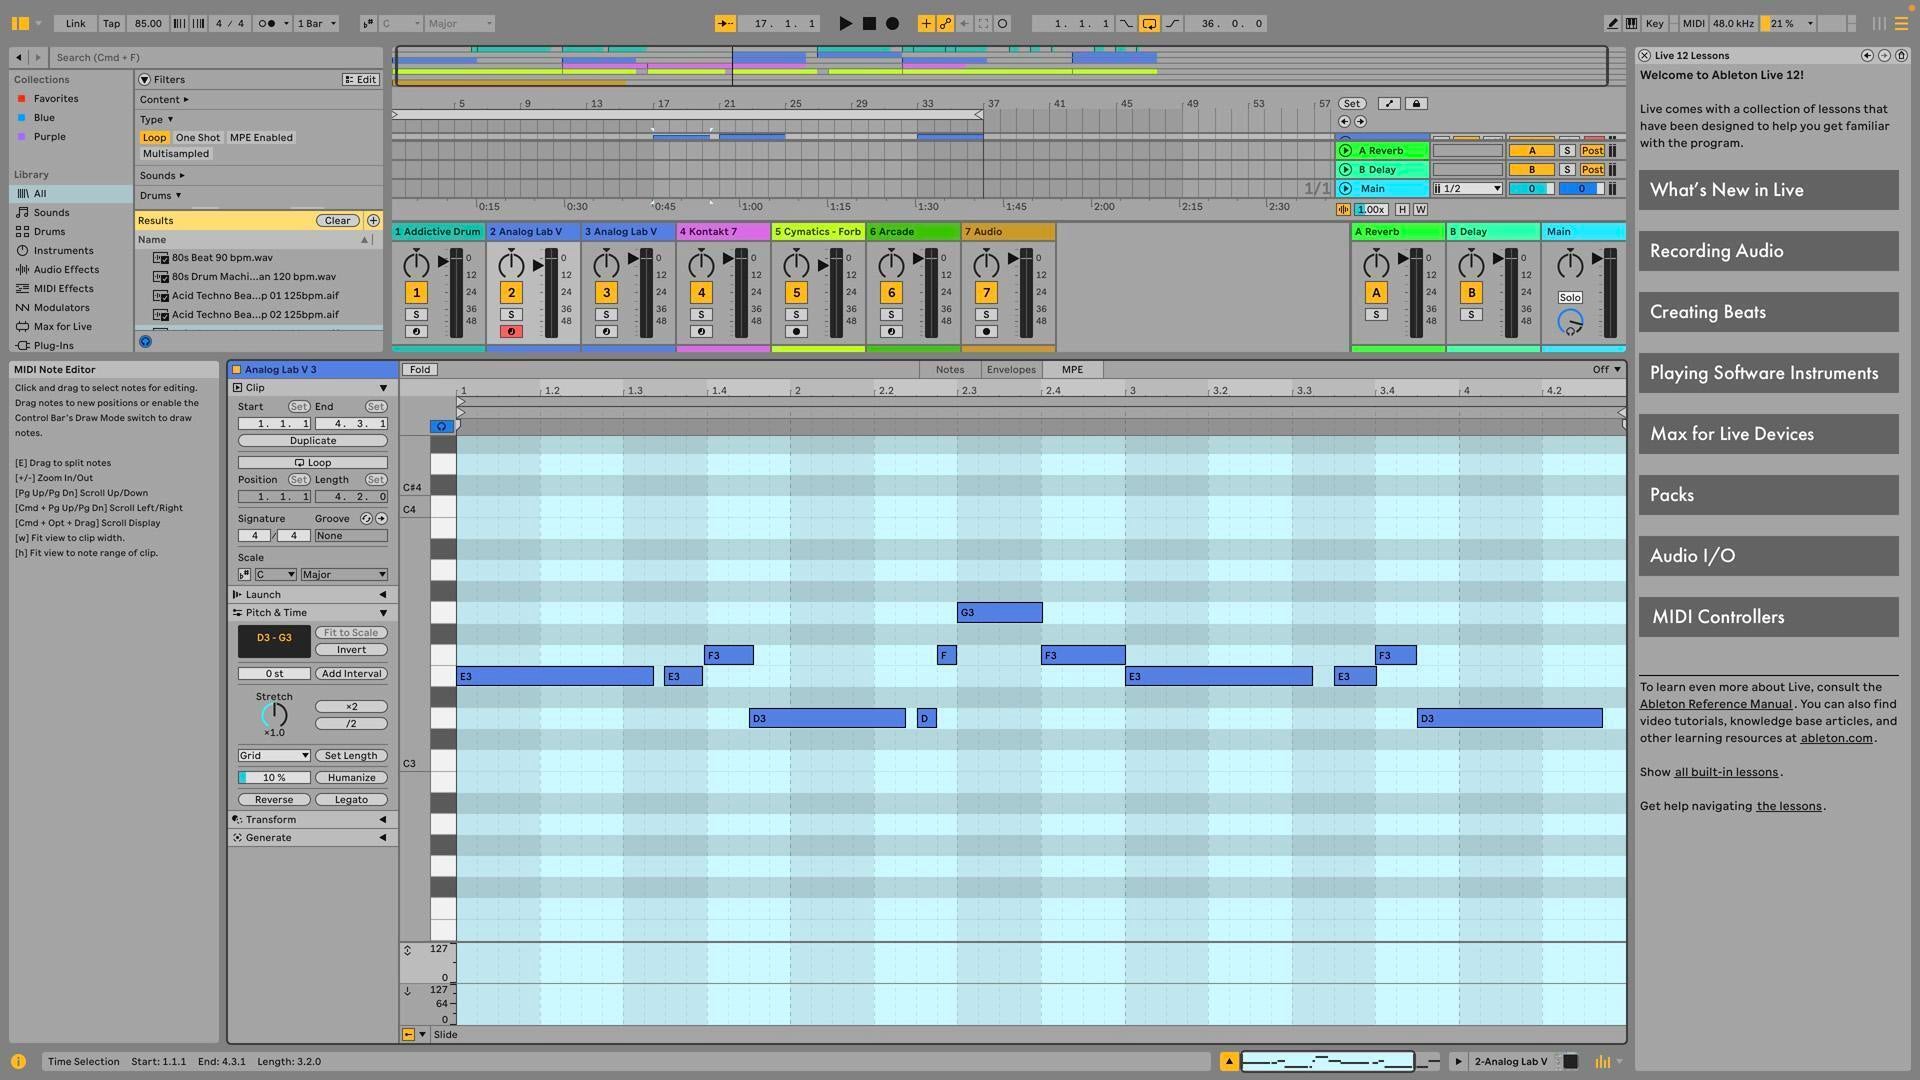
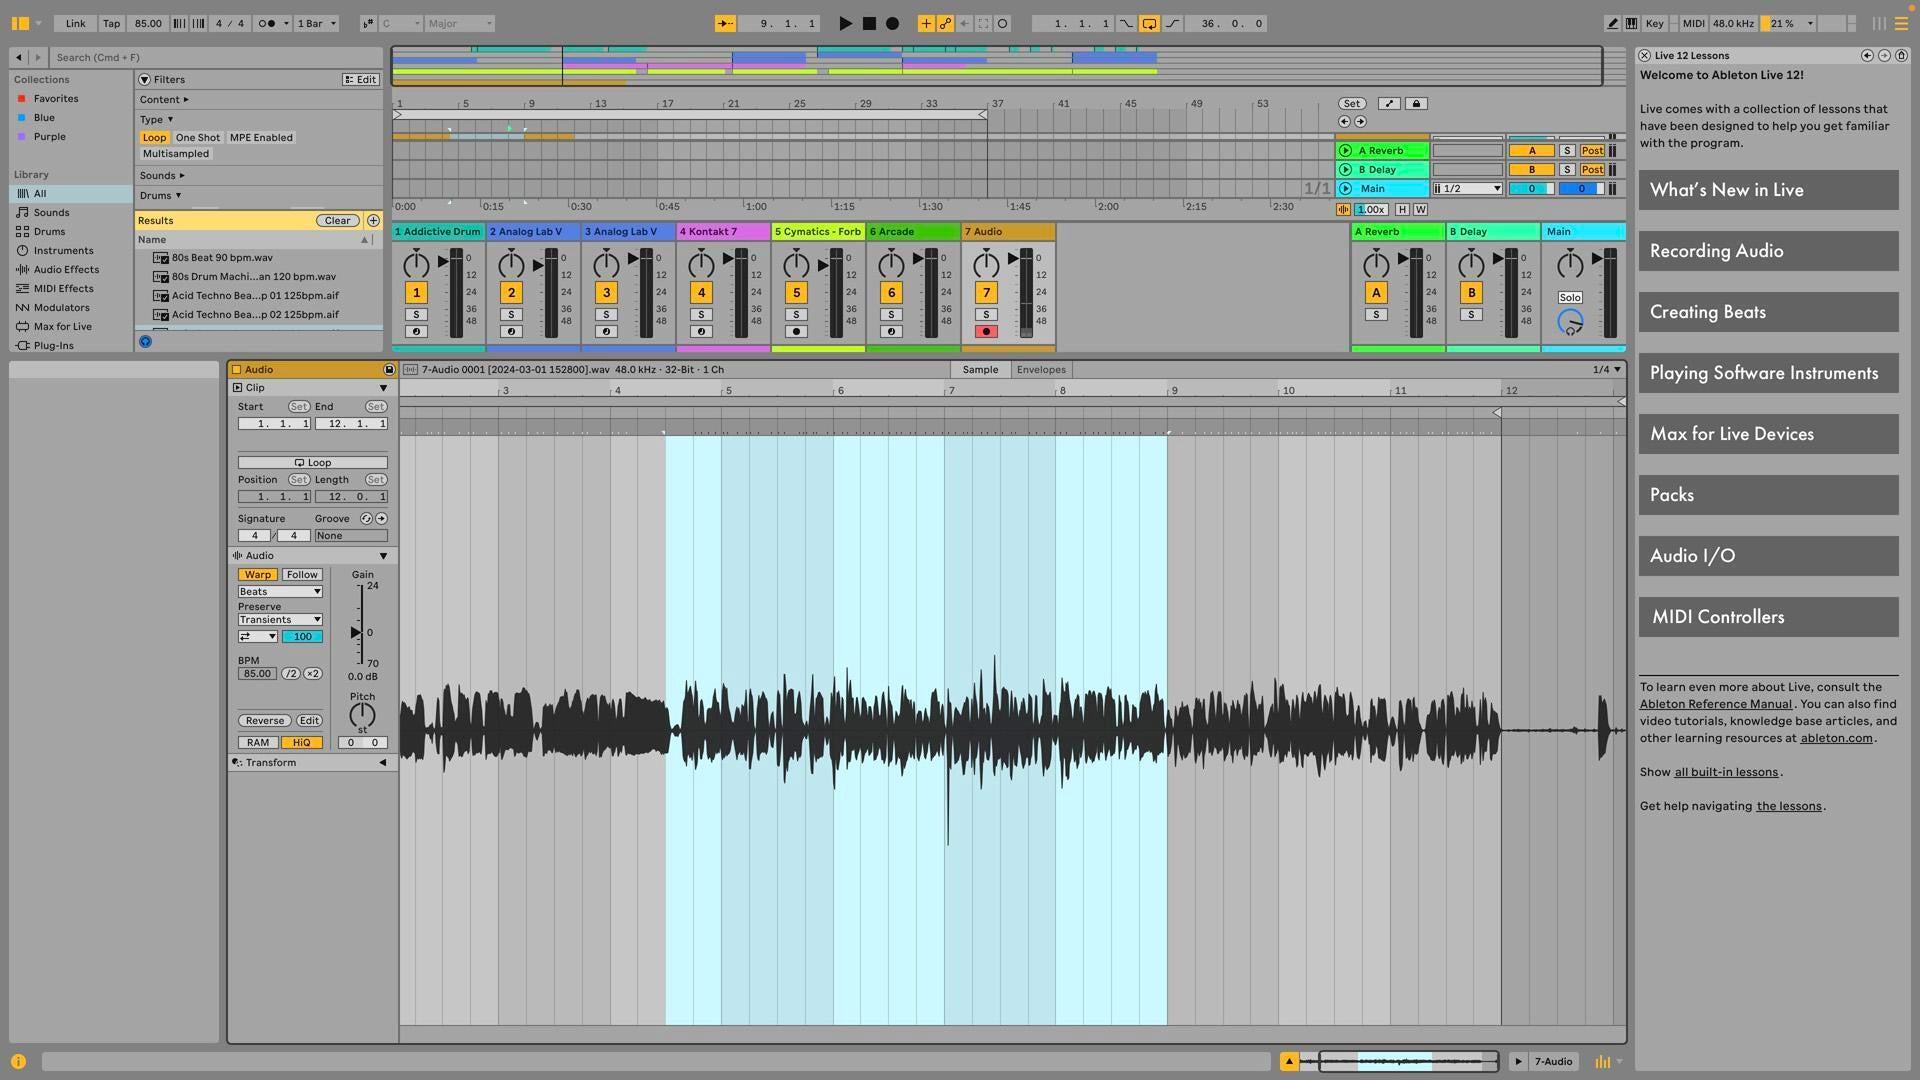
Recording and Editing
Recording in Ableton Live is flexible, accommodating both MIDI performances via controllers and audio recordings through microphones or line inputs. The software offers robust editing tools, allowing for intricate adjustments to MIDI notes and audio clips.
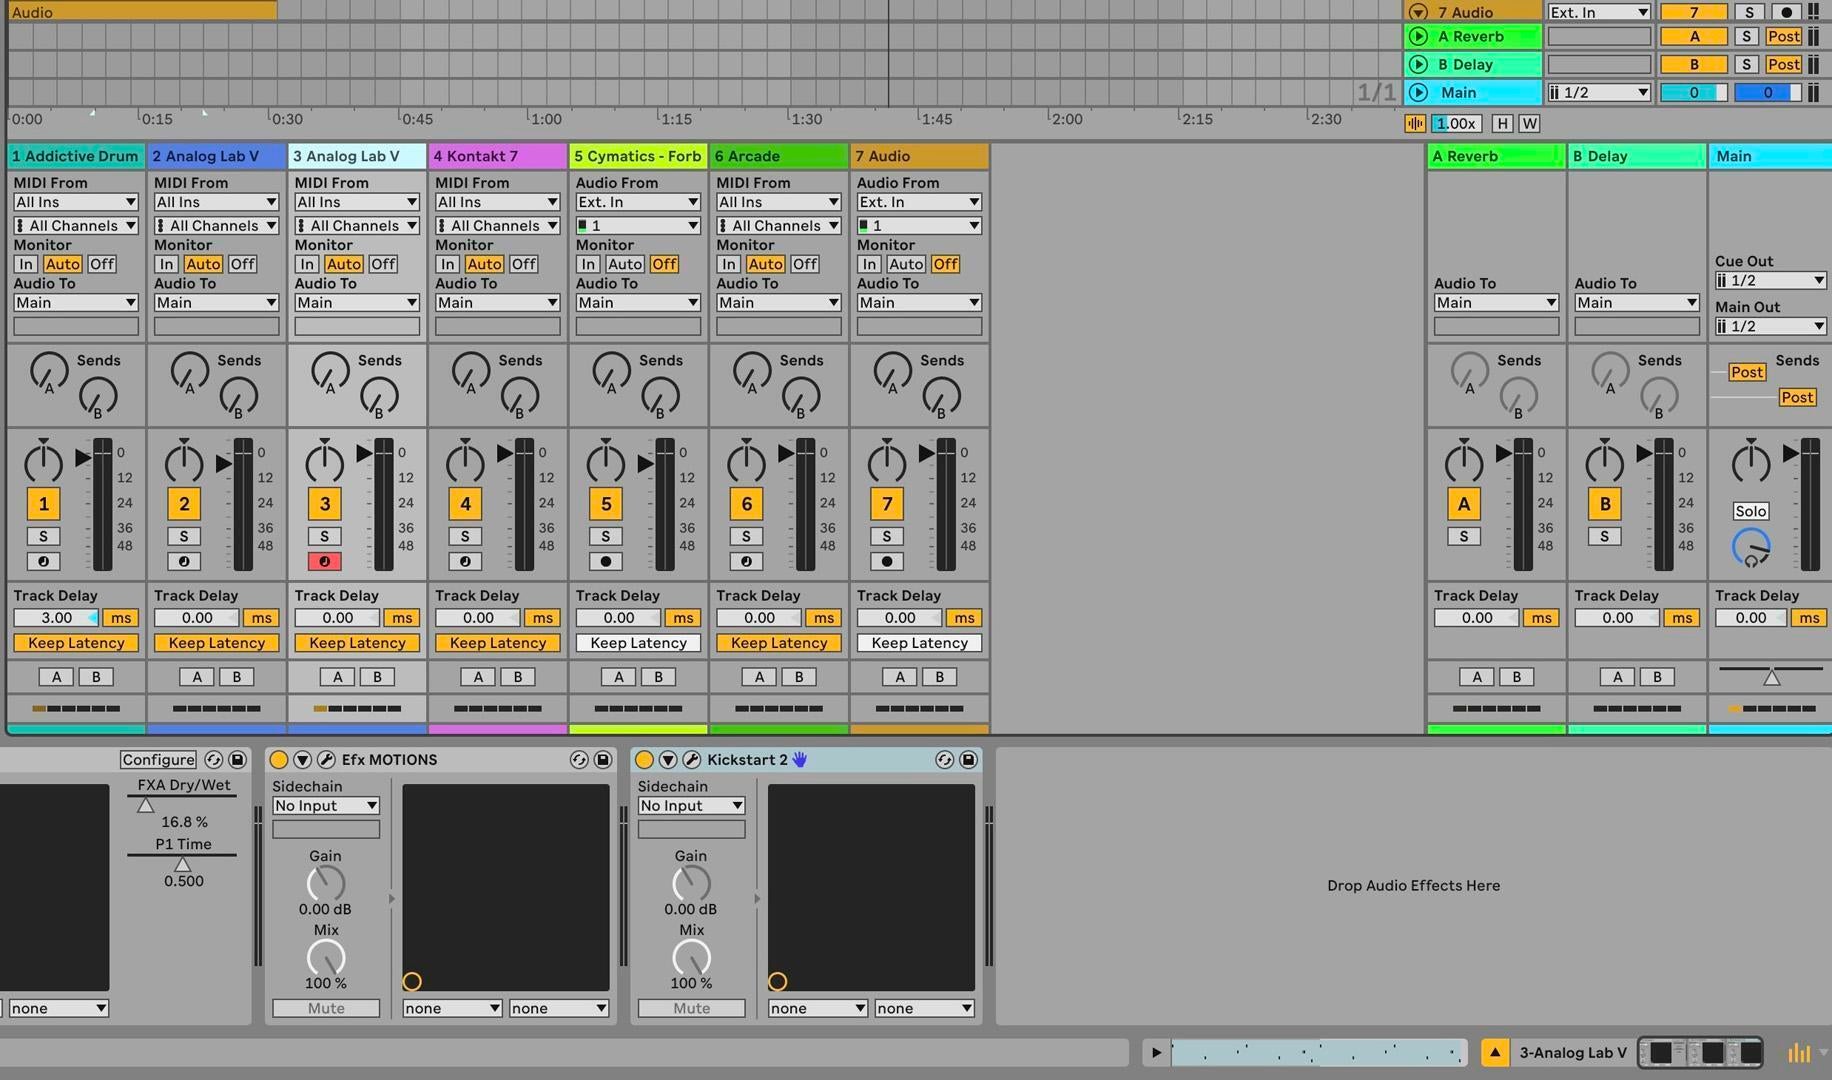
Mixing and Effects
Mixing tracks in Ableton Live is intuitive with a comprehensive mixer and a plethora of processors and effects to sculpt the sound. You can easily automate volume, panning, and effects parameters to breathe life into your music.
Advanced Features
Max for Live
If you want to dive deeper, then Max for Live offers an environment for creating custom instruments and effects, providing limitless possibilities for sound design and performance enhancements.
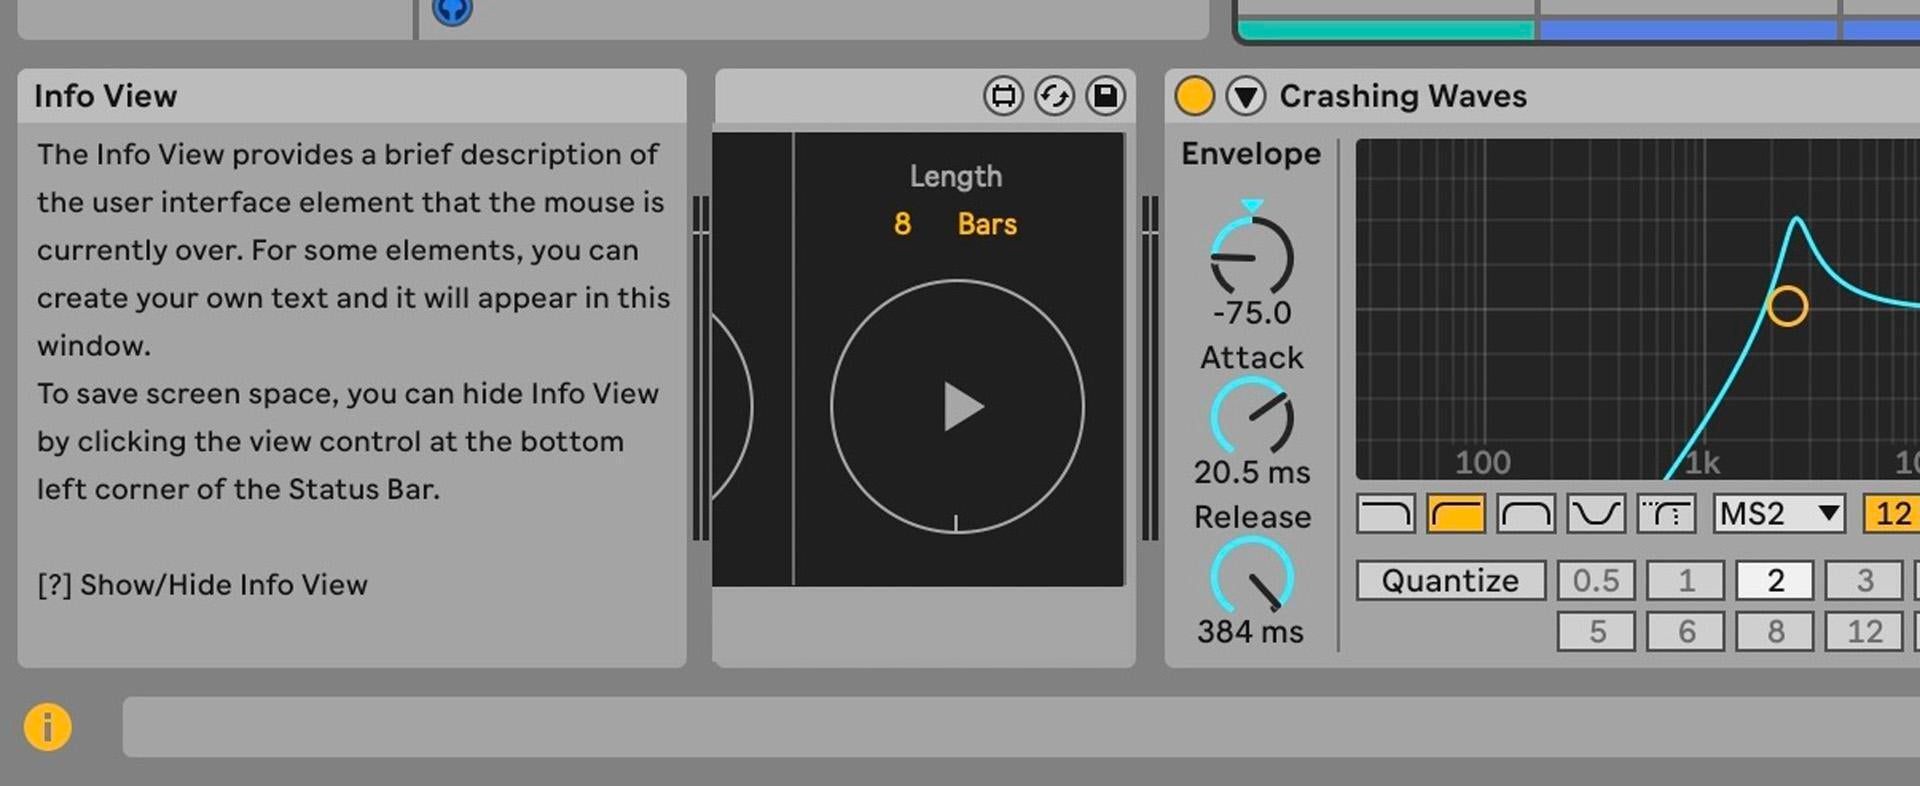
The Power of Tips in Ableton Live
In Ableton Live, the Tip feature serves as a hidden gem that significantly softens the learning curve for new users. This invaluable tool provides contextual tips and tricks that appear as you navigate through different parts of the software, offering real-time guidance and insights tailored to the specific task at hand. Whether you’re experimenting with MIDI sequencing, auditioning audio effects, or exploring the vast library of sounds, the Tip function acts as a virtual mentor, illuminating features and functionalities that may not be immediately obvious. If you’re new to Ableton Live, then this feature will accelerate the familiarization process, demystifying complexities and encouraging exploration and experimentation.
Conclusion
Ableton Live stands as a gateway to musical exploration, enabling creators to produce, perform, and experiment with music in unprecedented ways. Its intuitive design, coupled with powerful features, makes it an indispensable tool for modern music makers. As with any complex tool, mastery comes with time and experimentation. Dive in, explore, and let Ableton Live be the canvas for your music production needs.