Like many of you, I’ve spent most of 2020 cooped up in my apartment while doing my part to slow the spread of COVID-19 here in Fort Wayne, Indiana. Initially, I had more free time than I knew what to do with. Like a lot of my fellow musicians, I started writing songs again and recording them on acoustic guitar. Right away, I realized that getting a solid recording in my drafty apartment was going to take a bit of extra work.
When it comes to recording acoustic guitar, I’m still a newbie. Prior to my newfound acoustic obsession, I exclusively recorded electric guitar with amp models. But, with advice from my coworkers at Sweetwater, I’ve grown as a home recordist, and I’ve captured sounds that I never would have been able to get without their help. This is a step-by-step guide to recording a good acoustic sound in a small apartment — from one beginner to another.
Choosing the Best Room You Have
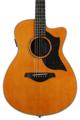
If you’re an apartment dweller like myself, then you’ve likely dealt with less-than-stellar room acoustics. But, with a little experimentation, you can find a spot in your apartment that flatters both your playing style and your guitar’s sonic characteristics. This process may take you some time, so be patient. Here’s how I found my spot. For a few minutes, I played my trusty Yamaha AC5R in each room of my apartment while listening for differences in the sound. My bedroom and living room were much too boomy, thanks to the loft ceilings. My kitchen sounded tinny, while the bathroom was a bit too boxy for my taste. Finally, I settled on my 5-foot by 5-foot closet because it sounded the driest.
Getting a Good Sound in Your Room
Once you choose a room, you now have two options: take advantage of the room’s unique sound or attempt to remove the room entirely. If you choose the former, experiment with where you’ll be playing in the room and find the spot that sounds right. There are absolutely no rules when it comes to taking advantage of your room. Here’s a story shared by my fellow Sweetwater copywriter and home-recording wizard Jake Jenkins. He once recorded his acoustic while sitting on the edge of his bathtub. He liked the slappy sound of the room but struggled with where to position the microphone. Jake ended up removing one of the drawers from the vanity and mounting his Shure SM57 inside. What resulted was a unique acoustic sound with a thick, focused midrange that sat prominently in his mix.
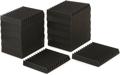
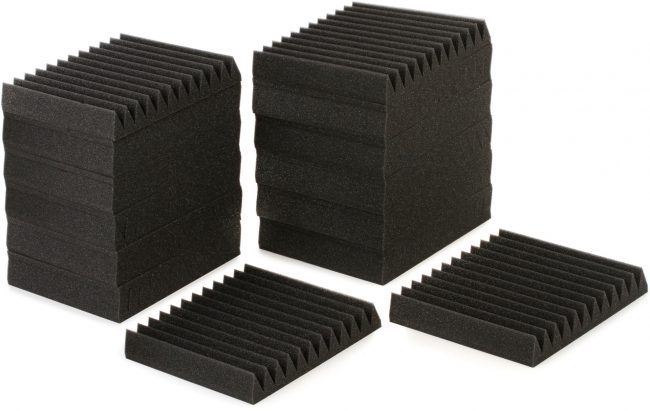
If you can’t find a good spot in your room and choose to attempt to eliminate its sound, then you’re going to want to treat the room as much as possible. Here at Sweetwater, we always recommend investing in professional acoustic treatment before anything else. Why? Because if your room sounds good, then your instruments will shine even brighter. If you’ve got the spare change for traditional treatment, check out some Auralex 2-inch Studiofoam Wedgies — they’ll make a difference.
While I agree that acoustic paneling is an effective way to treat your musical space, I can think of a few reasons why using it would be detrimental to your living space. With that in mind, here’s a tip to get decent acoustic filtering on the cheap — use comforters, heavy blankets, and duvets. Mount them on mic stands or tall lamps or furniture like you’re building a blanket fort. Leave some room inside for your gear, and you’re off to the races.
For my recording space, I thumbtacked my feather duvet to the closet walls in such a way that it hangs in front of the doorframe and completely covers another wall. When I record, I leave the door open and place my mic just inside the door. I’m able to capture a surprisingly accurate sound because the opened door prevents bass buildup. Plus, the duvet and clothes hanging in the closet behind me help with absorption of the reflected sound.
Microphone Choice
When it comes to the microphone you choose, that’s really up to you. Some players prefer the incredible definition of a large-diaphragm condenser, while others swear by the smooth, warm feel that a ribbon mic provides. Dynamics work perfectly well, too. If you’re unsure what kind of microphone you like for acoustic guitar, Lynn Fuston’s “Choosing the Best Microphone for Acoustic Guitar – 32 Mic Shootout” is an invaluable resource. For the article, Lynn, Sweetwater’s Manager of Written Content, and our resident content creator and studio ace Don Carr demoed 32 microphones of all types and price ranges. And they weren’t even in a studio. They were in a basement bedroom (what a coincidence), of all things. Check it out.
I’m currently using my old college microphone, an MXL 770 large-diaphragm condenser, and running it through an iConnectivity iConnectAUDIO2+ USB interface and straight into PreSonus Studio One 5. I especially like the definition and clarity the setup provides me. The Audio-Technica AT2035 will give you similar results.

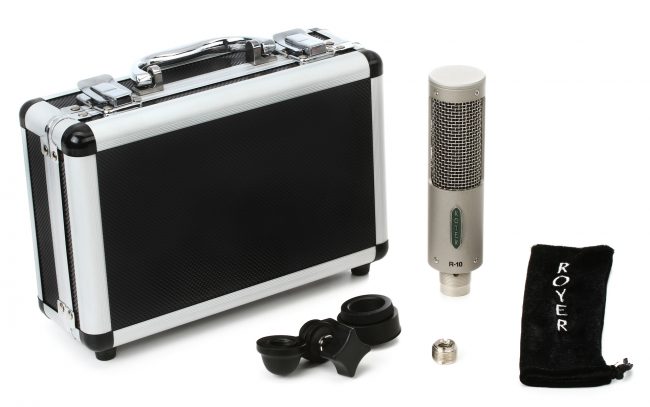
While I love my condenser, I had the opportunity to demo the Cloud 44-A active ribbon microphone recently. The low-end warmth and smooth off-axis response have convinced me to add a ribbon to my collection. I’ve currently got my eyes on the Royer R-10 ribbon microphone, and I can’t wait to see how it shines in my new setup.
Microphone Placement
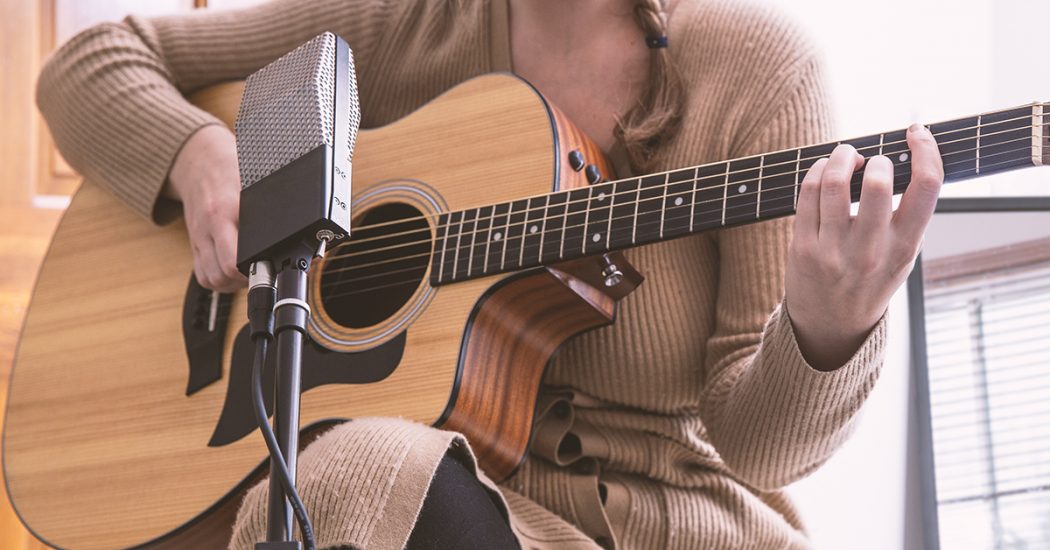
Like most musicians, I’m on a budget and don’t have enough space in my closet to use two microphones. As such, this section will focus on getting a good sound with a single microphone. It’s important to think of the microphone as a hypersensitive ear. It’ll only hear what’s in front of it. If you put it in front of the soundhole, then you’ll get a booming tone that’s absolutely unusable. Place the mic near the nut, and all you’ll hear is finger noise with a dash of music in the background. If they’re using a single microphone, most studio professionals prefer to place the microphone about a foot in front of the 12th fret. It gives you the right balance of natural finger noise and picking attack.
I’ve found that placing my microphone at the 12th fret and angling it toward the guitar body helps give me a sound that’s pleasing to my ears. I get a bit more bass response, which works very well for fingerstyle. But, at the end of the day, you should place the microphone at the location that sounds best to you. Whether that’s beside your head or at your feet, anything goes. The sonics matter here, not the optics.
Getting the Right Take
Mic placement is only half the battle. Once you completely set up and get a raw sound you like, the real fun begins. Be warned, getting the right take can be a long and arduous process. Wrong notes, sloppy technique, accidental sneezes, and children playing outside can quickly ruin a take. Before we get into reducing external factors, I have one major piece of advice. Don’t stop until you get a take that you like! There’s only so much studio magic that you can do once the signal is recorded. Get a good sound now, and you eliminate headaches down the road.
Turn Off the AC/HVAC Unit
There’s nothing worse than the dull roar of the AC unit switching on when you’re in the middle of a delicate section. Turning off your AC or HVAC unit beforehand will take that issue out of the equation. In the same vein, make sure your dishwasher or washing machine isn’t running while you’re recording. You may need to check your fridge, as well. Instead of unplugging it, you can set it to a lower temperature setting so it cycles on less frequently. Just remember to set it back.
Listen to Each Take Carefully
If the neighborhood kids are playing outside in the parking lot, then it might not be the right time to record. But, if you are recording during this time, make sure to listen to each take carefully. Listen carefully for any dogs barking, children shrieking, or car horns honking. If you hear them, try to record it again. Honestly, you’ll be less frustrated if you find a time of day when things are quietest and record then, though that will probably be late at night or early in the morning.
Tame Obnoxious String Squeak
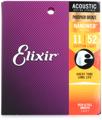
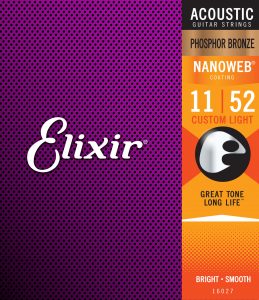
String squeak is the bane of my recording existence. I spend the majority of my recording time trying to prevent it. Luckily, there are some things that can be done to lessen its effect. I’ve found that Elixir’s Nanoweb phosphor bronze strings significantly reduce the severity of string squeak. Some guitarists swear by GHS Fast Fret or MusicNomad String Fuel string cleaner. Both products clean and lubricate your strings to cut down on squeaks. You can also apply a little lotion to your fingers before playing to grease the strings. Or lightly wet down your fingers before playing. That’s a studio trick that session guitarists know.
Tips and Suggestions I Picked Up Around Sweetwater
Along this home-recording journey of mine, I’ve received a mountain of tips and tricks from my comrades at Sweetwater. Here are some of the most helpful.
Keep experimenting
Necessity is the mother of invention. Right? Applying that to your recording process will keep things fresh and ensure you come up with a sound that’s all your own. So, go ahead, position your mic over your shoulder! Record in a blanket fort! Play while lying down on the floor! The only limit is your creativity.
Make sure to use a highpass filter
This one sounds like a no-brainer, but it’s definitely worth mentioning. Between deadened strings, room rumble, and the mic stand picking up vibrations as you tap your foot, the lowest frequencies that get into your mic tend to muddy up your sound. By adding a highpass filter in your DAW, you can control exactly how much low end you want in the mix and cut out the rest. The perfect frequency depends on the song, but I’ve found that 100Hz produces good results.
Double your guitar
If you’re only recording guitar and voice, then make sure to double your guitar. Work to play the part as identically as possible then hard pan each track to opposite sides. You’ll get a lush, dramatic sound that adds depth and fills significant sonic space. The subtle differences between each track are literally music to your ears.
Use iZotope RX 8 to clean things up
Besides being an excellent all-around editing plug-in with integrated time and pitch adjustments, iZotope’s RX 8 is exceptional at cleaning up acoustic tracks. It has a built-in Guitar De-noise feature that helps cut out finger squeak, pick noise, and other unwanted artifacts. RX 8 also has a De-bleed tool that eliminates any click-track bleed. I’m looking forward to learning every trick this plug-in has up its sleeves.
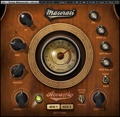
Try Waves Maserati ACG
Maserati ACG was recommended to me several times. It’s currently on my plug-in wish list, but I’ve not tried it yet. This plug-in brings out the best from acoustic recordings, thanks to a pair of optimized EQs and an easy-to-use layout.
Final Thoughts
Recording acoustic guitar in your apartment can be fun and exhilarating and can save you money that would be claimed by a trip to the studio. Between limited space, less-than-stellar acoustics, and noisy neighbors, recording at home can be frustrating and exhausting. But, with a bit of persistence, experimentation, and thinking outside the box, you can capture a sound that you’re proud to play for your friends and family. So, keep experimenting and trust the process! The results might surprise you.
If you’re struggling to get a good recording like I was, then make sure to reach out to your Sweetwater Sales Engineer at (800) 222-4700. They are musicians who record in their spare time, so every Sales Engineer is a veritable gold mine of recording know-how. Whether you’re struggling with your microphone, DAW, or room acoustics, they’ll be happy to help you with your upcoming project.