
Intro to Pro Tools: How to Export Your Mix
You finished your mix -it totally rocks!- and now it’s time to send it off for mastering… but how? Sound familiar? We’ve all been there.
The steps below will show you how to successfully export your mix as a stereo audio file.
Export your Mix: Bouncing to Disk
1. Highlight your Song
Use the Selector tool to select the length of the session in the Timeline. The length you set here will determine how long the exported audio file will be.
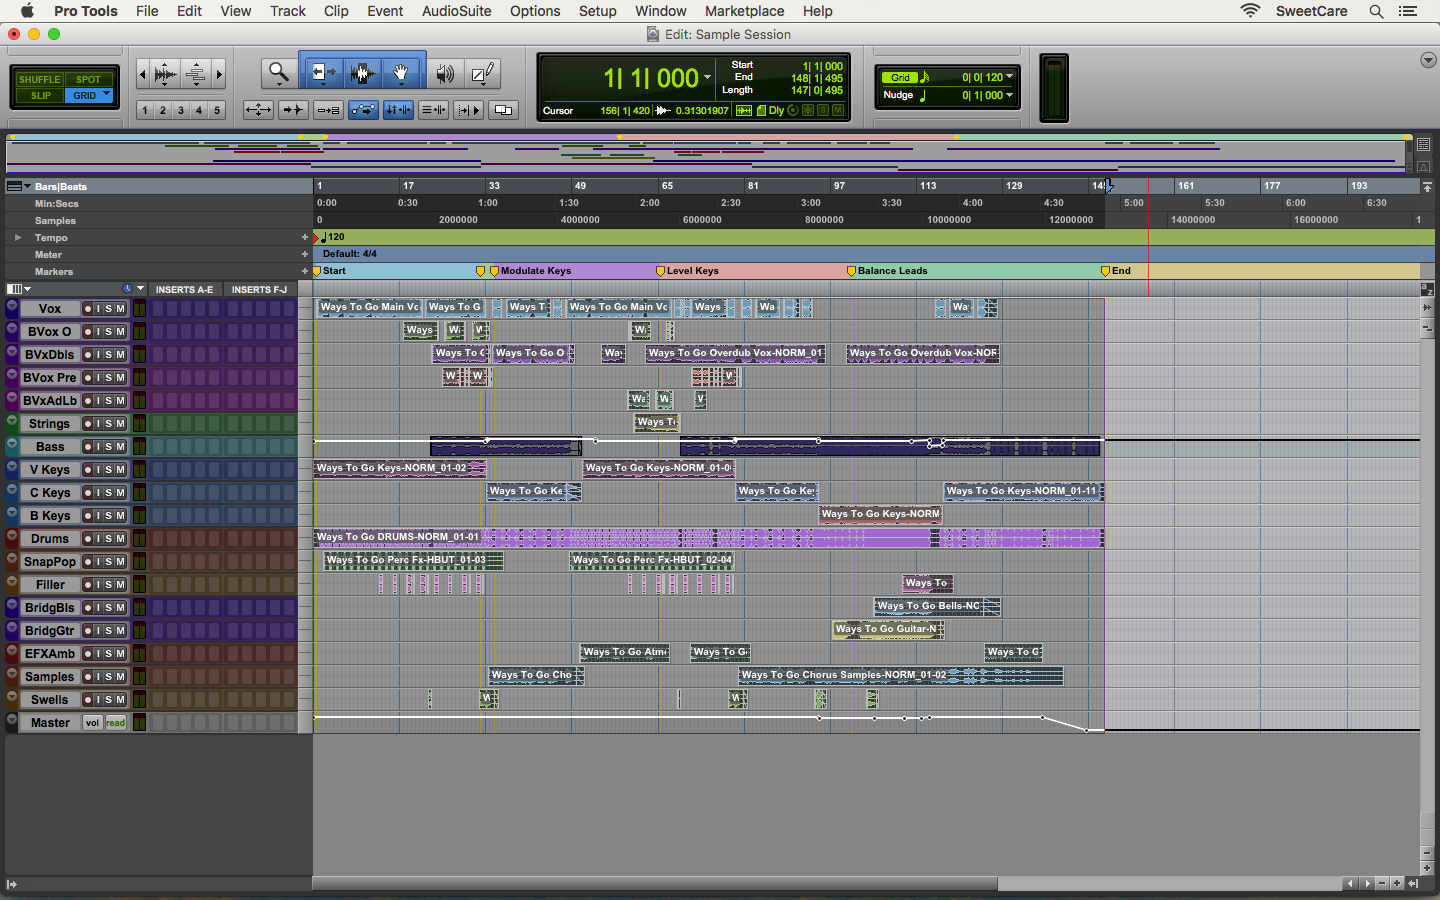
Step 1: Select your mix.
2. Bounce to Disk
Choose File > Bounce to > Disk…
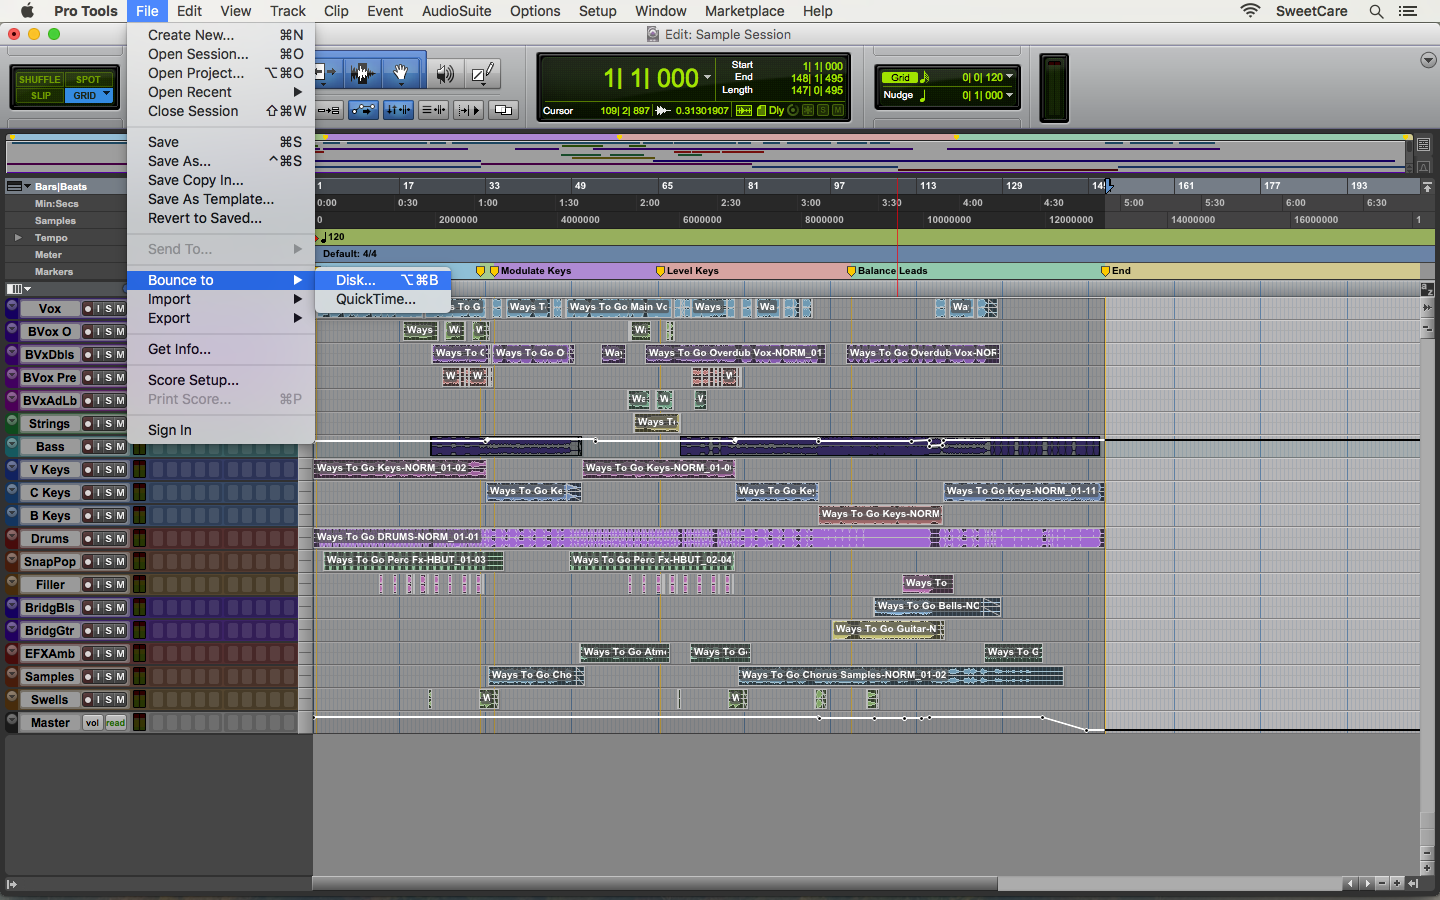
Step 2: Select Bounce to Disk….
3. Export Options
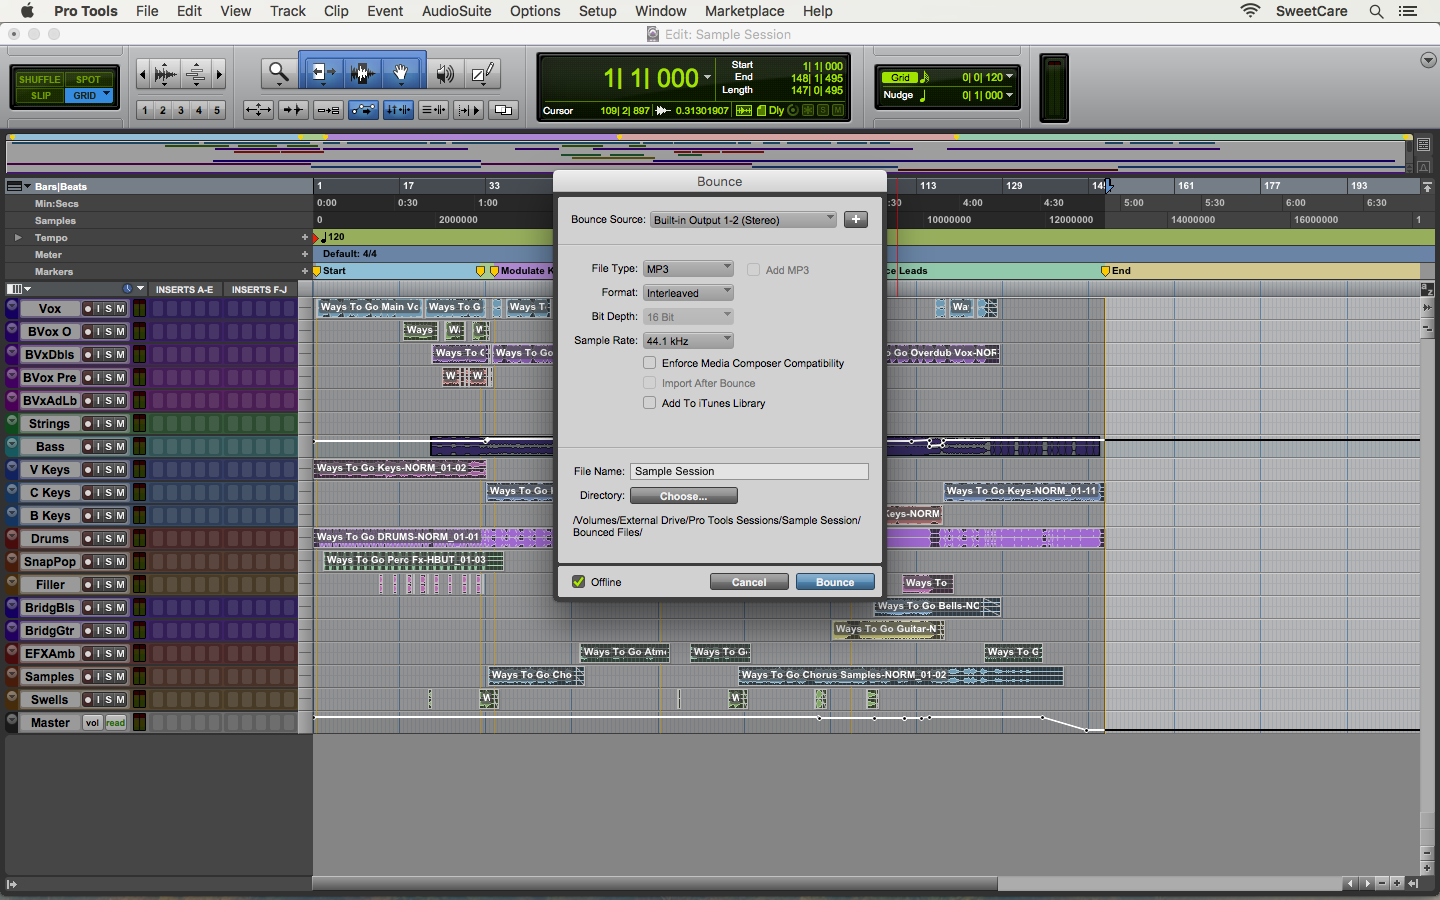
When the Bounce window opens, you are prompted to select the Bounce Source or your Main Output (ex: Built-in Output 1-2). Export settings can be adjusted here
- File Type: WAV, AIFF, MP3

Step 3: Bounce settings, click to enlarge.
- MP3 is restricted to Bit Depth of 16.
- Format: Mono (Summed), Multiple Mono, Interleaved
- Select Interleaved to create a stereo audio file.
- Bit Depth: 16 Bit, 24 Bit, 32 Bit Float
- If you are burning your file to a CD, select 16 Bit. Otherwise, you can select either 24 or 16 Bit.
- Sample Rate: 44.1 kHz +

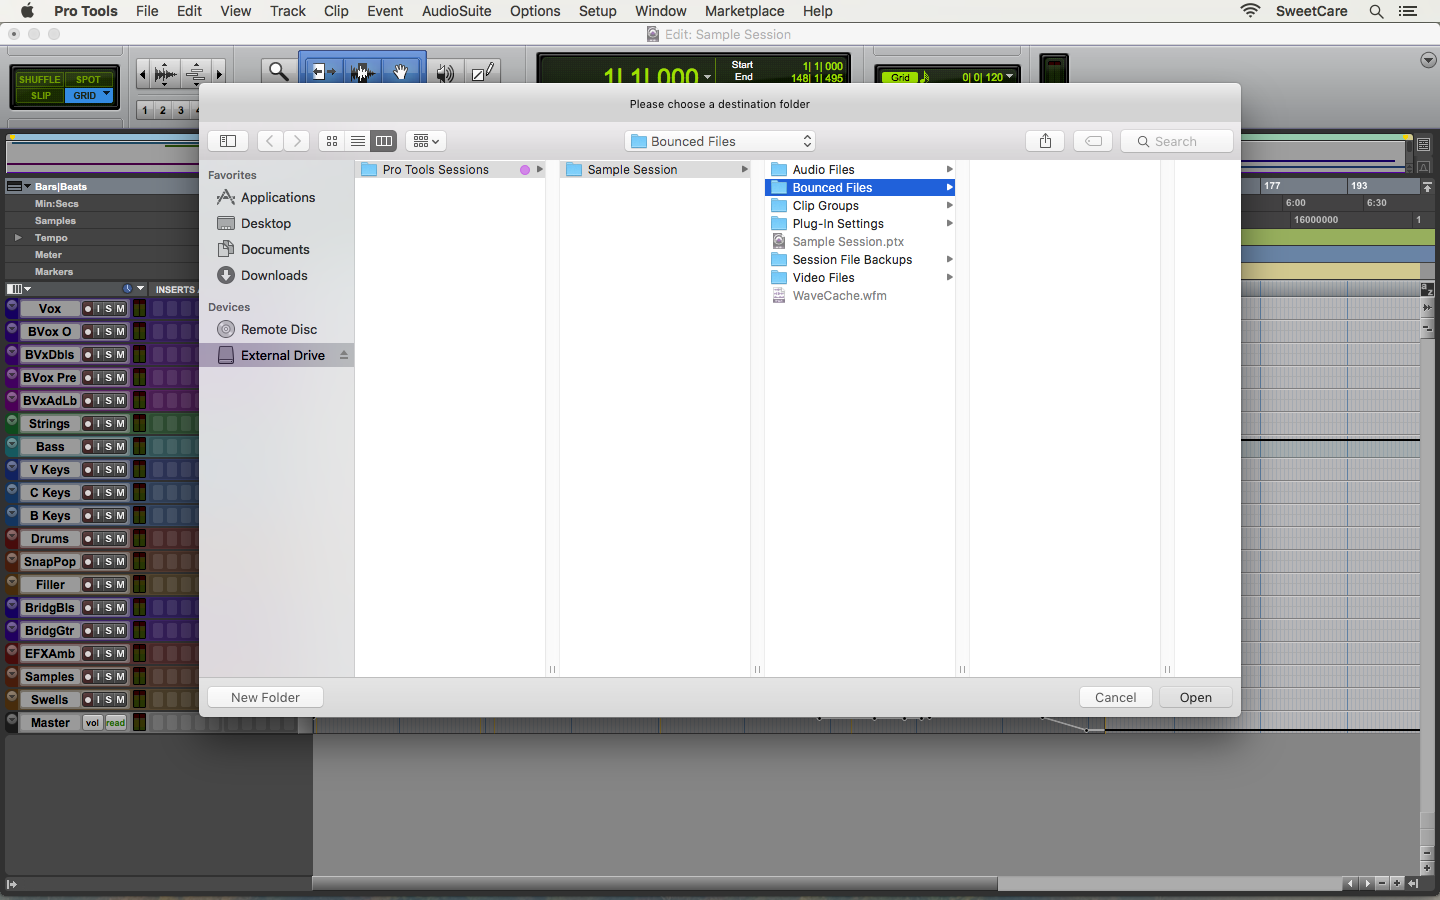
Step 3: Export destination.
- If you are burning your file to a CD, select 44.1 kHz.
- Offline: If you have Pro Tools 11 or higher, you can select Offline to bounce the song faster than real time.
- If you don’t select Offline, Pro Tools will bounce your song in real time.
- File Name: Title your exported file.
- Directory: Click Choose… to select where the exported file will be placed. Then click Open.
- By default, Pro Tools will create a folder for your exports titled Bounced Files. Once created, the Bounced Files folder can be found in each of your respective session folders.
4. Bounce it!
Click Bounce to begin the export.
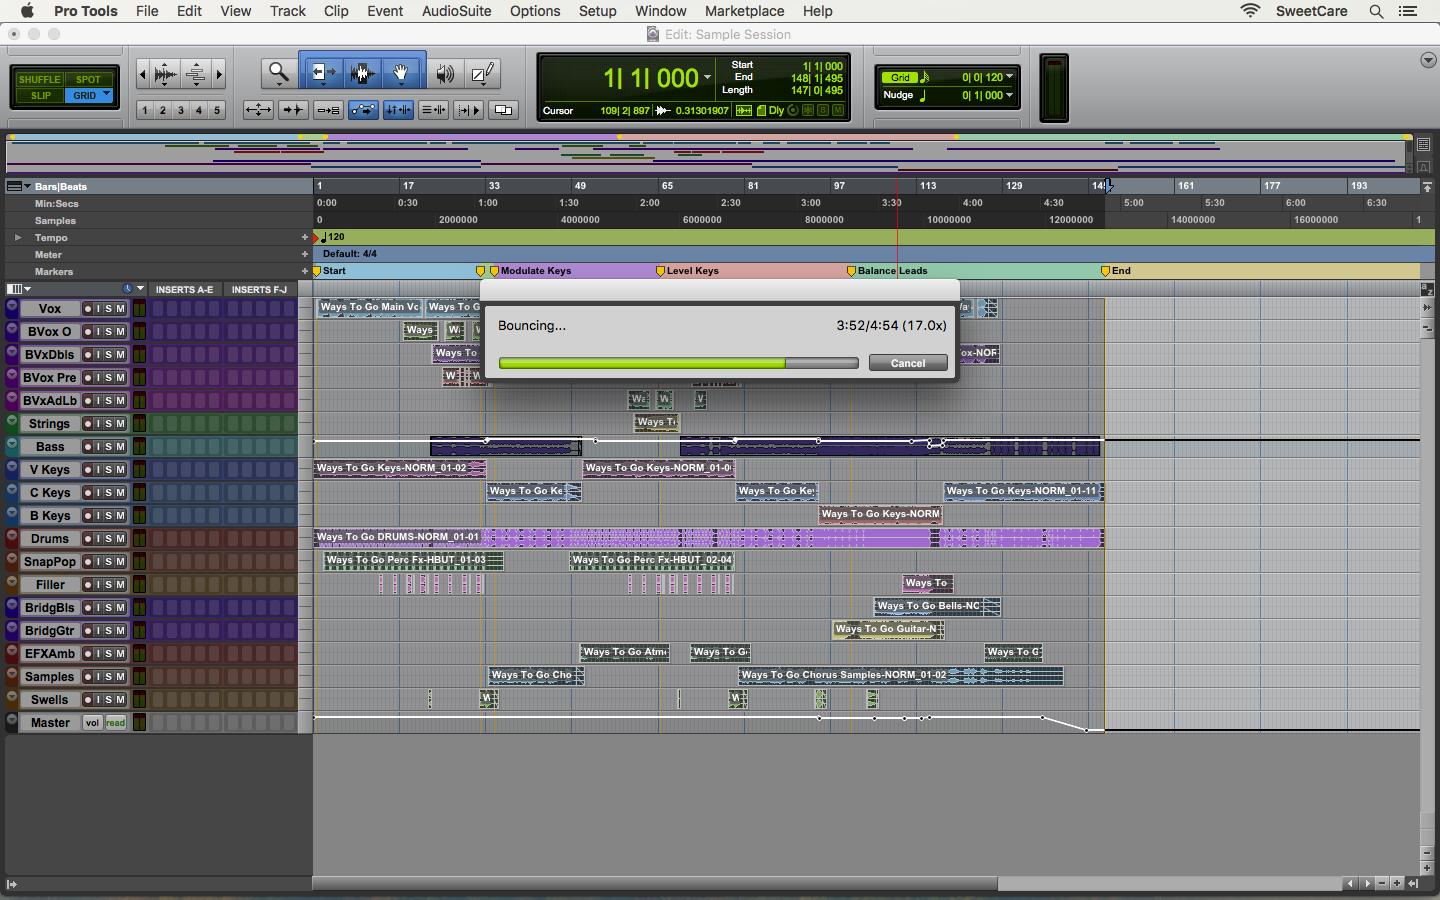
Step 4: Bounce progress.
5. Find The File
Go to the path you chose in Step 3 to find your exported audio file.
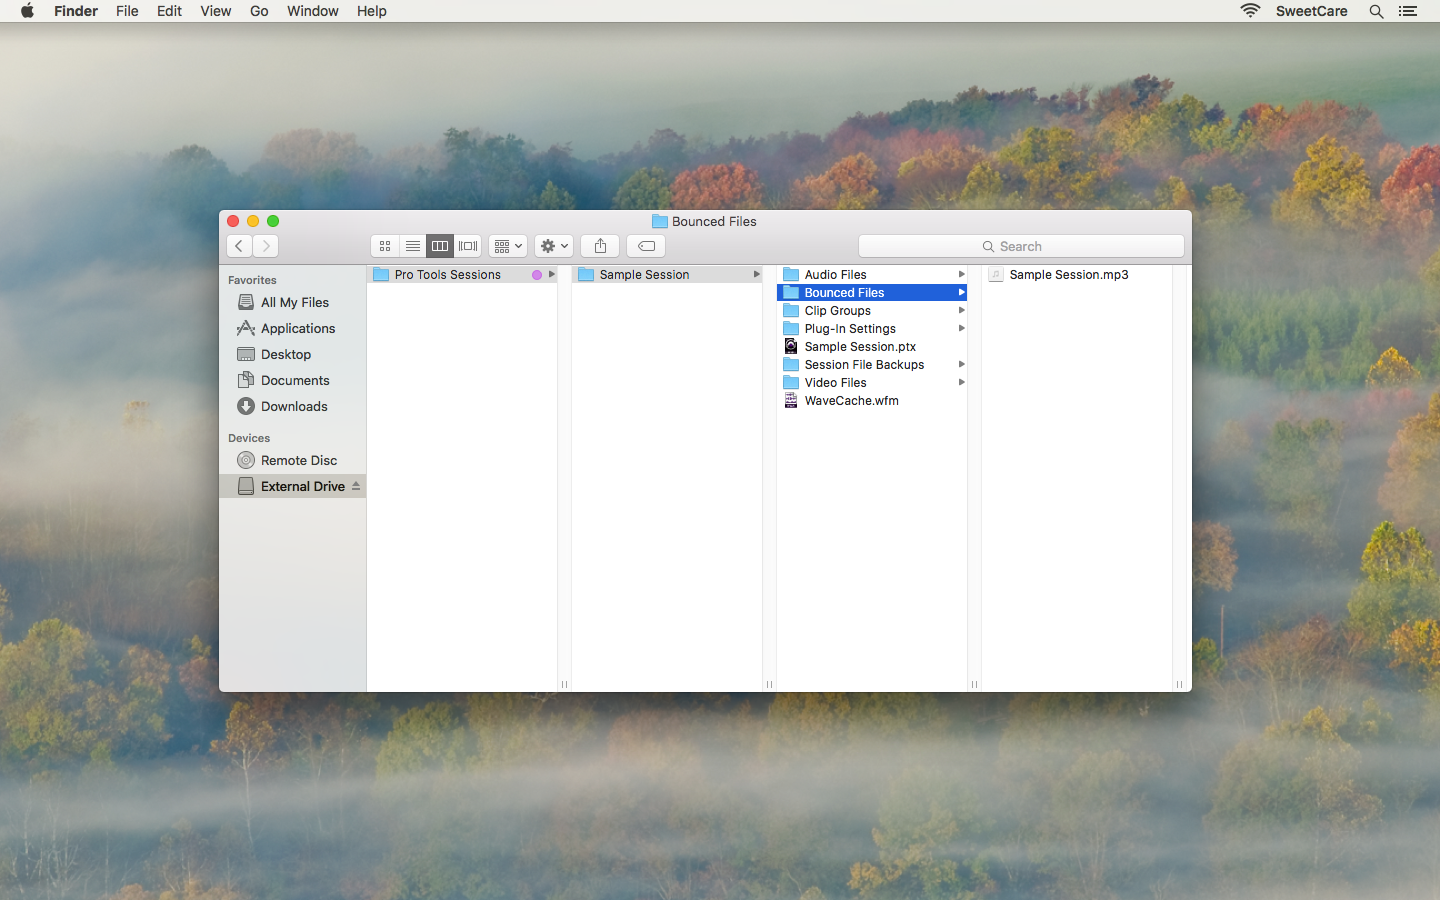
Step 5: Location of successful bounced file, a successful export.
Helpful Links
How to Create Your First Pro Tools Session
How to Configure Pro Tools 12 & 2018 Audio & MIDI Settings
How do I trash my Pro Tools preferences?
How do I set up a MIDI controller in Pro Tools?
Pro Tools 12 System Requirements
How to fix VCA tracks not working in Pro Tools 12.8.2
When you need help, Sweetwater has the answers!
Our knowledge base contains over 28,000 expertly written tech articles that will give you answers and help you get the most out of your gear. Our pro musicians and gear experts update content daily to keep you informed and on your way. Best of all, it’s totally FREE, and it’s just another reason that you get more at Sweetwater.com.

