
How do I trash my Pro Tools preferences?
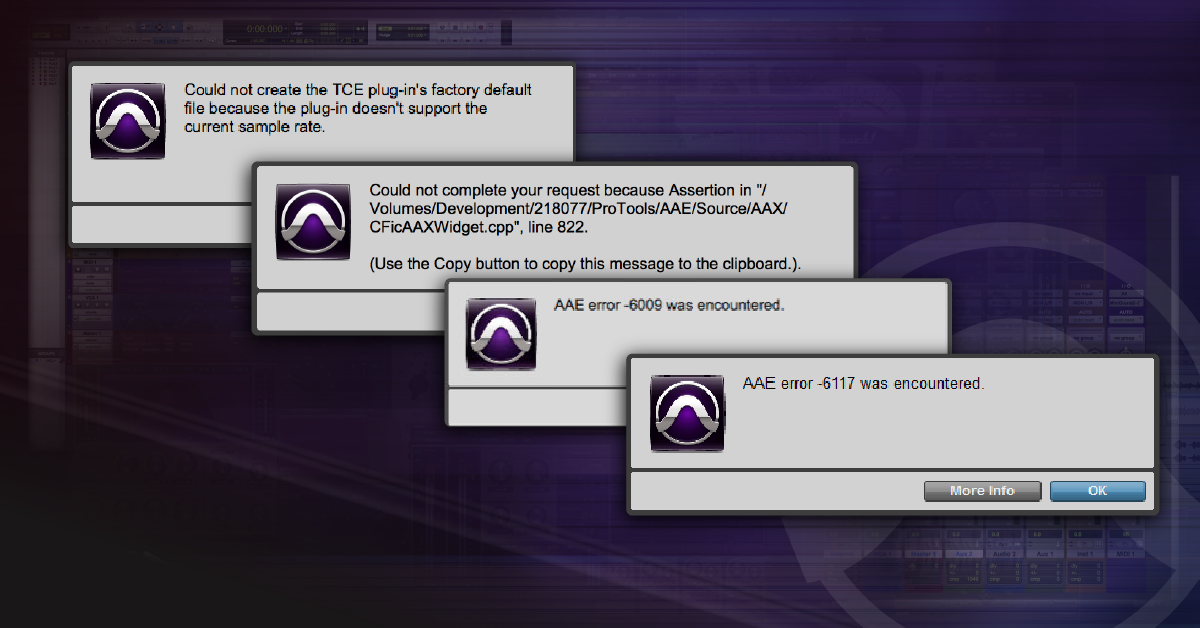
In this article, we will show you how to ‘reset’ Pro Tools by deleting its preference files. This helps Pro Tools get back to normal when the app does not appear to be functioning properly or if plug-ins are not showing up. Follow the Mac or PC instructions below to return Pro Tools back to its default state.
IMPORTANT: Trashing the Pro Tools files detailed below will reset Pro Tools. Before deleting any of the files as instructed below, copy them into a new folder on your Desktop called “Pro Tools Workspace Backup”. Returning these files back to where they were or replacing a newly created set of preferences will return Pro Tools to its past state.
Trash Pro Tools Preferences for Mac
Pro Tools 11, 12, 2018+
- Close Pro Tools and launch Finder.
- Click Go and select Go to Folder…
- Enter ~/Library/Preferences/Avid and click Go.
- Delete the Pro Tools folder.
- Restart your computer and launch Pro Tools.
Pro Tools 10
- Close Pro Tools and launch Finder.
- Click Go and select Go to Folder…
- Enter ~/Library/Preferences and click Go.
- Delete the following files in this Preferences folder:
- com.digidesign.ProTools.plist
- com.digidesign.ProTools.plist.lockfile
- DAE Prefs
- DigiSetup.OSX
- Pro Tools Prefs
- Restart your computer and launch Pro Tools.
Trashing Pro Tools 2018 Preferences on Mac
Trash Pro Tools Preferences for PC
Show hidden folders first
Before trashing Pro Tools preferences, follow these steps to show hidden folders:
Windows 8 & 10
- Click ‘View’ in your File Explorer window, then check Hidden items above Show/hide.
Windows 7
- Navigate to the Control Panel, and select Appearance and Personalization.
- Go to Folder Options, then select the View tab.
- Lastly, under Advanced Settings, select Show hidden files, folders, and drives, and then select OK.
Trash Pro Tools preferences for Windows
Pro Tools 11, 12, and 2018
- Close Pro Tools.
- Hold the Windows key on your keyboard and press R.
- When the Run window appears, type %appdata% and press OK.
- Open the Avid folder, and delete the Pro Tools folder.
- Restart your computer and launch Pro Tools.
Pro Tools 10
- Go to your Start menu and click on Computer.
- Double-click on the C:\ drive.
- Double-click on Program Files (x86)\Common Files\Digidesign.
- Go to the DAE folder, and delete the DAE Prefs folder.
- Hold the Windows key on your keyboard and press R.
- When the Run window appears, type %appdata% and press OK.
- Open the Avid folder (Digidesign folder with Pro Tools 8 and 9), and delete the Pro Tools folder.
- Restart your computer and launch Pro Tools.
Trashing Pro Tools 2018 Preferences on PC
Related content
- Pro Tools 12 System Requirements
- How to Activate & Authorize Avid’s Pro Tools 12 & 2018
- How to Download and Install Avid’s Pro Tools 12 & 2018
- How to Configure Pro Tools 12 & 2018 Audio & MIDI Settings
- Pro Tools Workspace & Soundbase Reset
When you need help, Sweetwater has the answers!
Our knowledge base contains over 28,000 expertly written tech articles that will give you answers and help you get the most out of your gear. Our pro musicians and gear experts update content daily to keep you informed and on your way. Best of all, it’s totally FREE, and it’s just another reason that you get more at Sweetwater.com.

