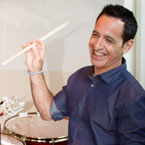
Welcome to “Part 2” of this series on recording drums. We are focusing on the microphones used and how to get the most out of a number of different recording situations. Not everyone has the budget to go into a big recording studio. You may only have your basement or your garage and a few microphones, but with the right knowledge, you can still get great-sounding, very usable recordings.
In “Part 1” of this series, we talked about using only two mics. Now, here in “Part 2,” we are stepping it up to four mics. Some amazing records have been made using only four microphones on the drum kit — it all depends on how you use the gear. We will get into two separate techniques: (1) a simple stereo overhead pair with kick drum and snare drum spot mics and (2) the famous Glyn Johns method. I’ll go over a number of different mics you can use as well as how to use your recording space.
Your Recording Space
I mentioned this in “Part 1,” and I think it is worth mentioning again here in “Part 2”: the room you record drums in makes a huge difference in the quality of your recordings. If you have an open garage to record in, then you should expect to get a drum sound with the ambience of the garage. On the other side of the coin, if you have a small, carpeted bedroom to record in, then you should not expect much natural ambience in the recording. Begin by listening to the drums in the room. Get them sounding their very best in that room. Whether it is new drumheads, a good tuning, or some kind of acoustic treatment for the room — whatever you need — it is vital that the drums sound their best in the room before you ever hit the record button.
Technique #1
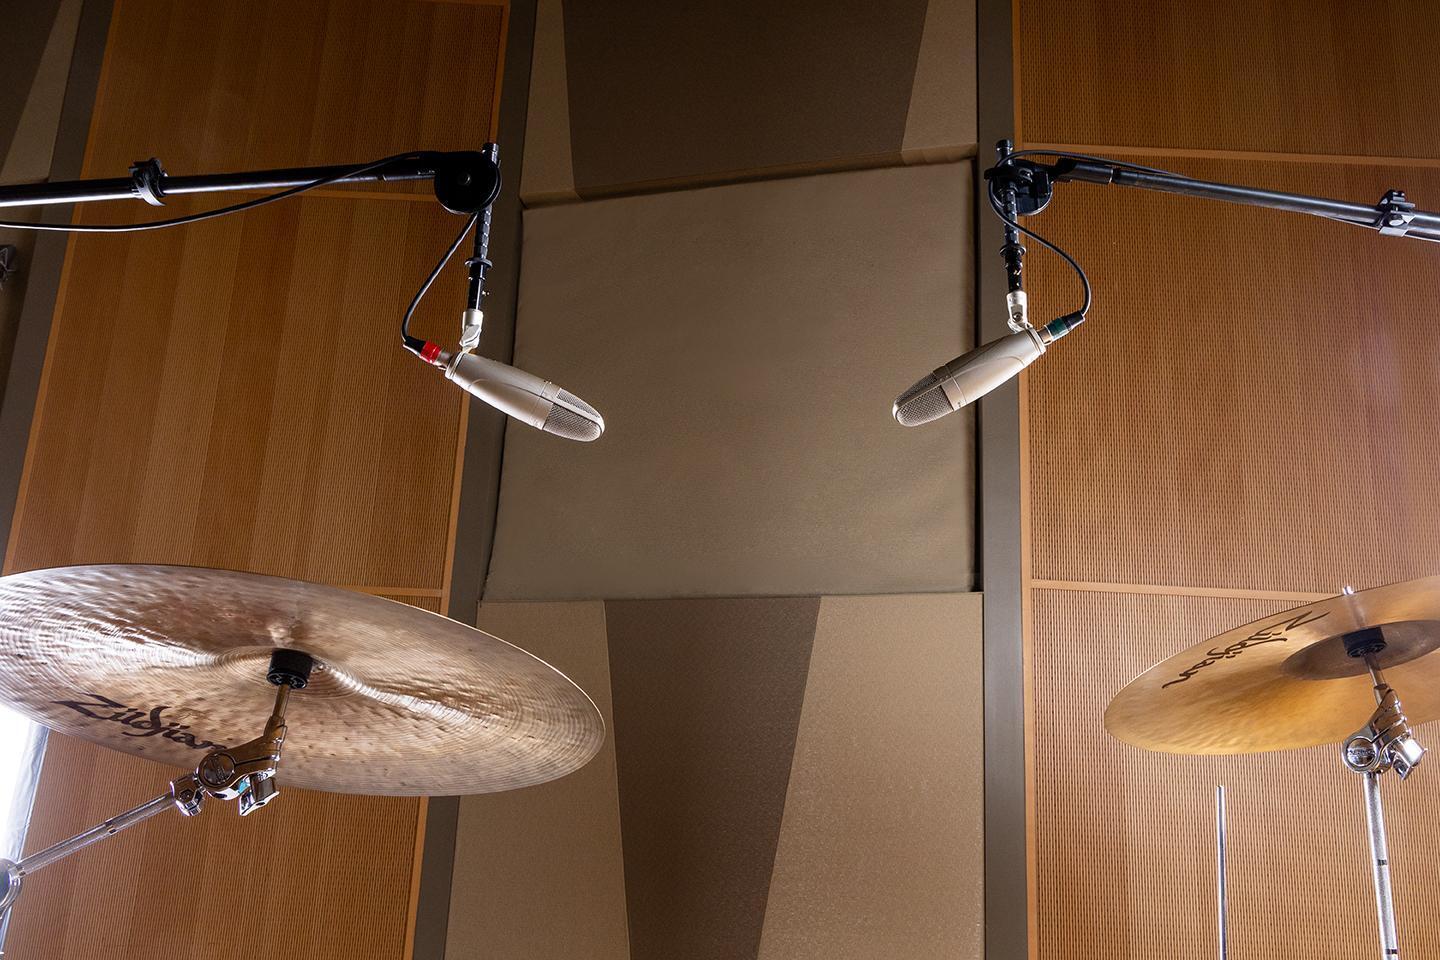
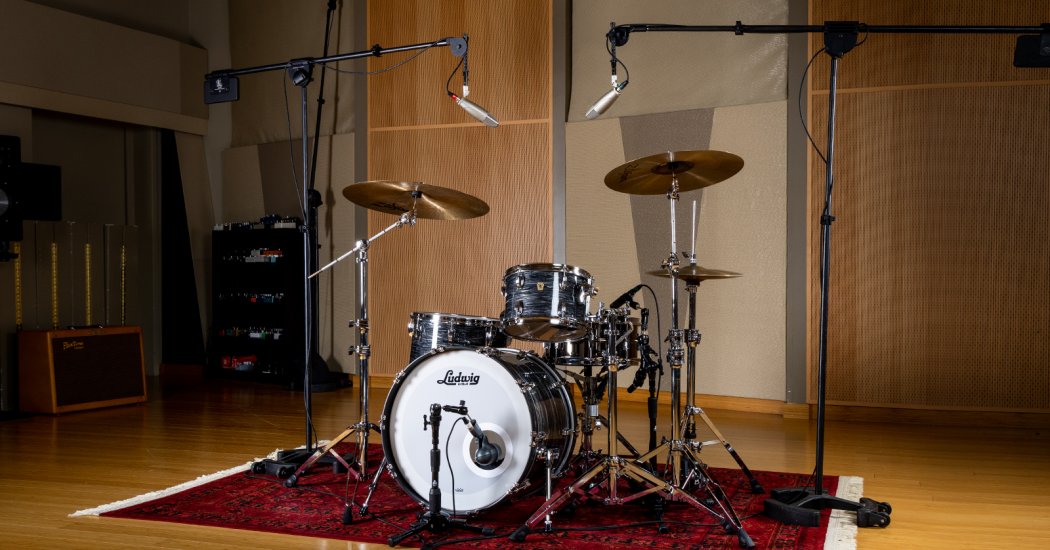
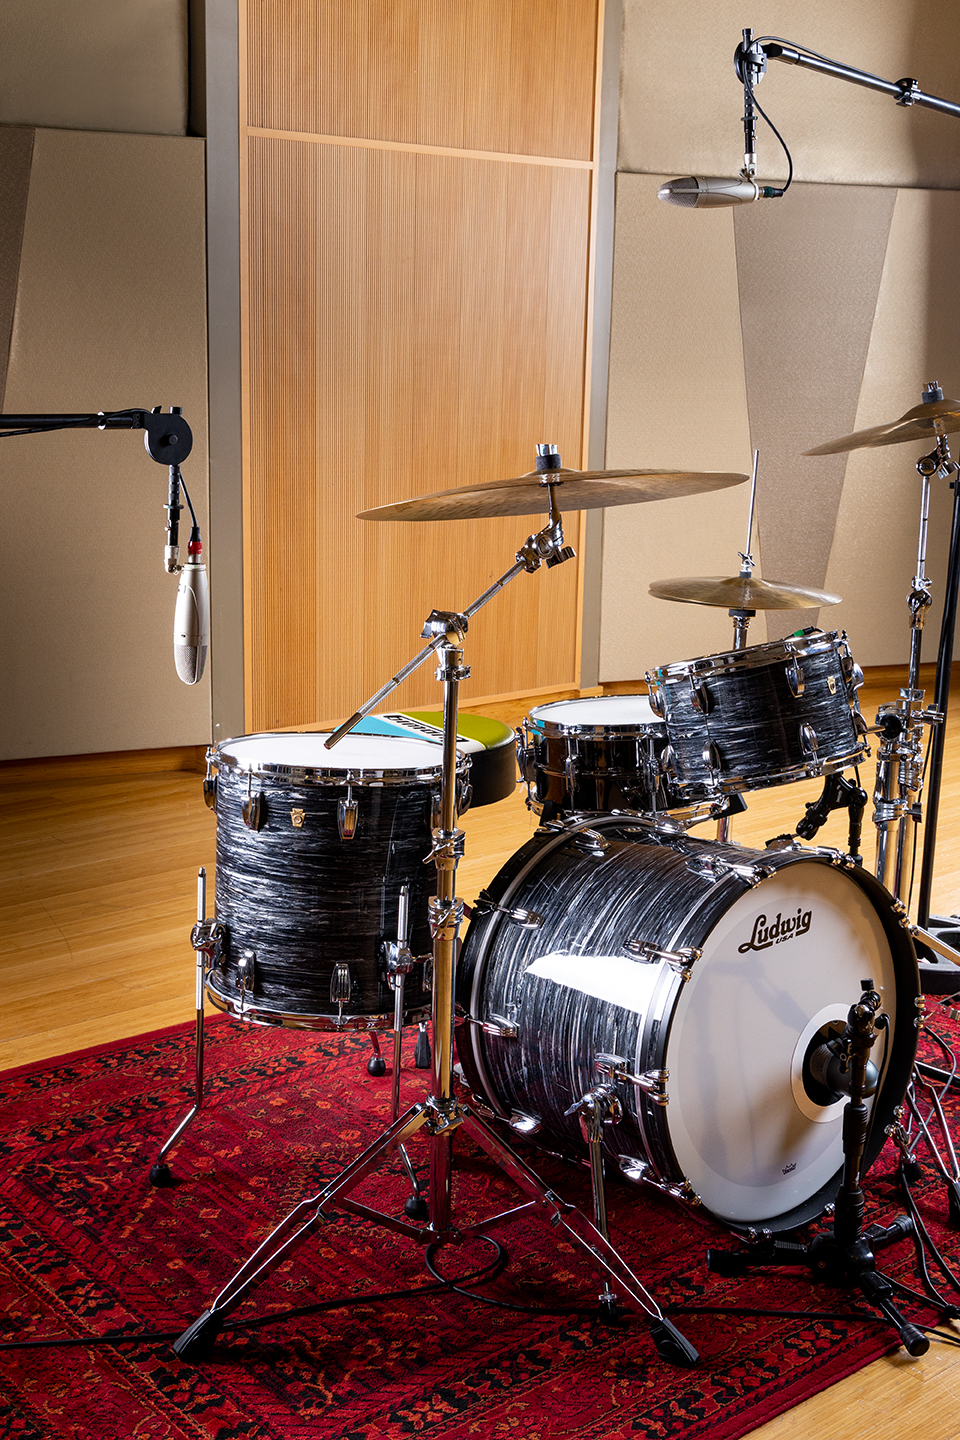
The first 4-mic drum recording technique uses a stereo pair of overhead mics. These mics will be the main sound of the kit. A good way to think about it is that each mic gets half of the kit, so they should be placed accordingly. Stand in front of the drum kit and look at it as a whole. Now, find the middle point and place your mics in order to cover the kit. The higher you have the mics above the drummer, the more room you will record, and the closer to the drummer you have the overheads, the tighter the sound will be. You are looking to get a nice stereo spread between the mics and a natural drum kit sound.

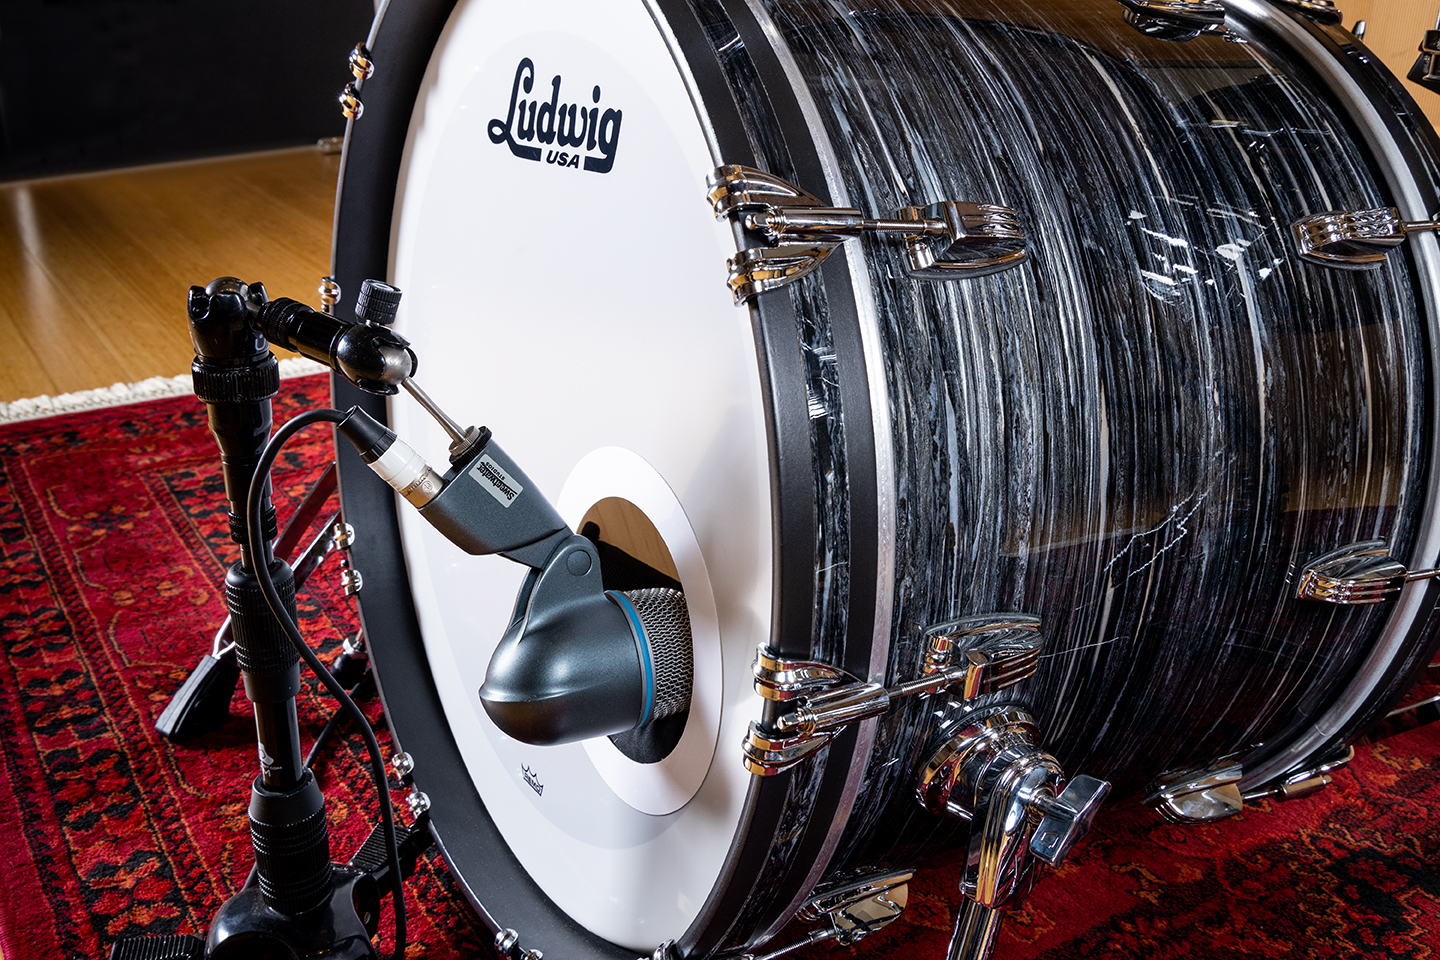
Now, place a mic for the kick drum. If the front head has a hole in it, then you can get the mic inside the drum, and that will bring out the attack of the beater hitting the drumhead. The farther outside of the drum you place the mic, the more low end you’ll get, but you will also pick up more of the whole drum kit. I have found that a good position for the mic to get both attack and low end is just inside the hole of the kick drumhead. If the drum does not have a hole in the head, then place the mic directly in front of the drum about one foot away and pointed a little bit down. If you point the mic up, then it will pick up more kit and room than you may want.
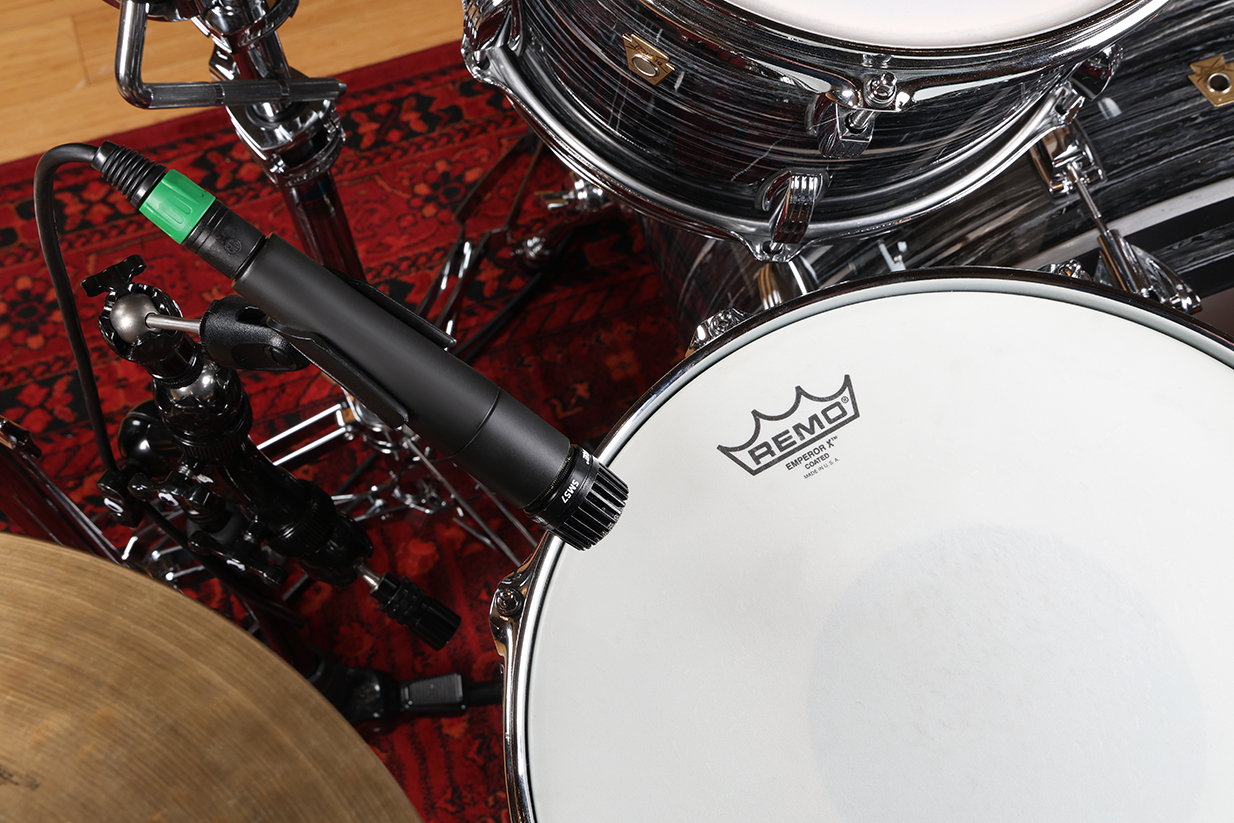
Placing the snare mic is a lot simpler. Place the mic at the edge of the drum just above the hoop and aimed at the center of the head.
Technique #2: The Glyn Johns Method
The second technique is the Glyn Johns method. Who is Glyn Johns, you ask? And why does he have his own method? Glyn Johns is an engineer/producer from the UK who got his start working with the Beatles and then went on to work with other such legendary bands as the Who, the Rolling Stones, Eagles, and many more. One of the bands that helped make him a recording legend was Led Zeppelin, where he managed to get John Bonham’s amazing and sought-after drum sound. He only used four microphones, but he used them in a way that will make you wonder how it works so well. All you have to do is listen to any of his recordings, and you cannot deny that he gets amazing drum sounds.
Place the first overhead mic directly over the snare, about three or four feet above the drum. You are looking to get a complete overall sound of the kit from this mic. It is a good idea to record a few passes with just this one microphone while moving it around slightly in order to find the sweet spot. You may need to raise or lower the mic or even point it in another direction a little. It is important to make sure your drummer doesn’t hit the mic with his sticks. Some drummers like to raise their hands high when rocking out, so make sure you place your mic accordingly.
The second overhead gets placed on the outside of the drummer’s floor tom. I can hear you saying something along the lines of: “That’s not an overhead mic!” But it actually acts like one. The mic should be a little higher than the top of the floor tom and lower than the cymbals. If you can get the drummer to raise his cymbals a bit, then it will help. One of the keys to this is to make sure both mics are the exact same distance from the center of the snare drum. Get yourself a tape measure — even a mic cable will work. Start from the center of the snare drum and measure up to the mic above the drummer’s head. Then, start at the same position on the snare and measure out to the mic outside the floor tom.
Even though the mics are directly above the snare and off to the side of the floor tom, you still pan the microphones just like you would a normal stereo pair: hard left and right.
Now, round out the sound by placing your snare and kick drum spot mics just as we did with the first 4-mic technique.
It is worth repeating that the spot mics for the kick drum and snare are to enhance the overall sound of the two overhead mics. The overheads should be your main sound.
Microphone Options
There are all kinds of microphone options you can use for both of these techniques. But don’t be afraid to try these techniques out even if you don’t have the ideal mics. If you have four Shure SM57s, then try it with four SM57s. The point is to get to making music, so use what you have handy or what the budget will allow. There are a lot of great options that will not break the bank; in fact, once you start selling those great-sounding records that you made from all this new knowledge, you can reinvest in your gear.
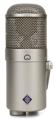
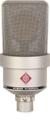
More ideal options for the overhead mics are a matching pair of large-diaphragm condenser mics. Some nice options to look into include the Shure KSM32, AKG C414 XLS, Mojave Audio MA-301fet, Neumann U 47 FET Collector’s Edition, Neumann U 87 Ai set, Neumann TLM 103 Anniversary Edition, and Lauten Audio Atlantis FC-387. These are all great microphones that you can use to record all kinds of things, such as guitars and vocals. Not all large-diaphragm condenser mics have a pattern selector switch on them, but if yours do, then a nice trick is to try the first overhead mic technique with your mics in the figure-8 pickup pattern. A “figure-8” pattern means that the mic will pick up sound from both the front and the back, which will capture more of the room ambience.
Small-diaphragm condenser mics, such as the RODE M5 and Shure KSM141, are other good options to try. And don’t forget about the matched pair of RODE NT5 compact condenser mics or the Neumann KM 184 stereo set small-diaphragm cardioid microphones. You can purchase all of these mics as matched pairs, and you can also use them for all kinds of other applications.
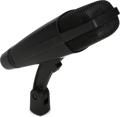
For dynamic mics for drums, some great options are the Shure SM57 cardioid dynamic instrument microphone, the Shure SM7B cardioid dynamic vocal microphone, the Shure Beta 52A supercardioid dynamic kick drum microphone, the Sennheiser e 906 supercardioid dynamic instrument microphone, the Electro-Voice RE20 dynamic broadcast microphone with Variable-D, the Sennheiser MD 421-II cardioid dynamic microphone, and the Telefunken M80 supercardioid dynamic handheld vocal microphone. You do not have to have matched mics for the kick and snare spot mics, but if you are going to use dynamic mics for the overheads, then I would suggest you use a matching pair. Also, some dynamic mics are better than others for certain tasks. The Shure Beta 52A is a fantastic kick drum mic but may be a bit dark for snare drum — the SM57 would be a better fit here.
In Closing
Try out these two techniques and see what you get. Don’t be afraid to experiment. The Glyn Johns method came out of doing exactly that: experimenting. The studio is such a great place to get creative, and if you have the time and the patience, then you may achieve something you never saw coming. Get creative and make more music! Don’t forget: if you only have two mics, then you should check out “Part 1” of this series. And if you need any help with mic selection — regardless of your budget — then call your Sweetwater Sales Engineer at (800) 222-4700.